Sparkman Band was donated a new trailer in the Spring of 2025. Follow along as we retrofit this moving van to be used for marching band logistics.


Painting the Walls
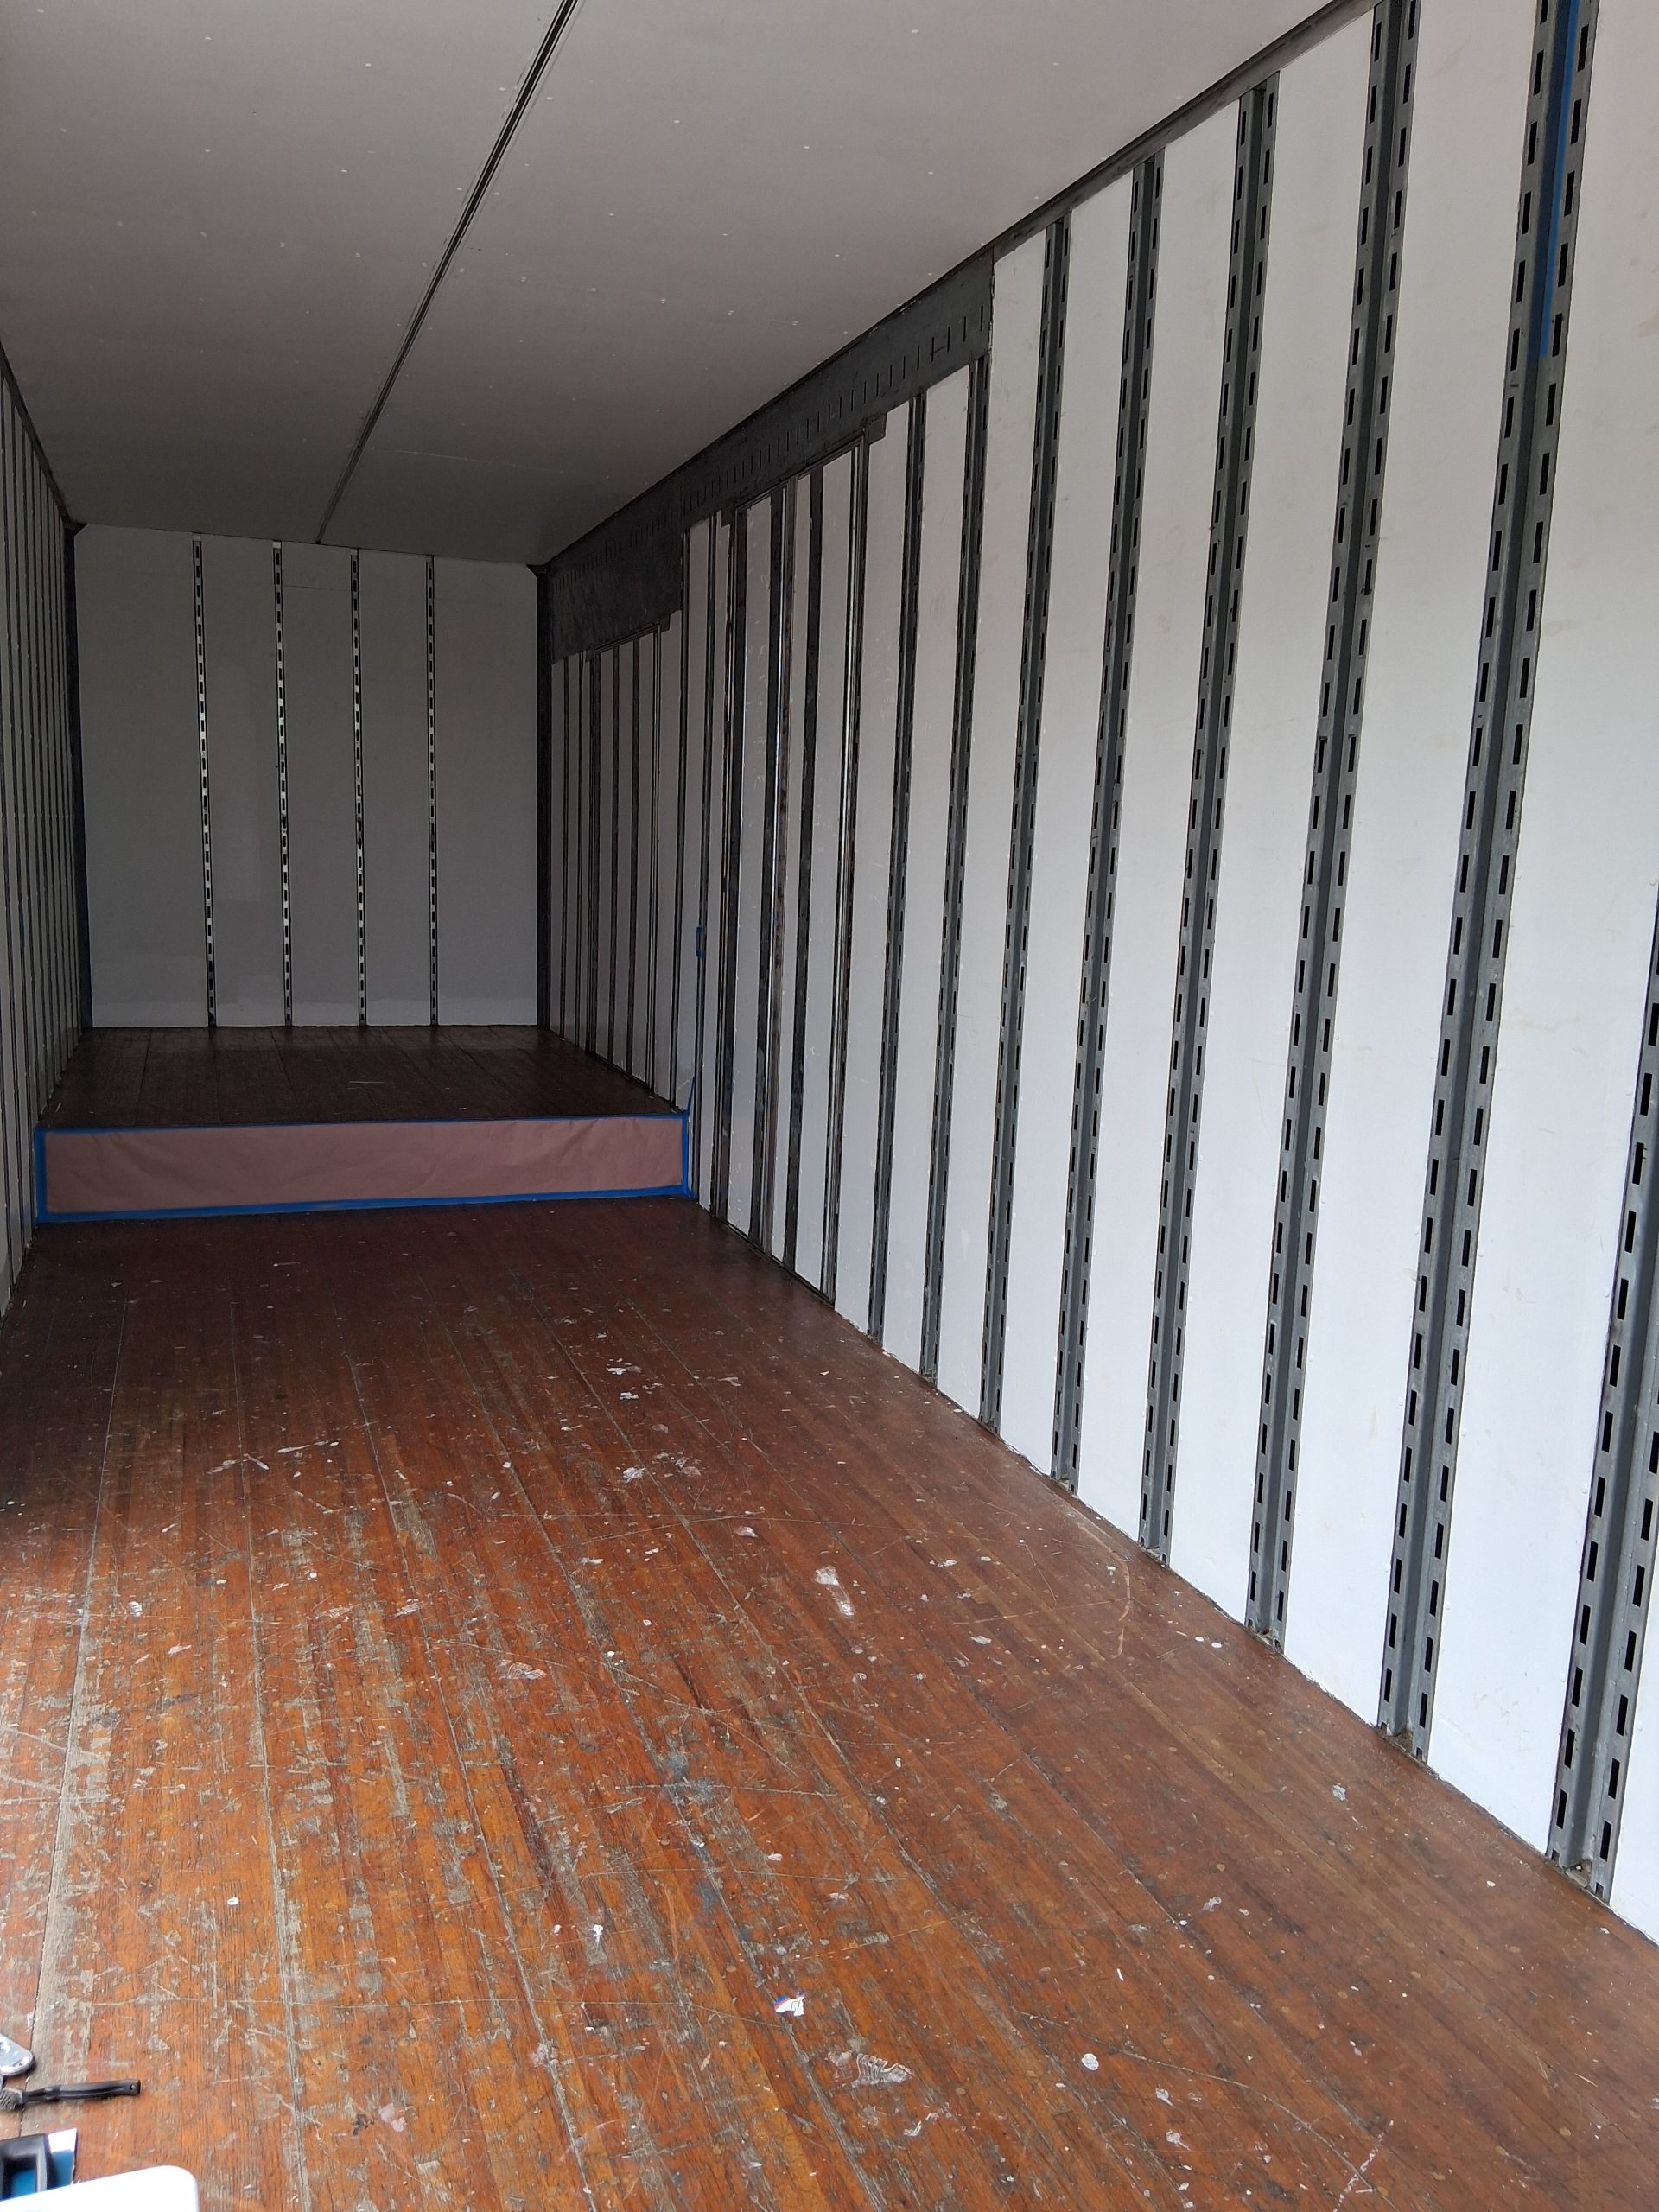
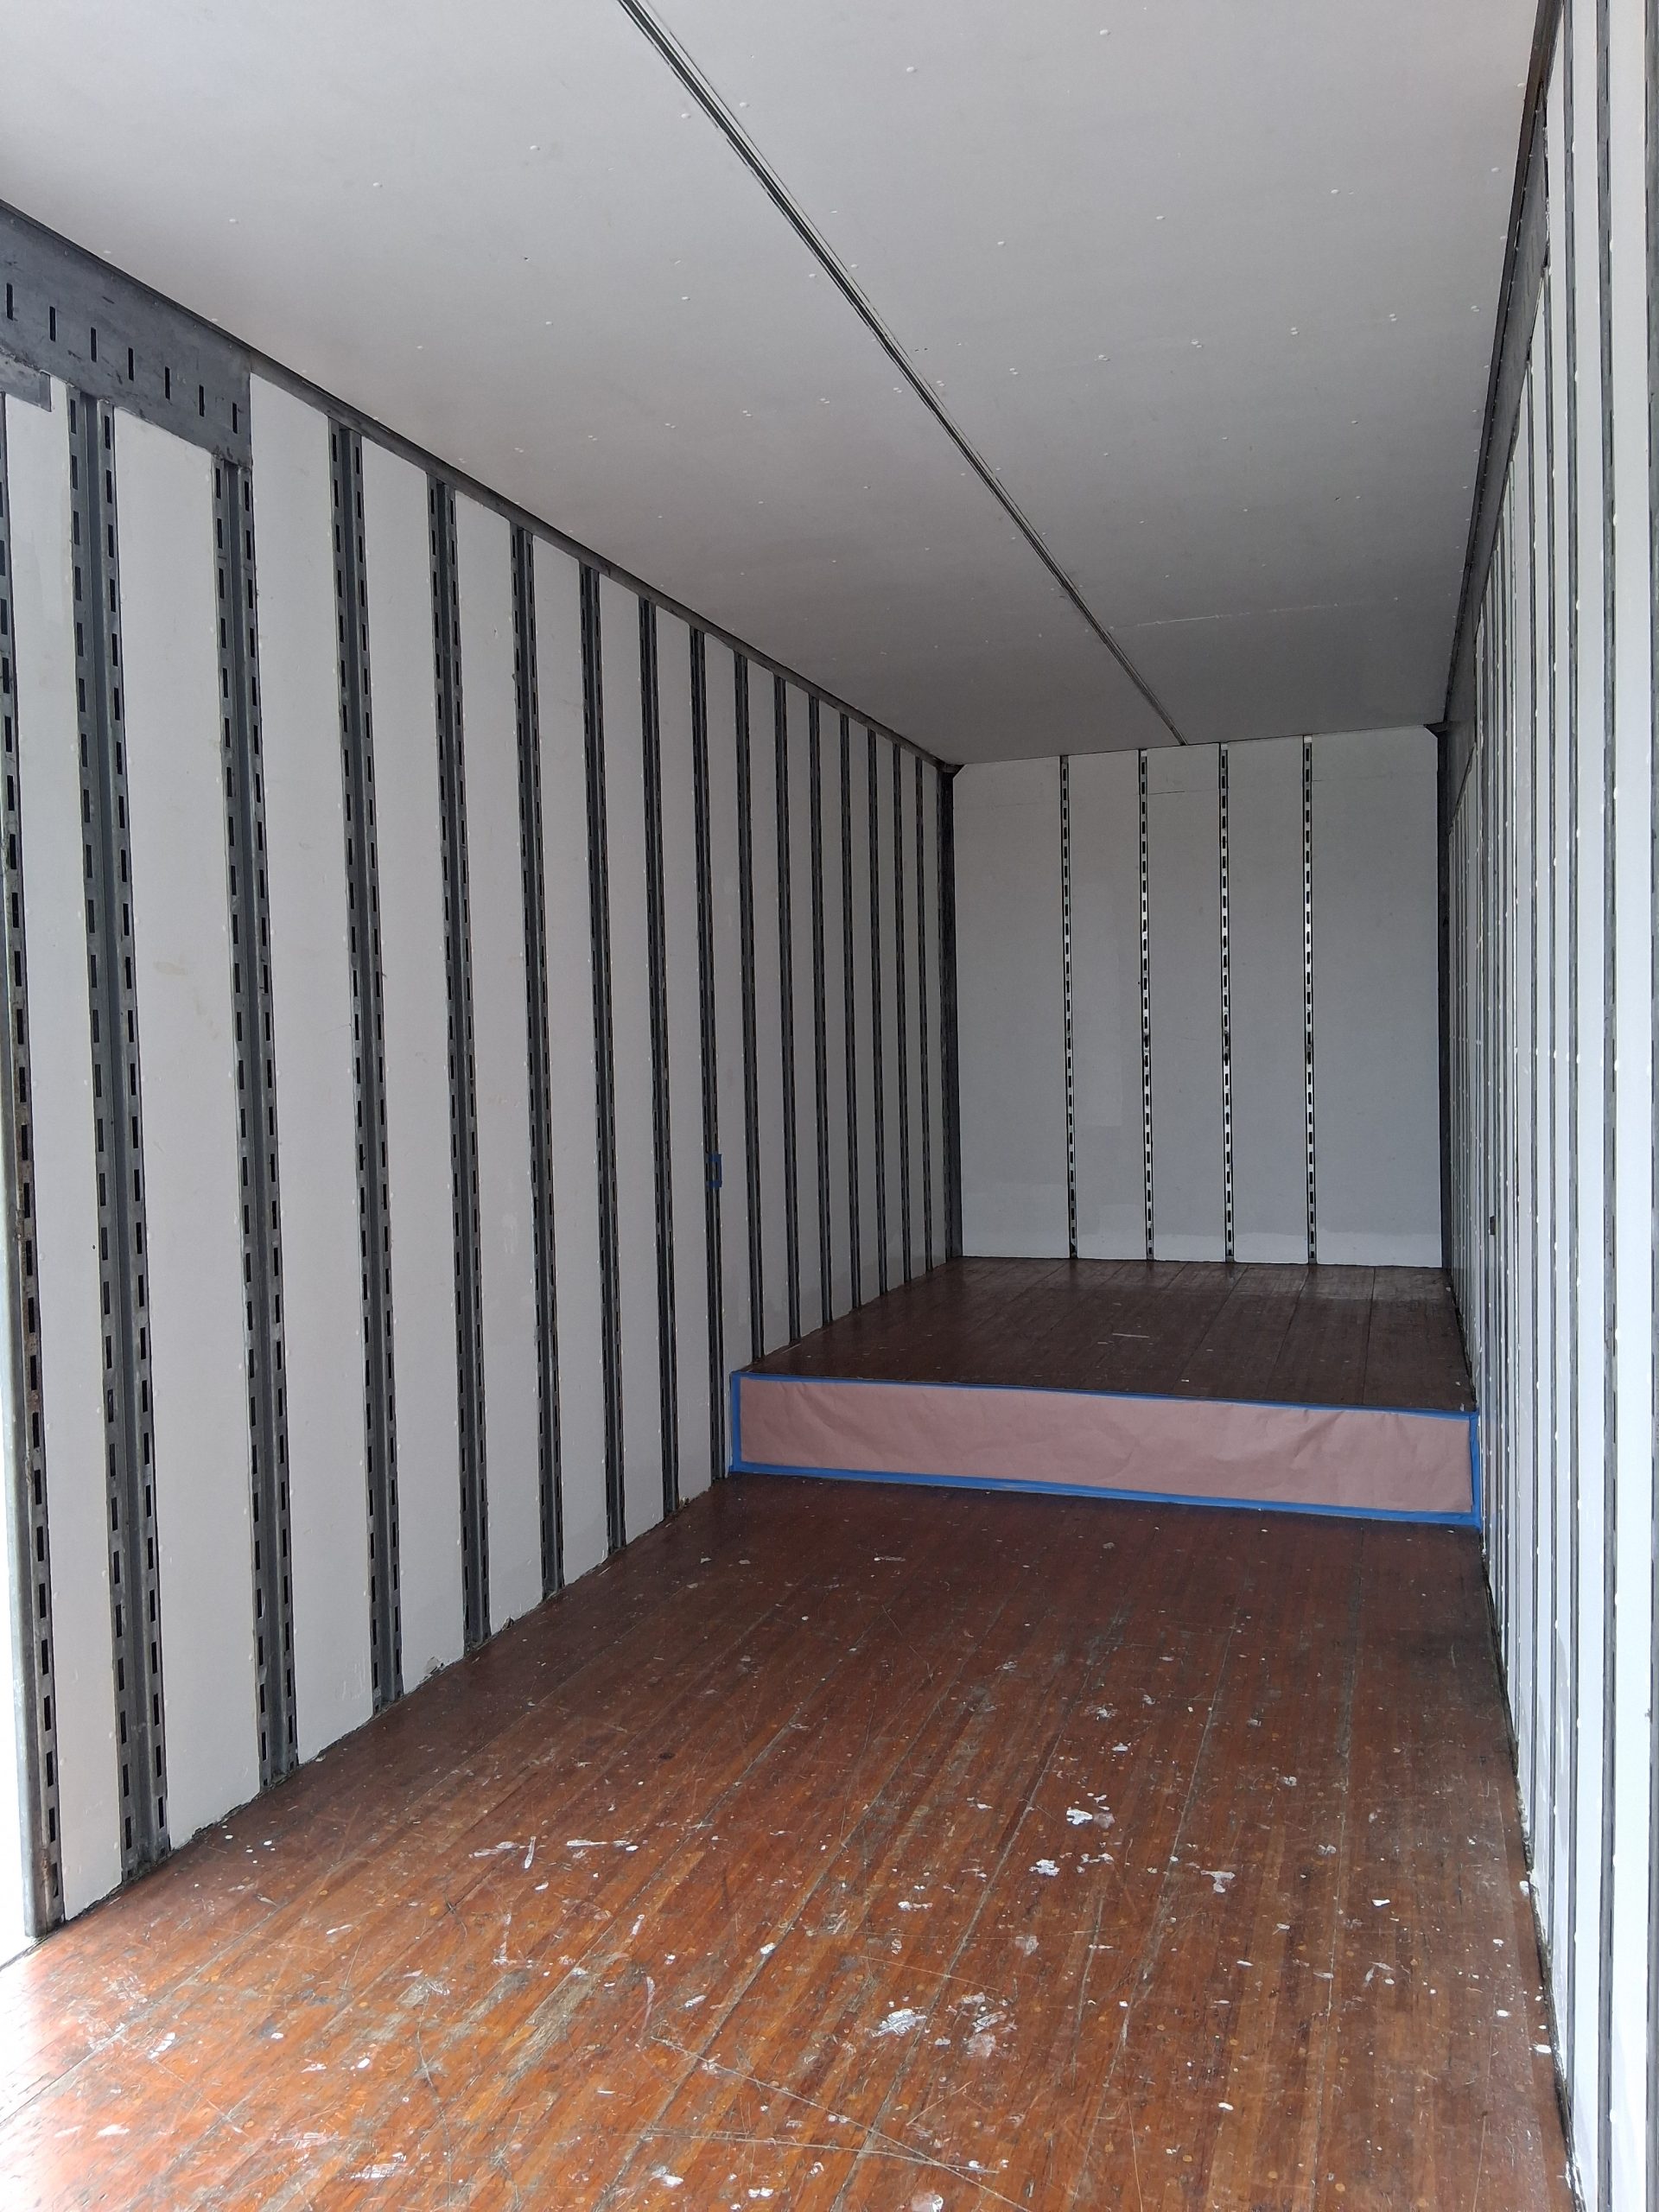
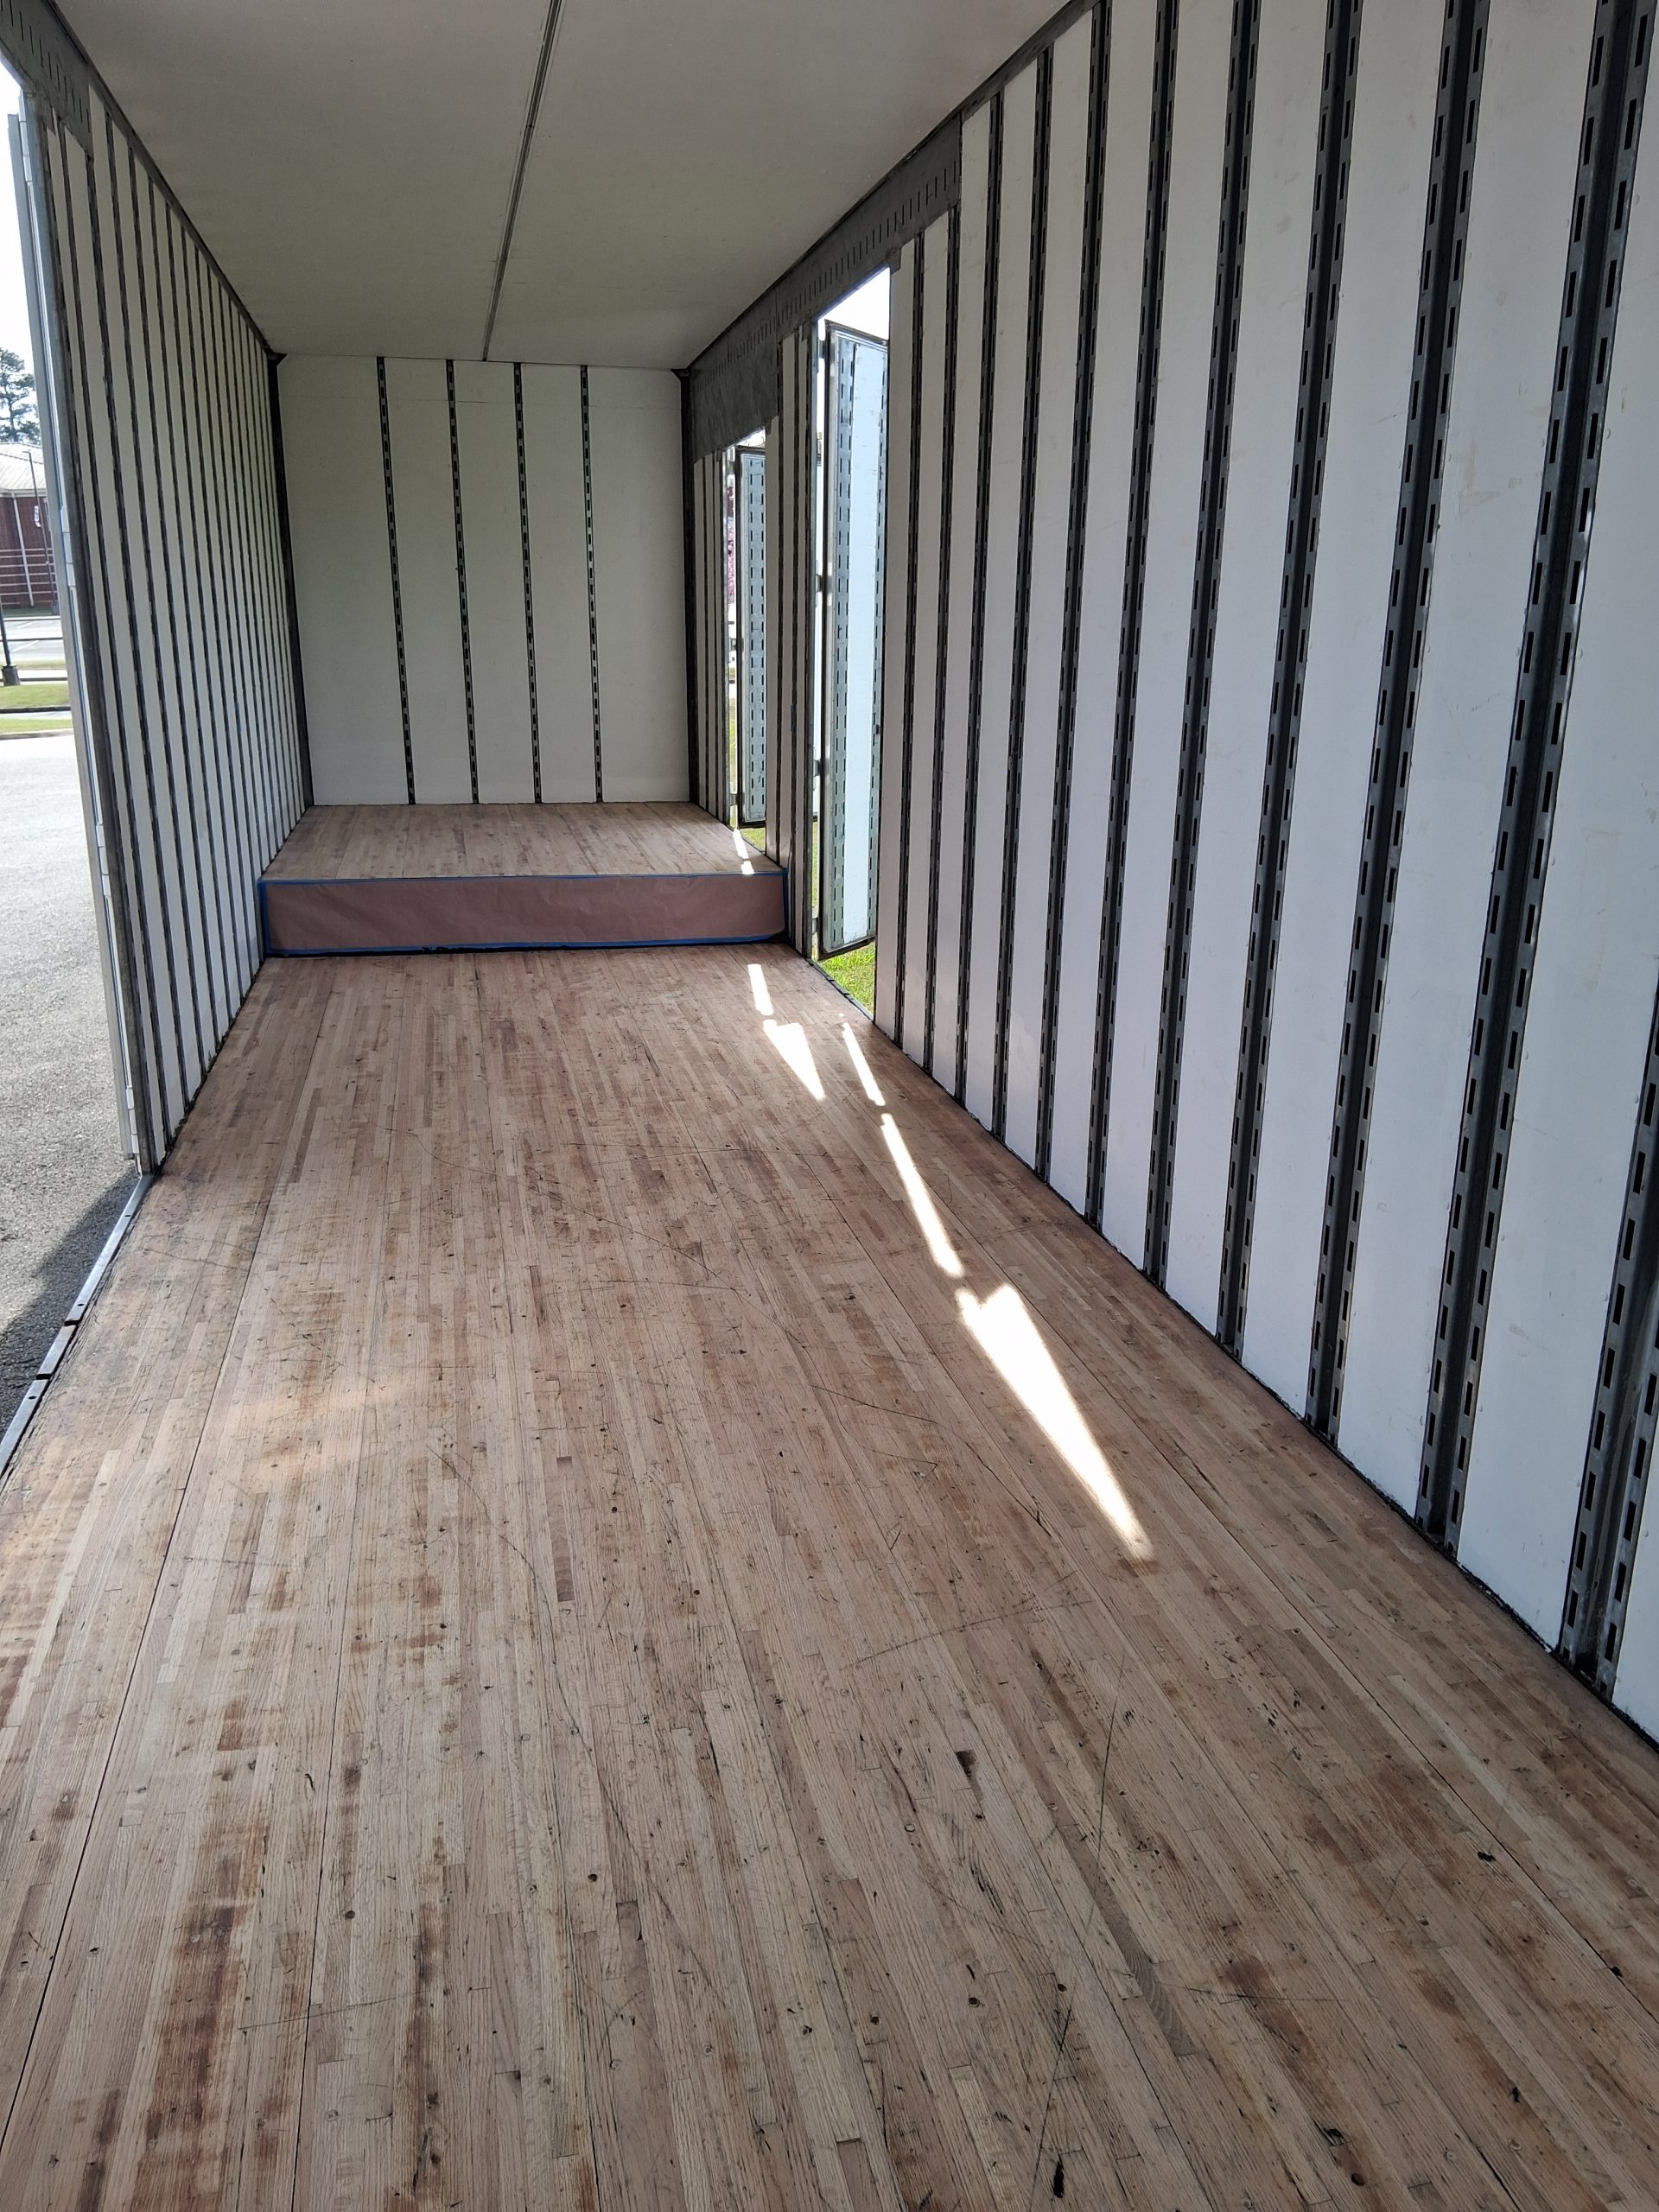
We got started with painting by rolling on some primer. The walls really soaked it up and it was very needed. We presume the last time this trailer was painted was when it rolled off the assembly line at Kentucky Trailer Company.


Painting Complete. What a difference this makes, just look at the before and after!
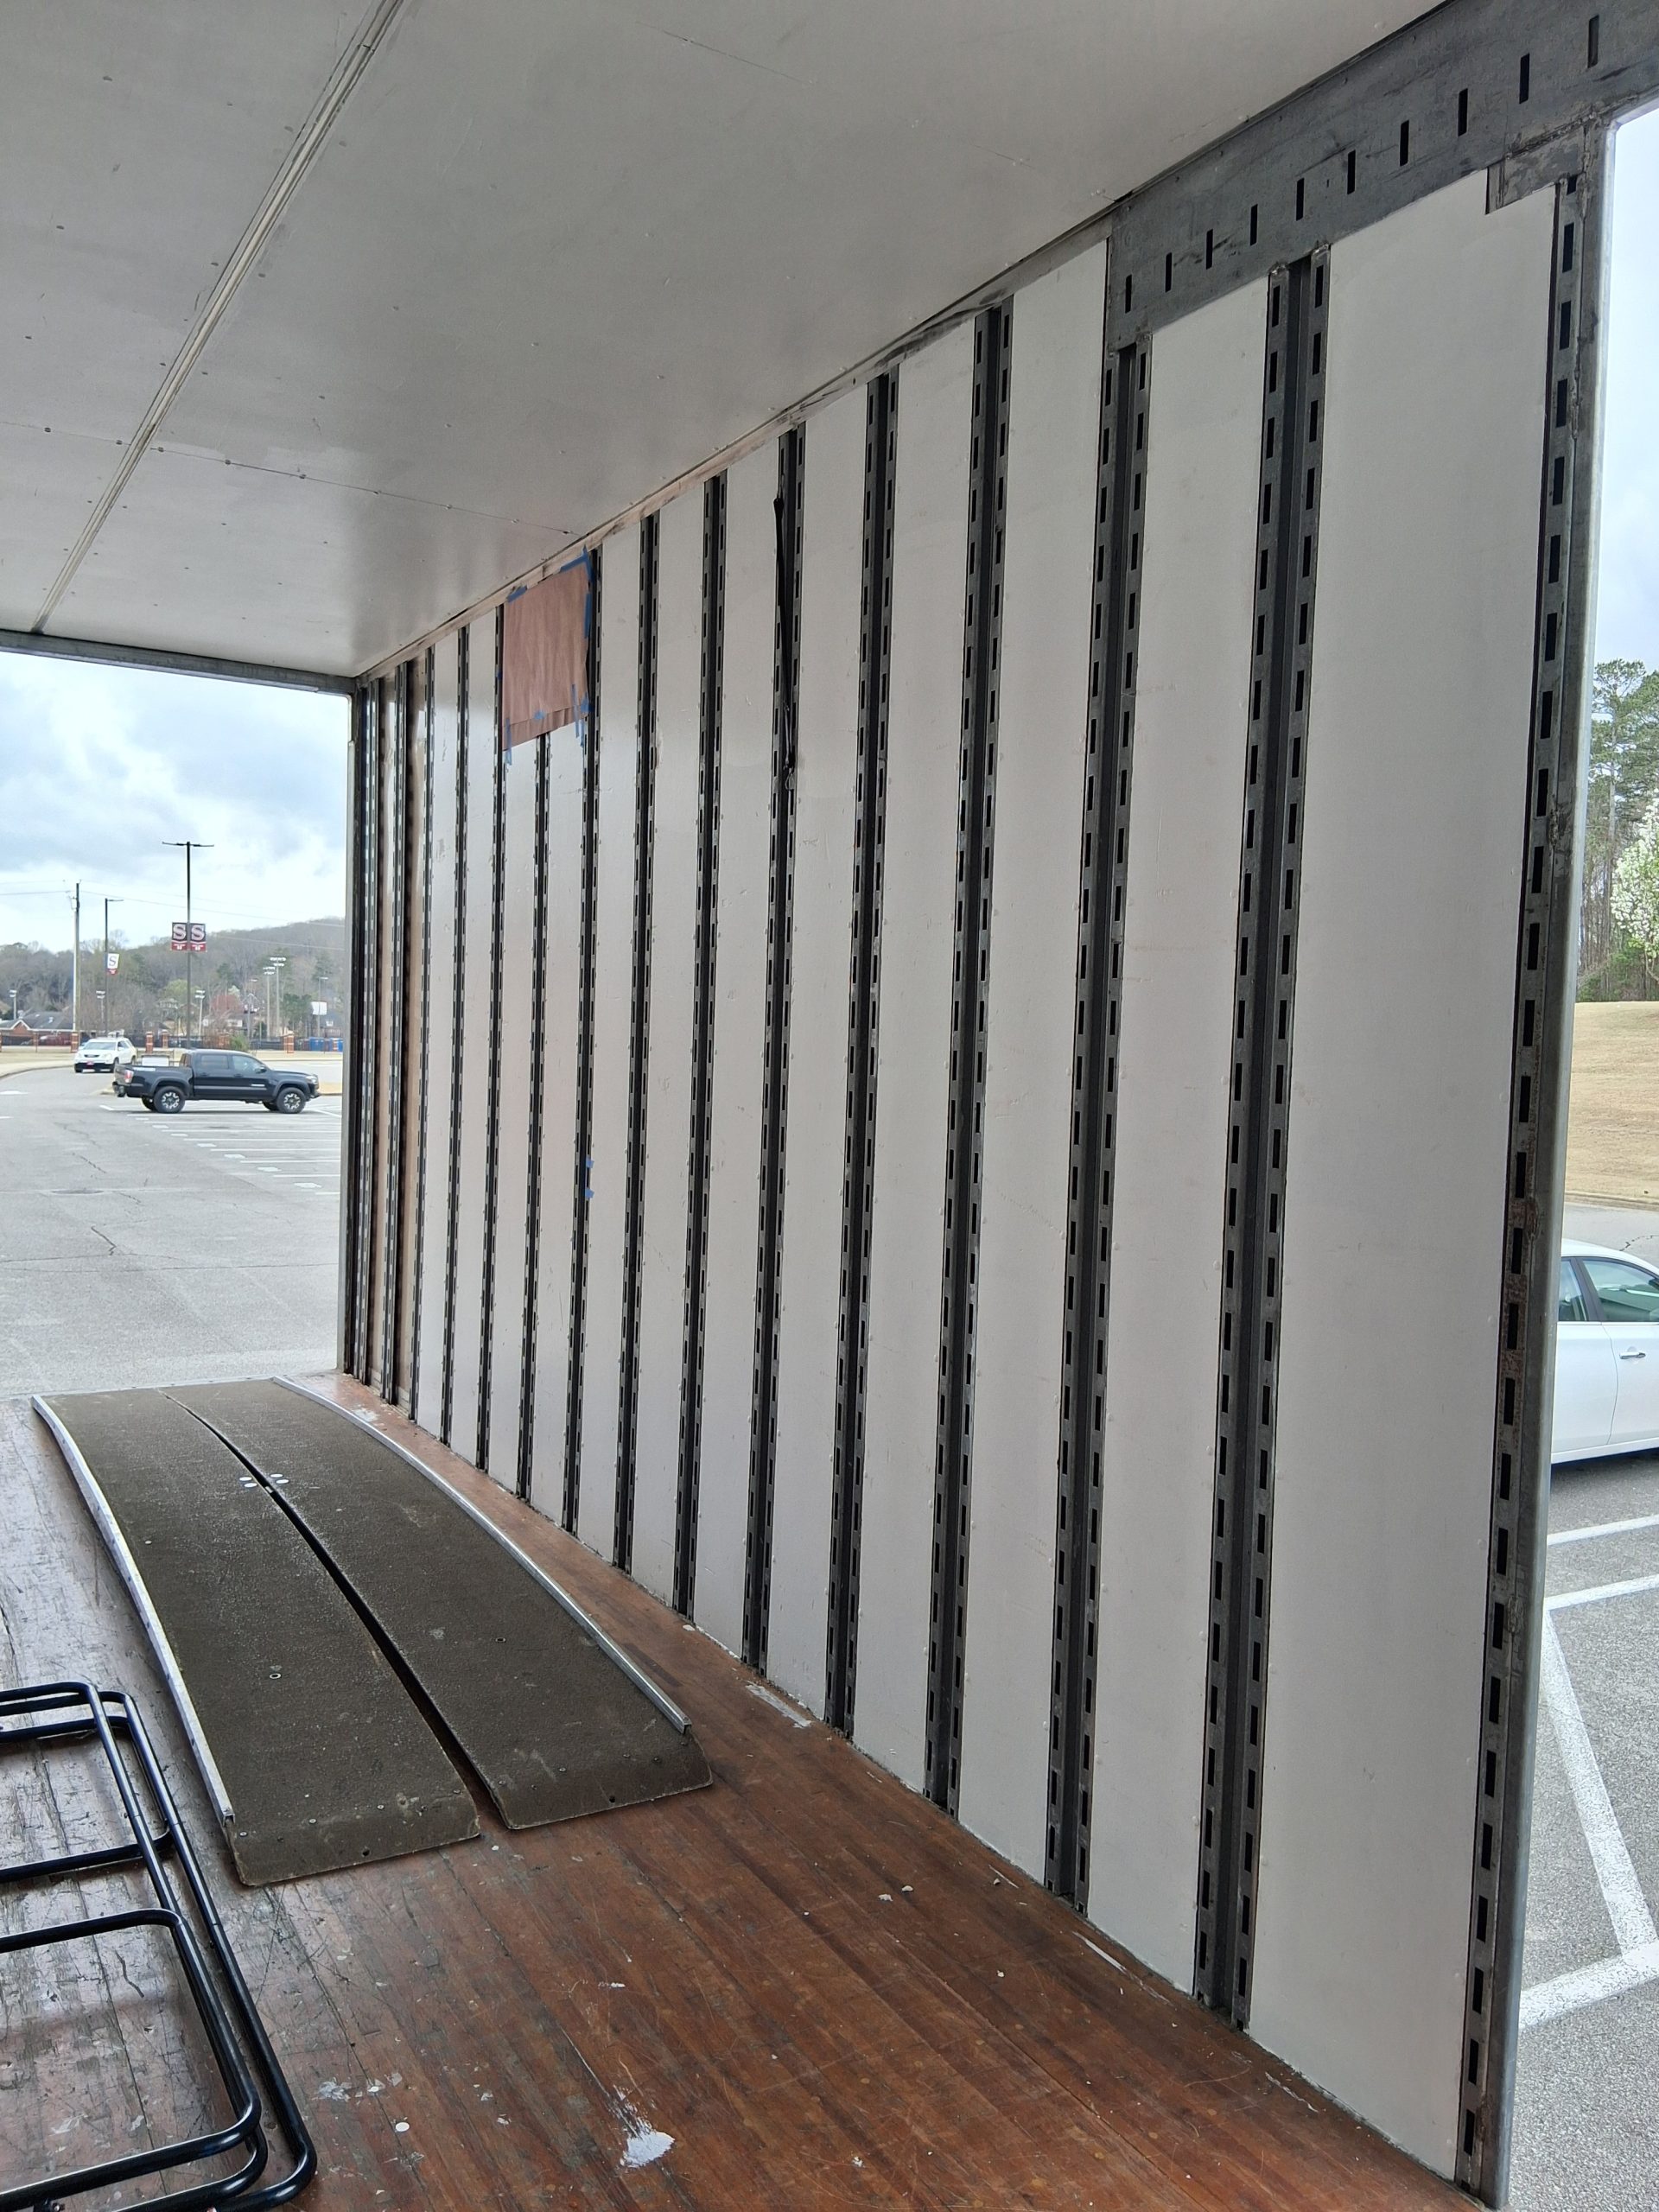
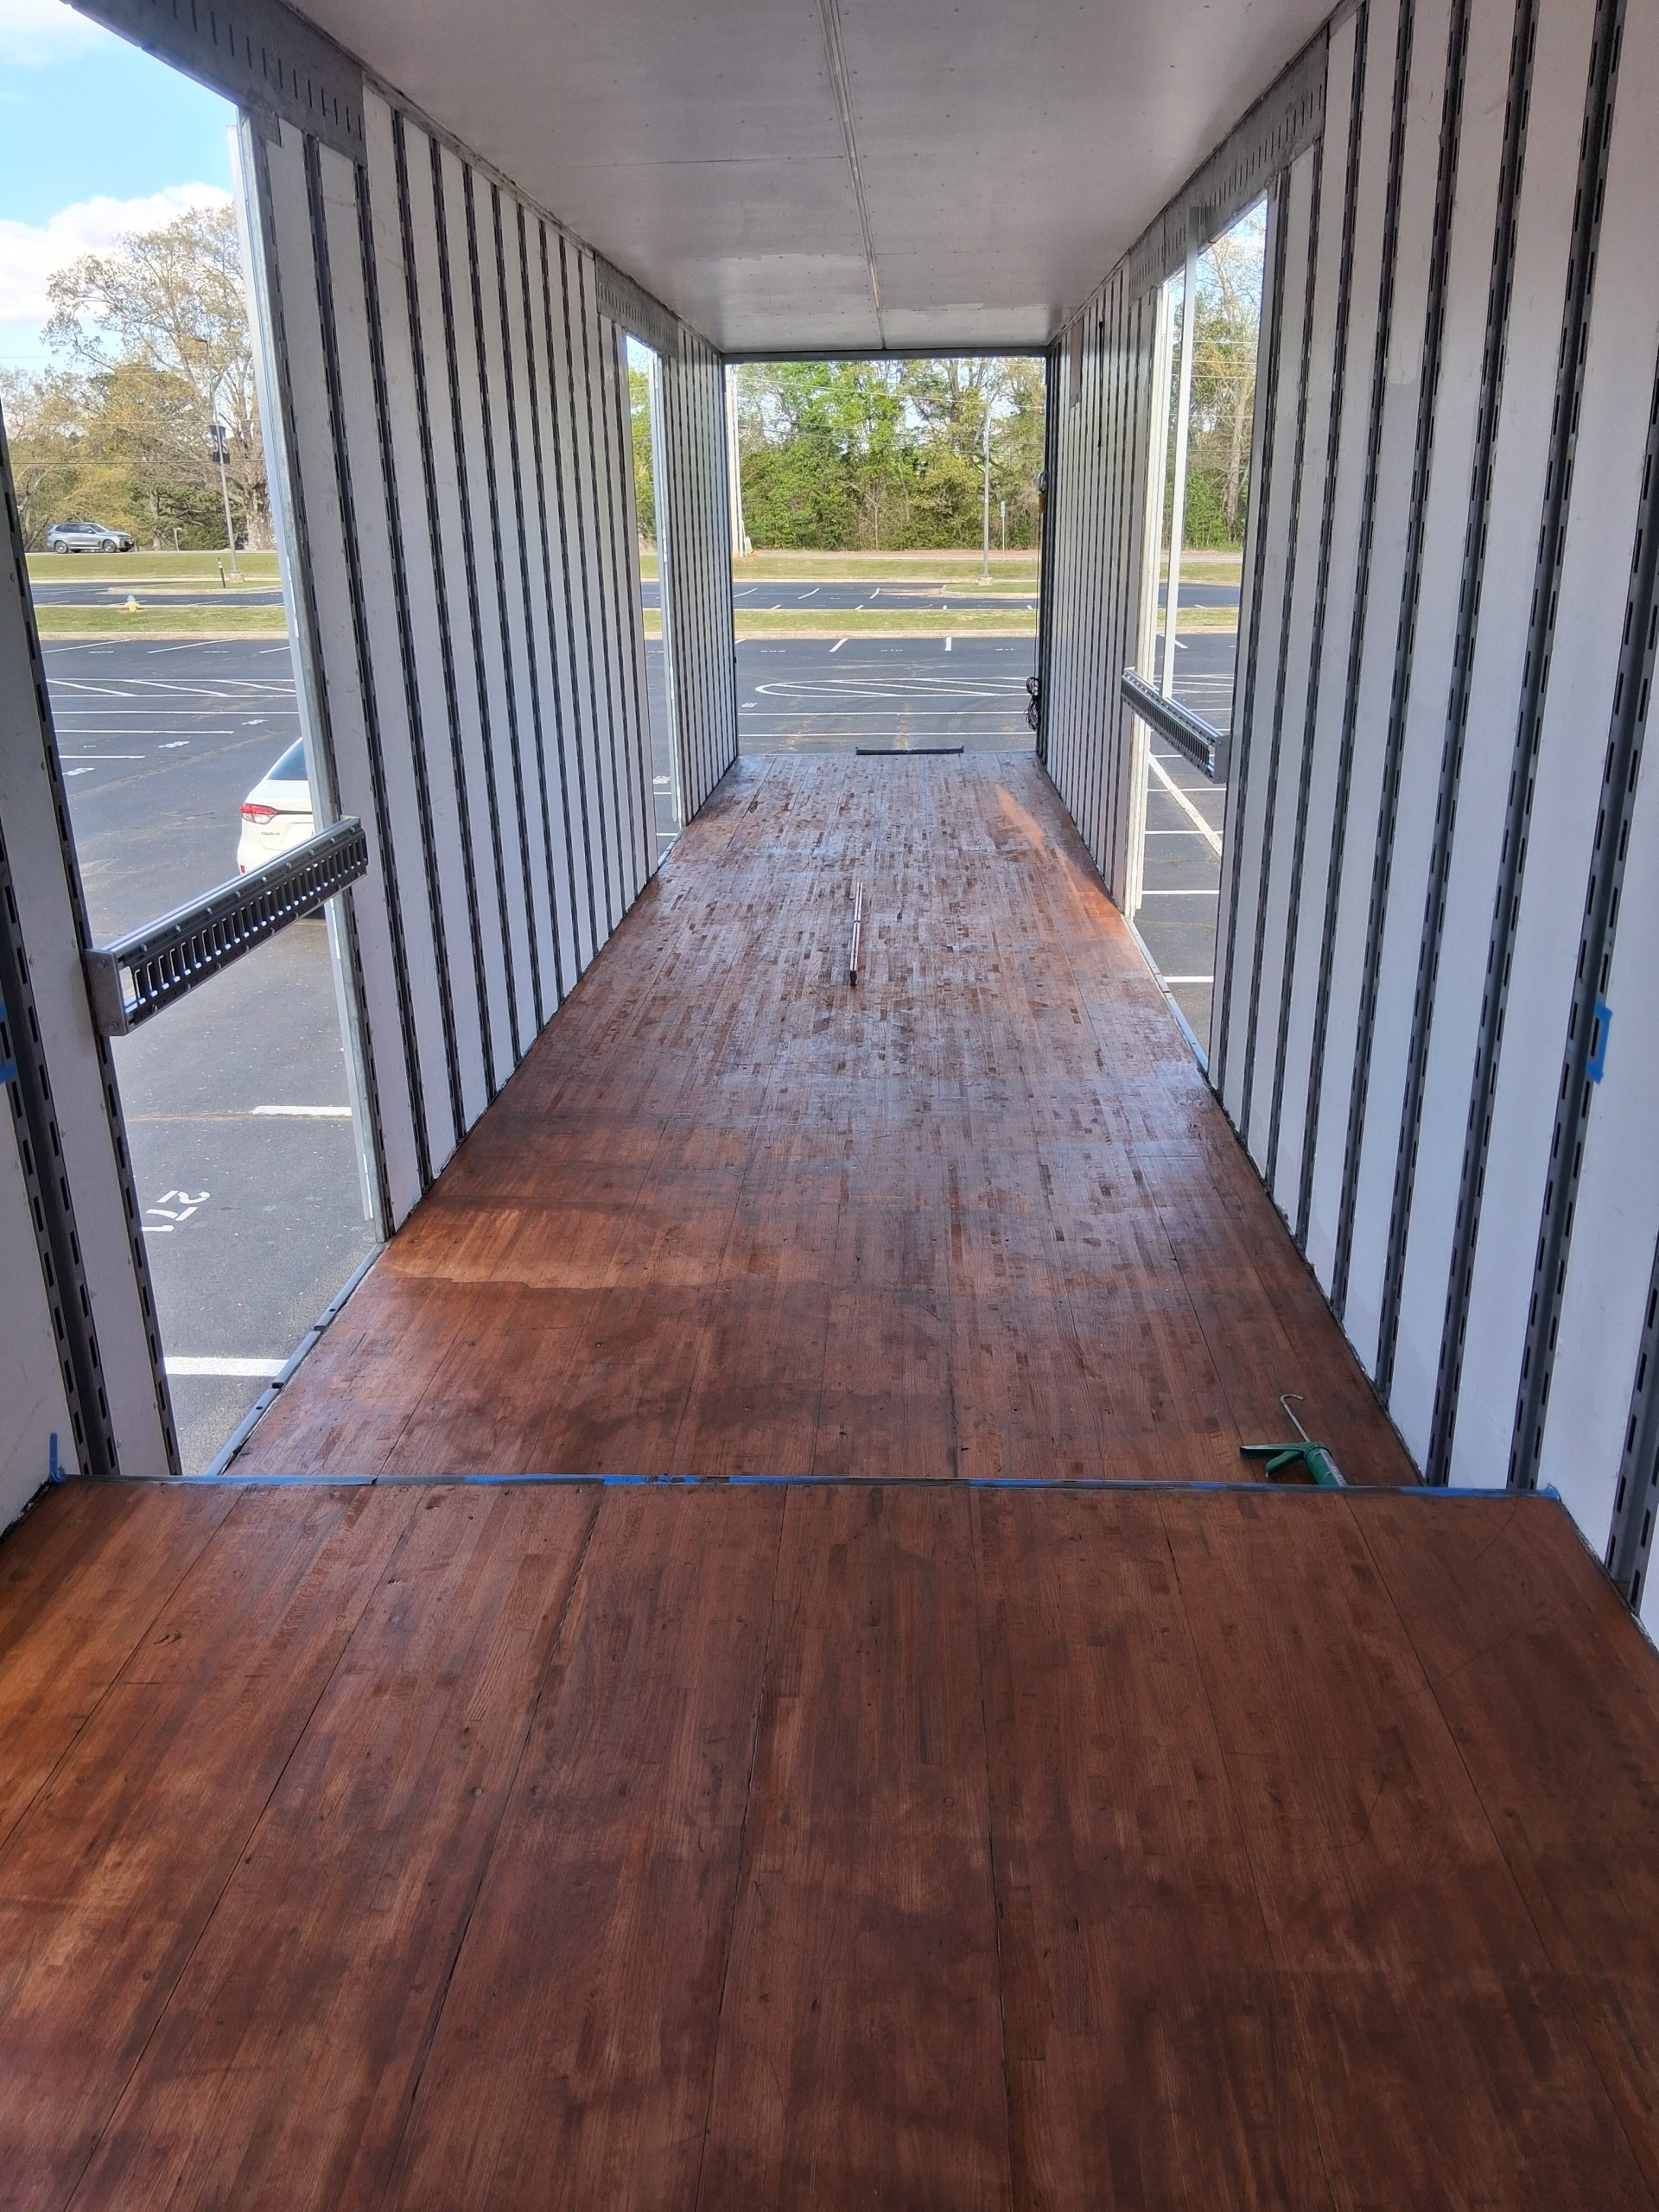
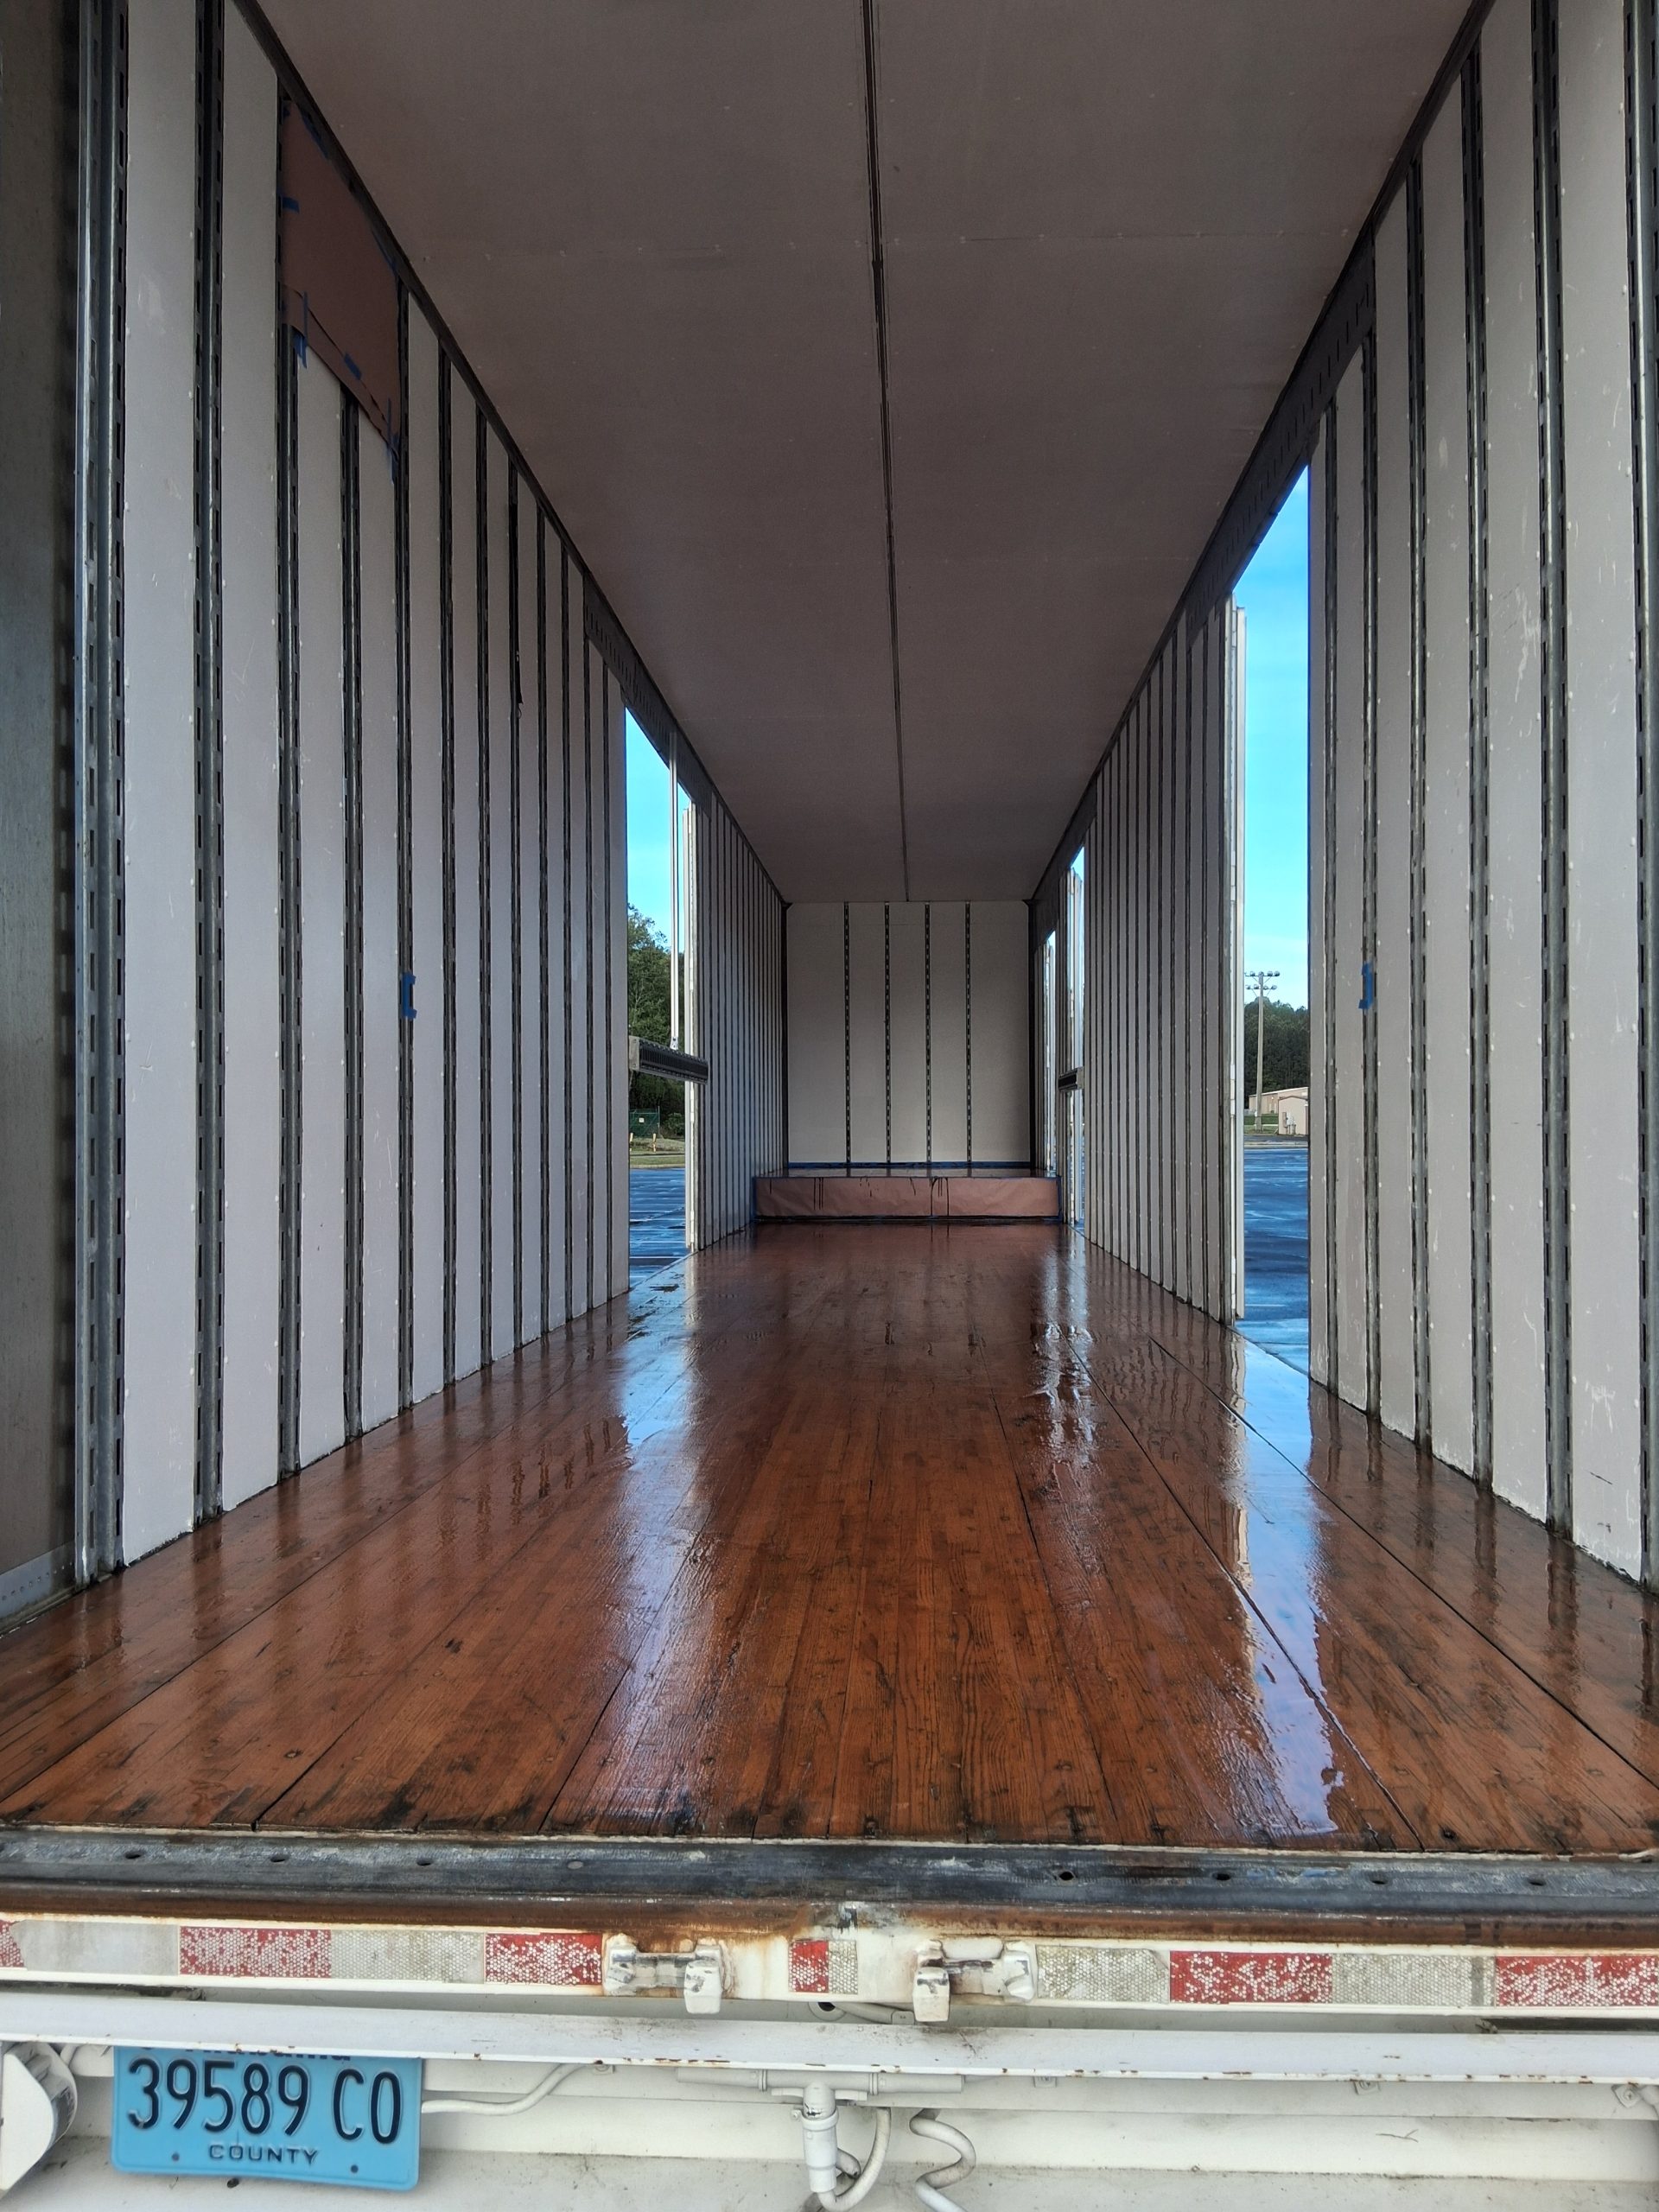
Time to start work on the flooring.
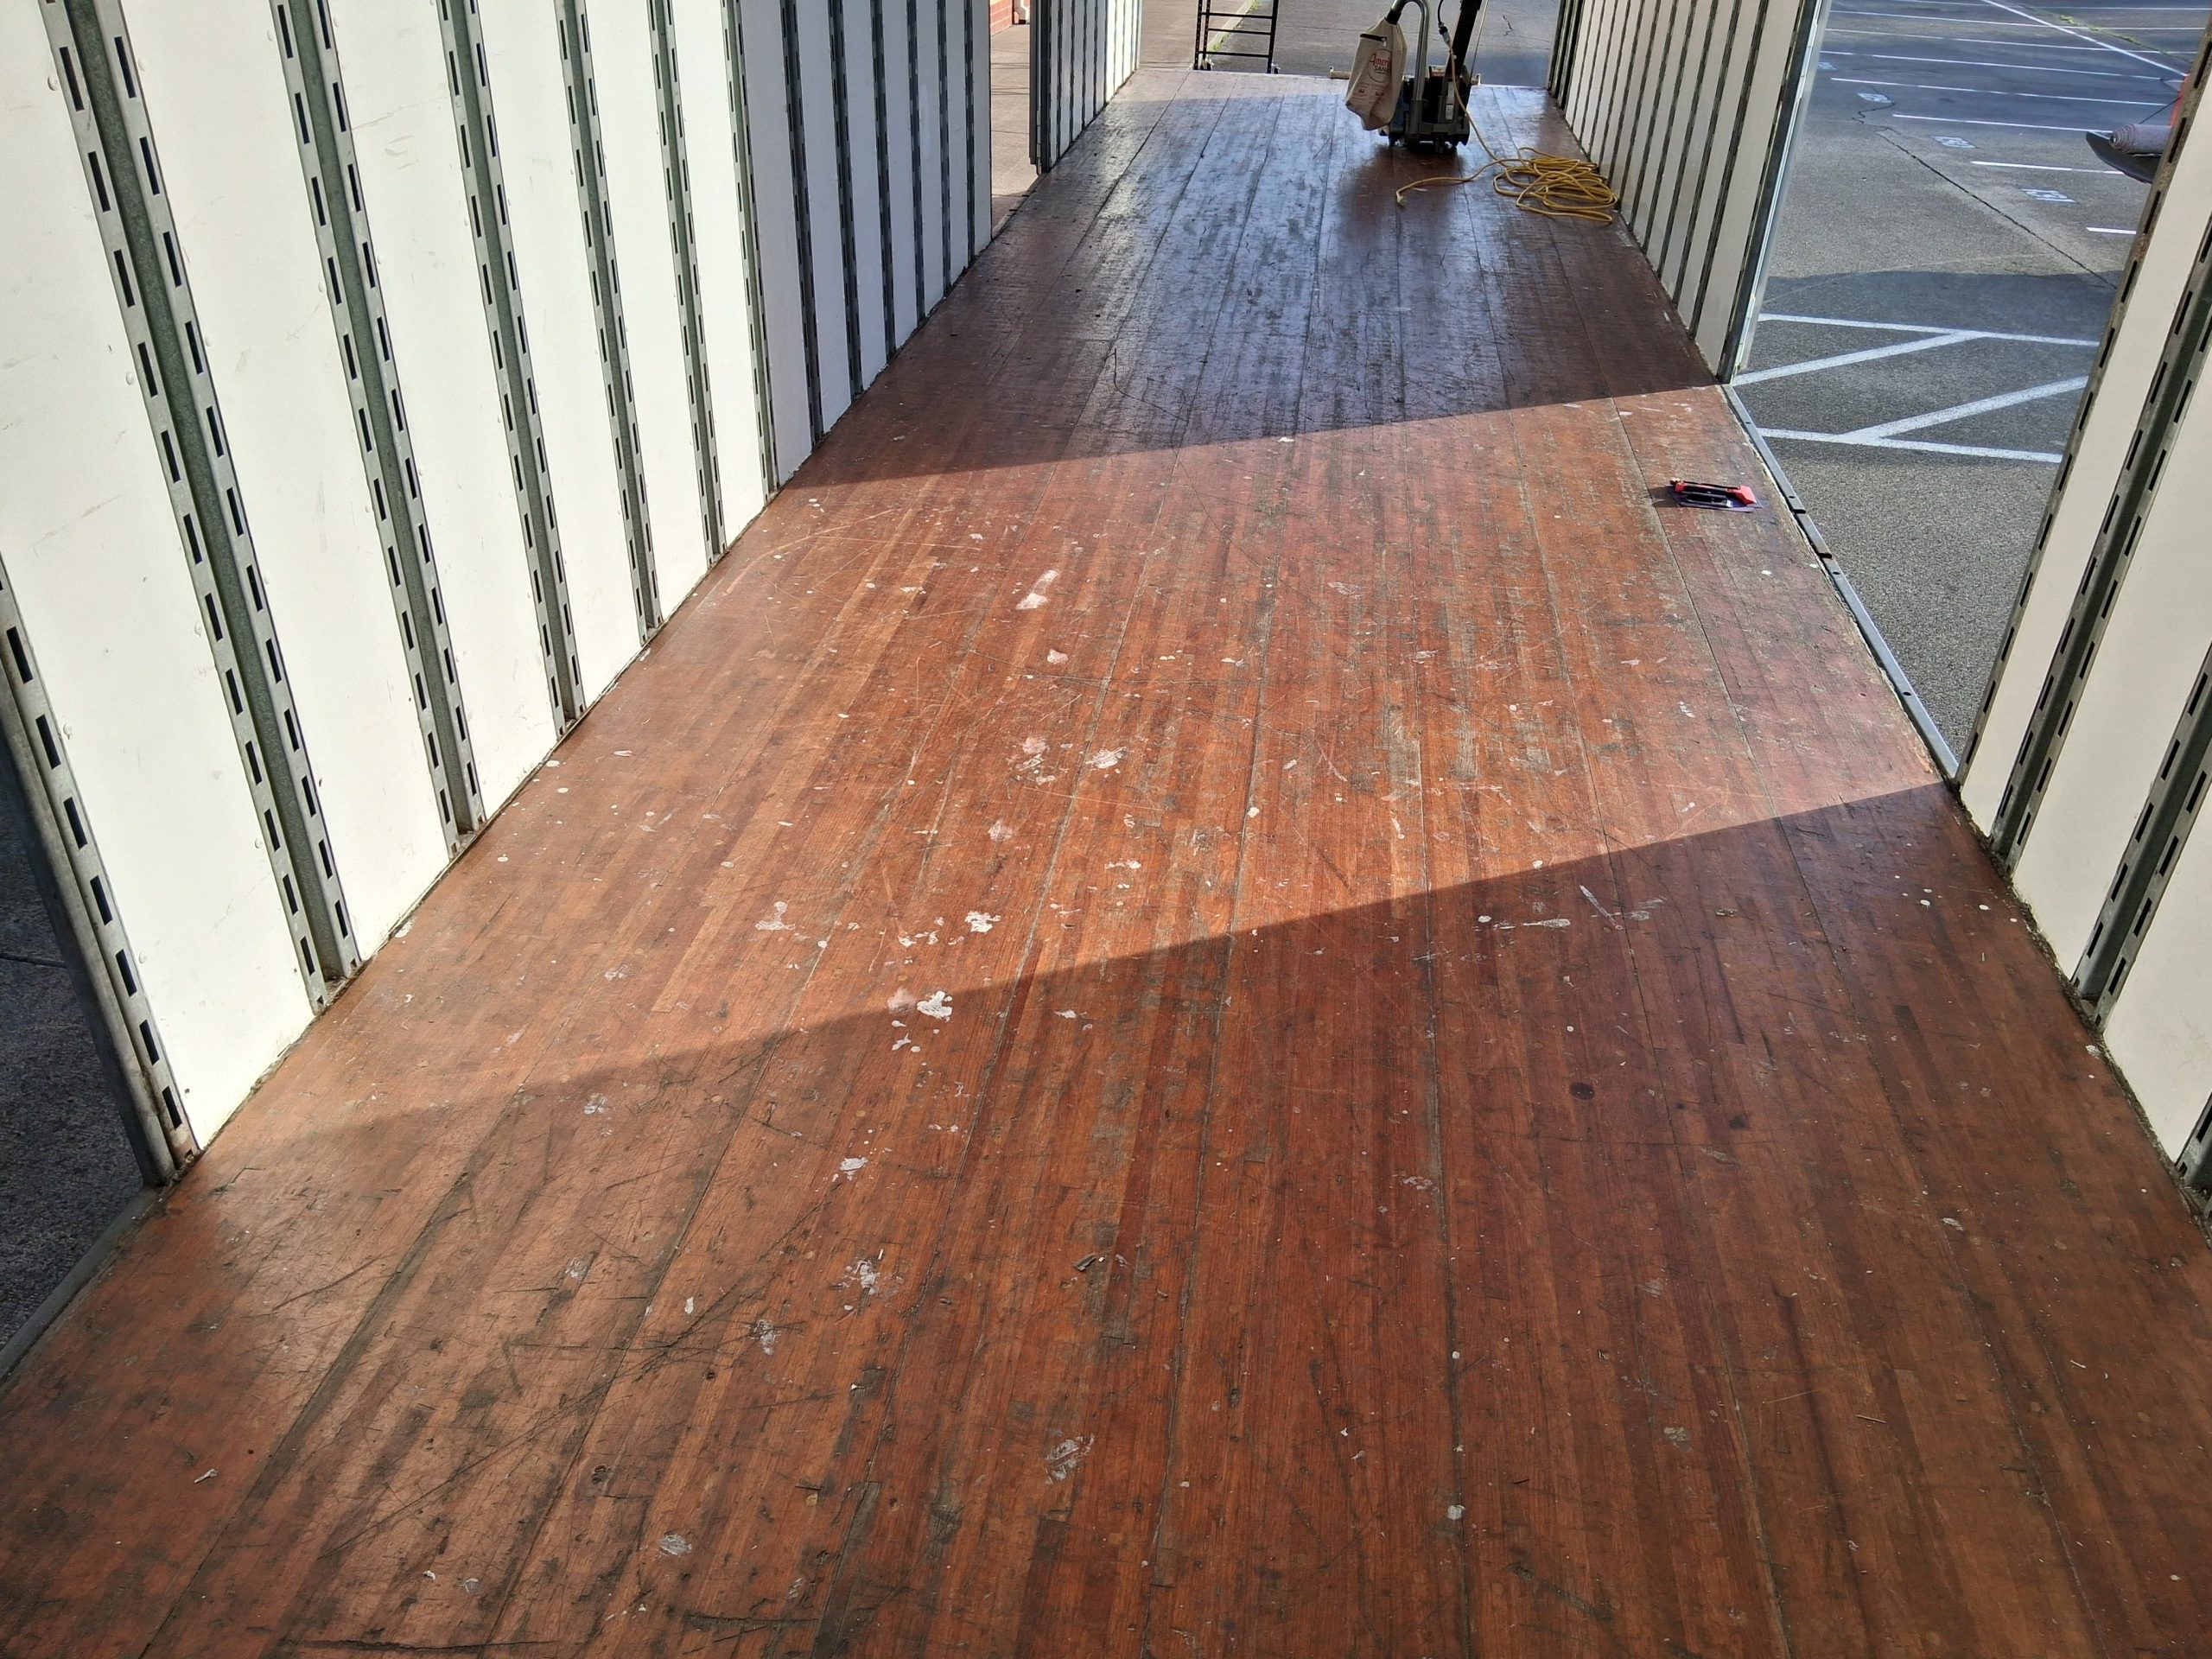
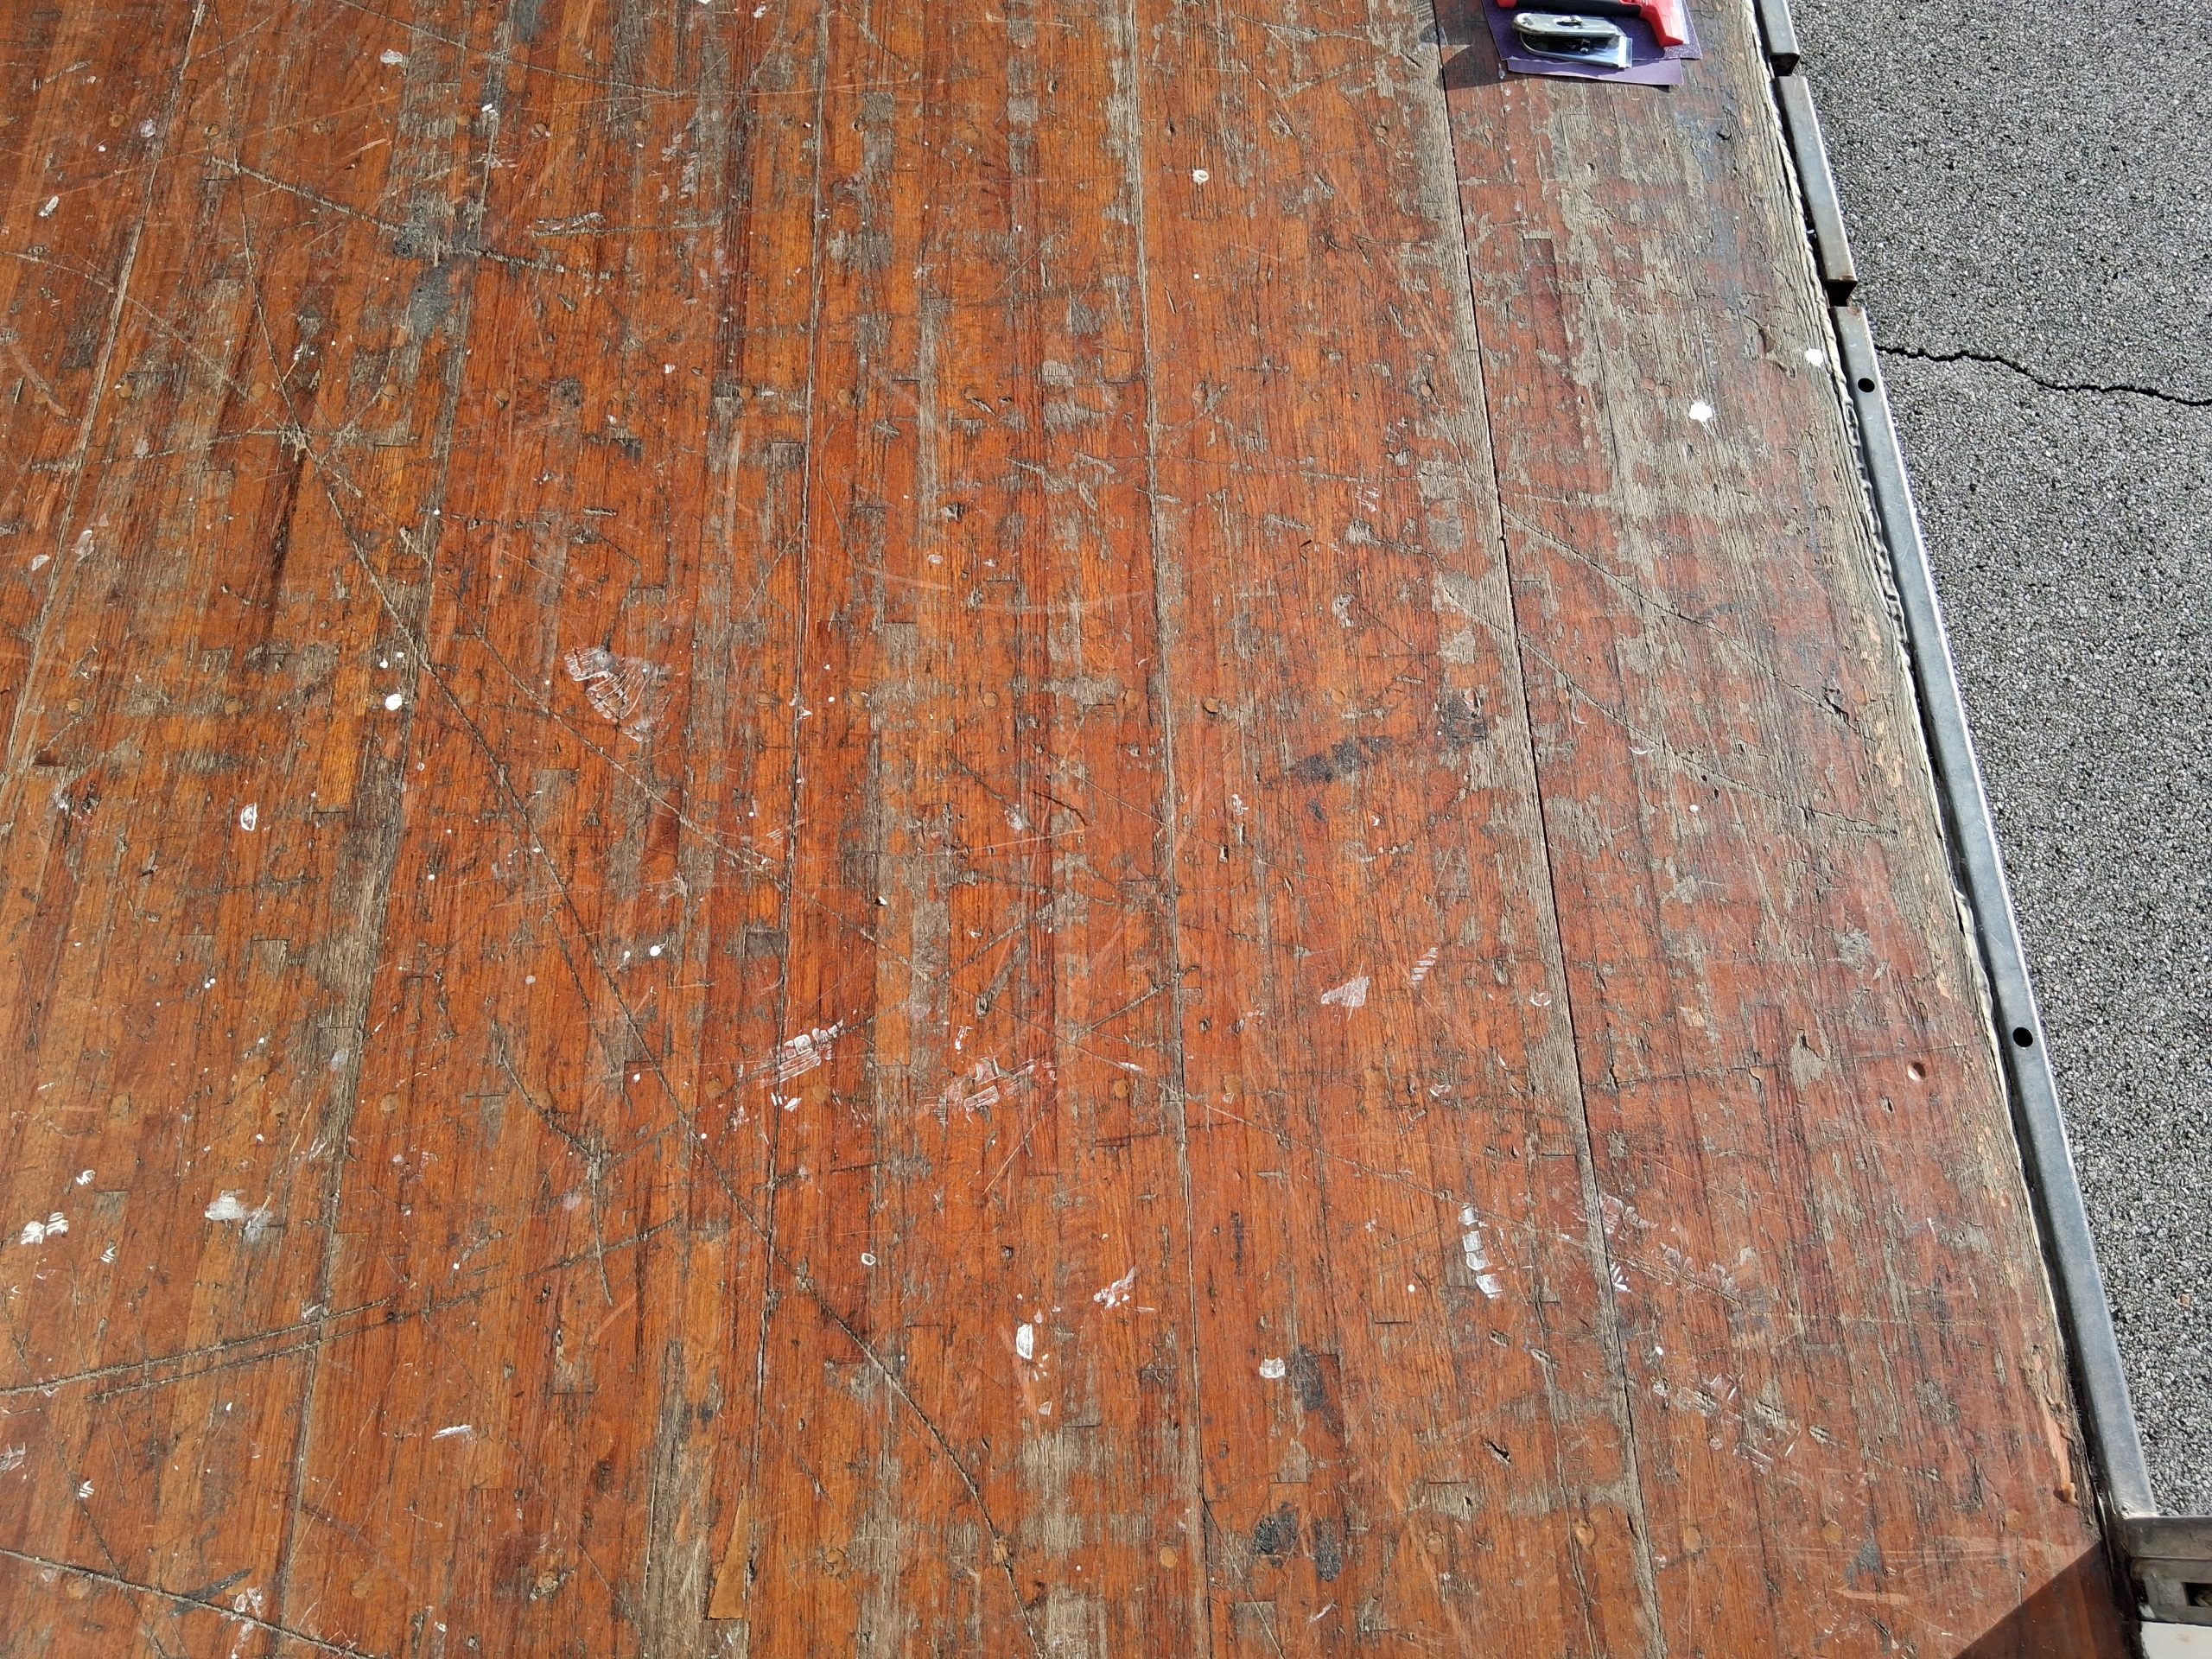

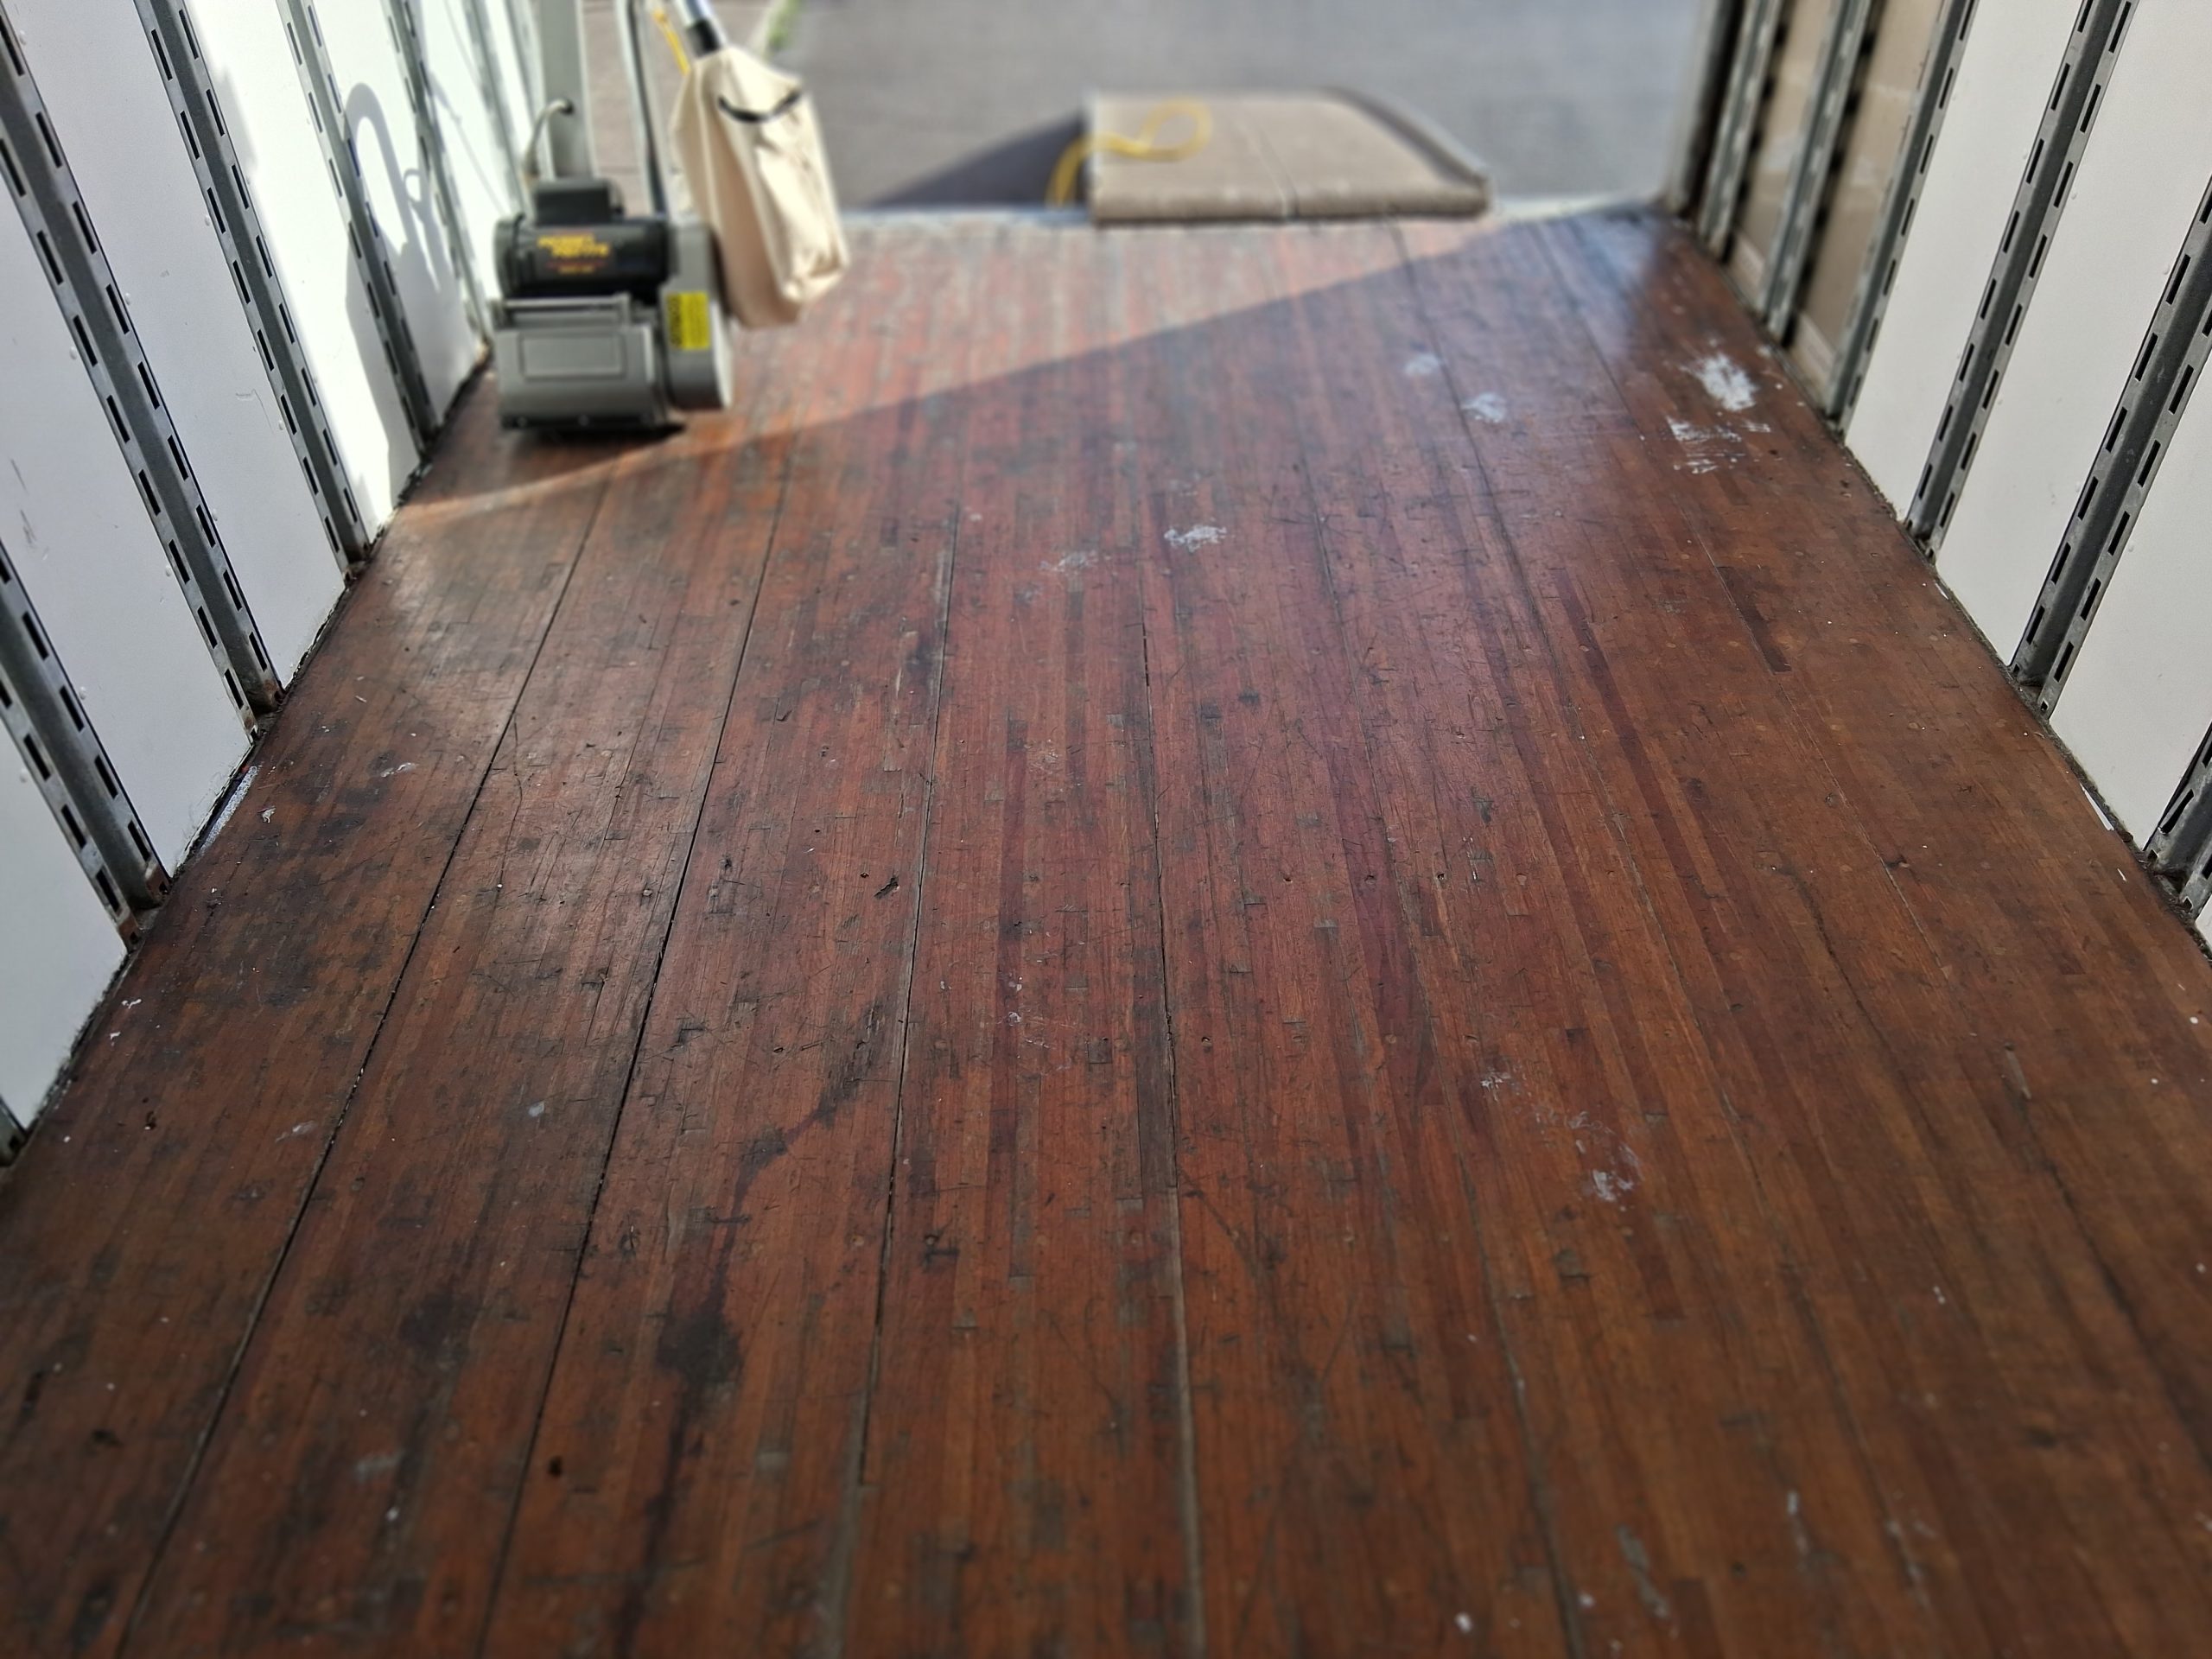
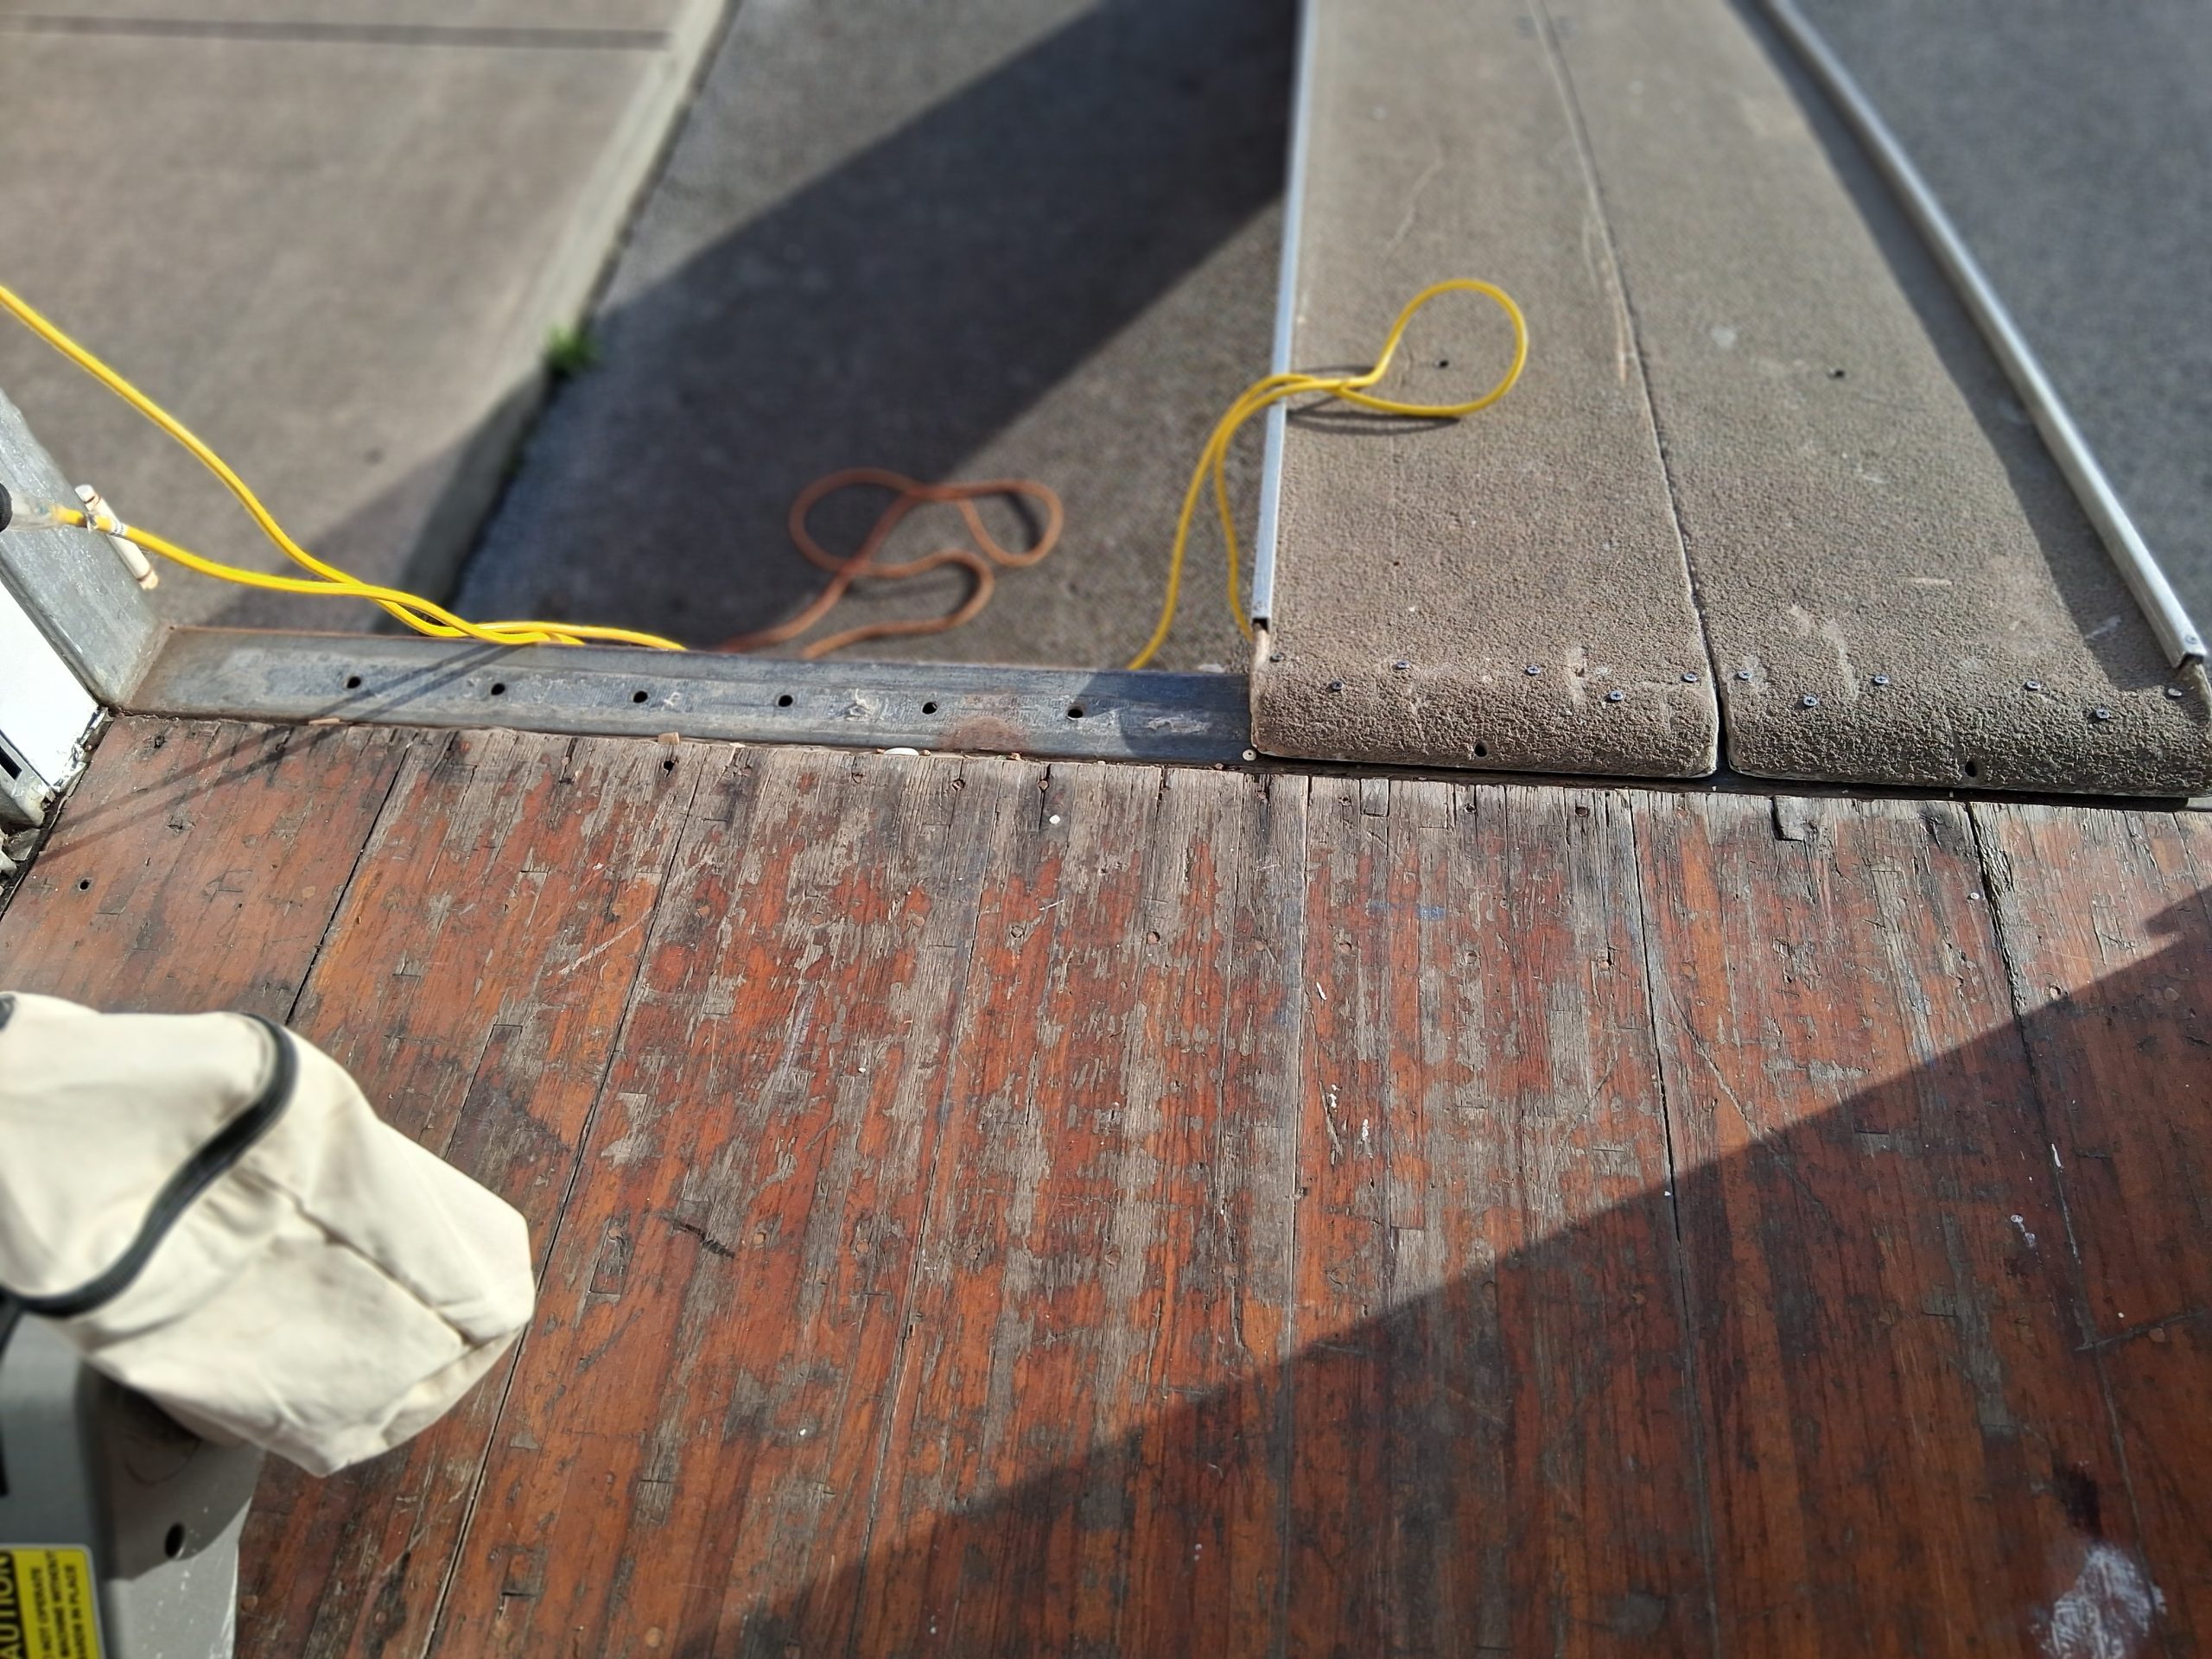
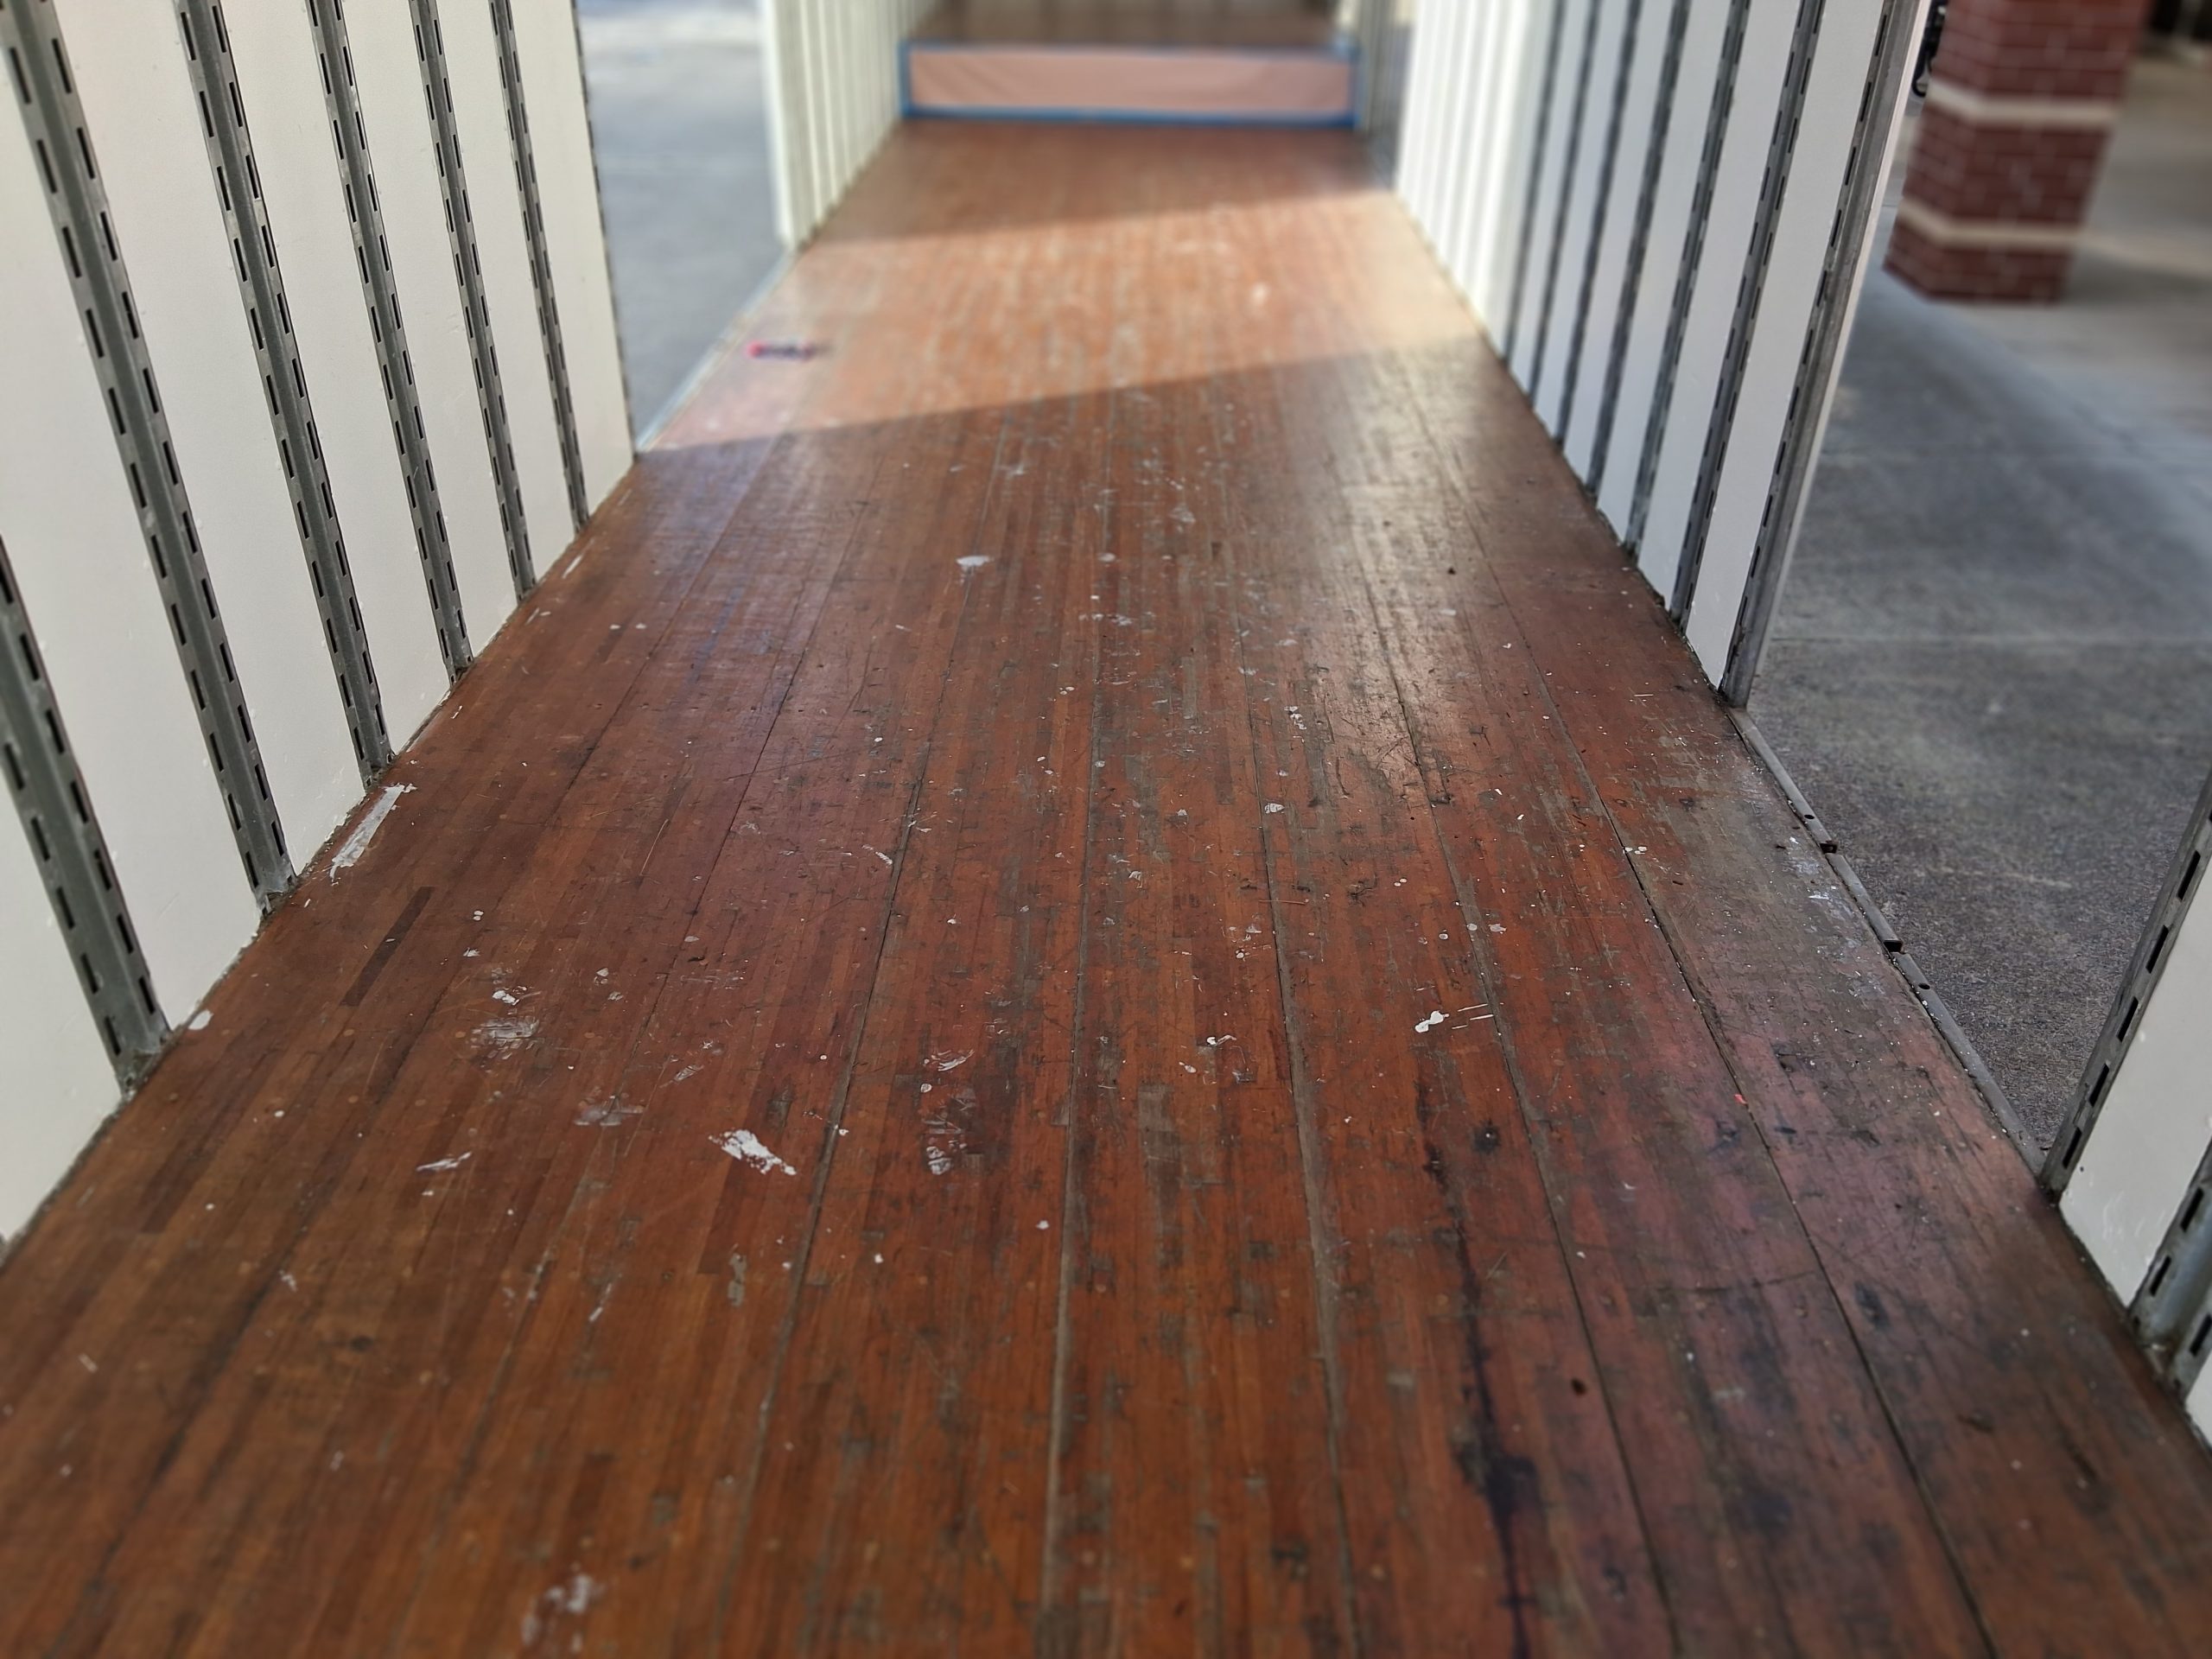
The floors were in desperate need of some love. Notice the black and gray wood from lack of stain and sealer. This also caused a lot of high spot edges and cupping on the boards. Getting the large floor sander to handle this was a challenge to say the least, even when making passes at a 45 degree angle. There were more dips then a roller coaster ride! The flooring was leveled as best we could and it’s still better than when we started.
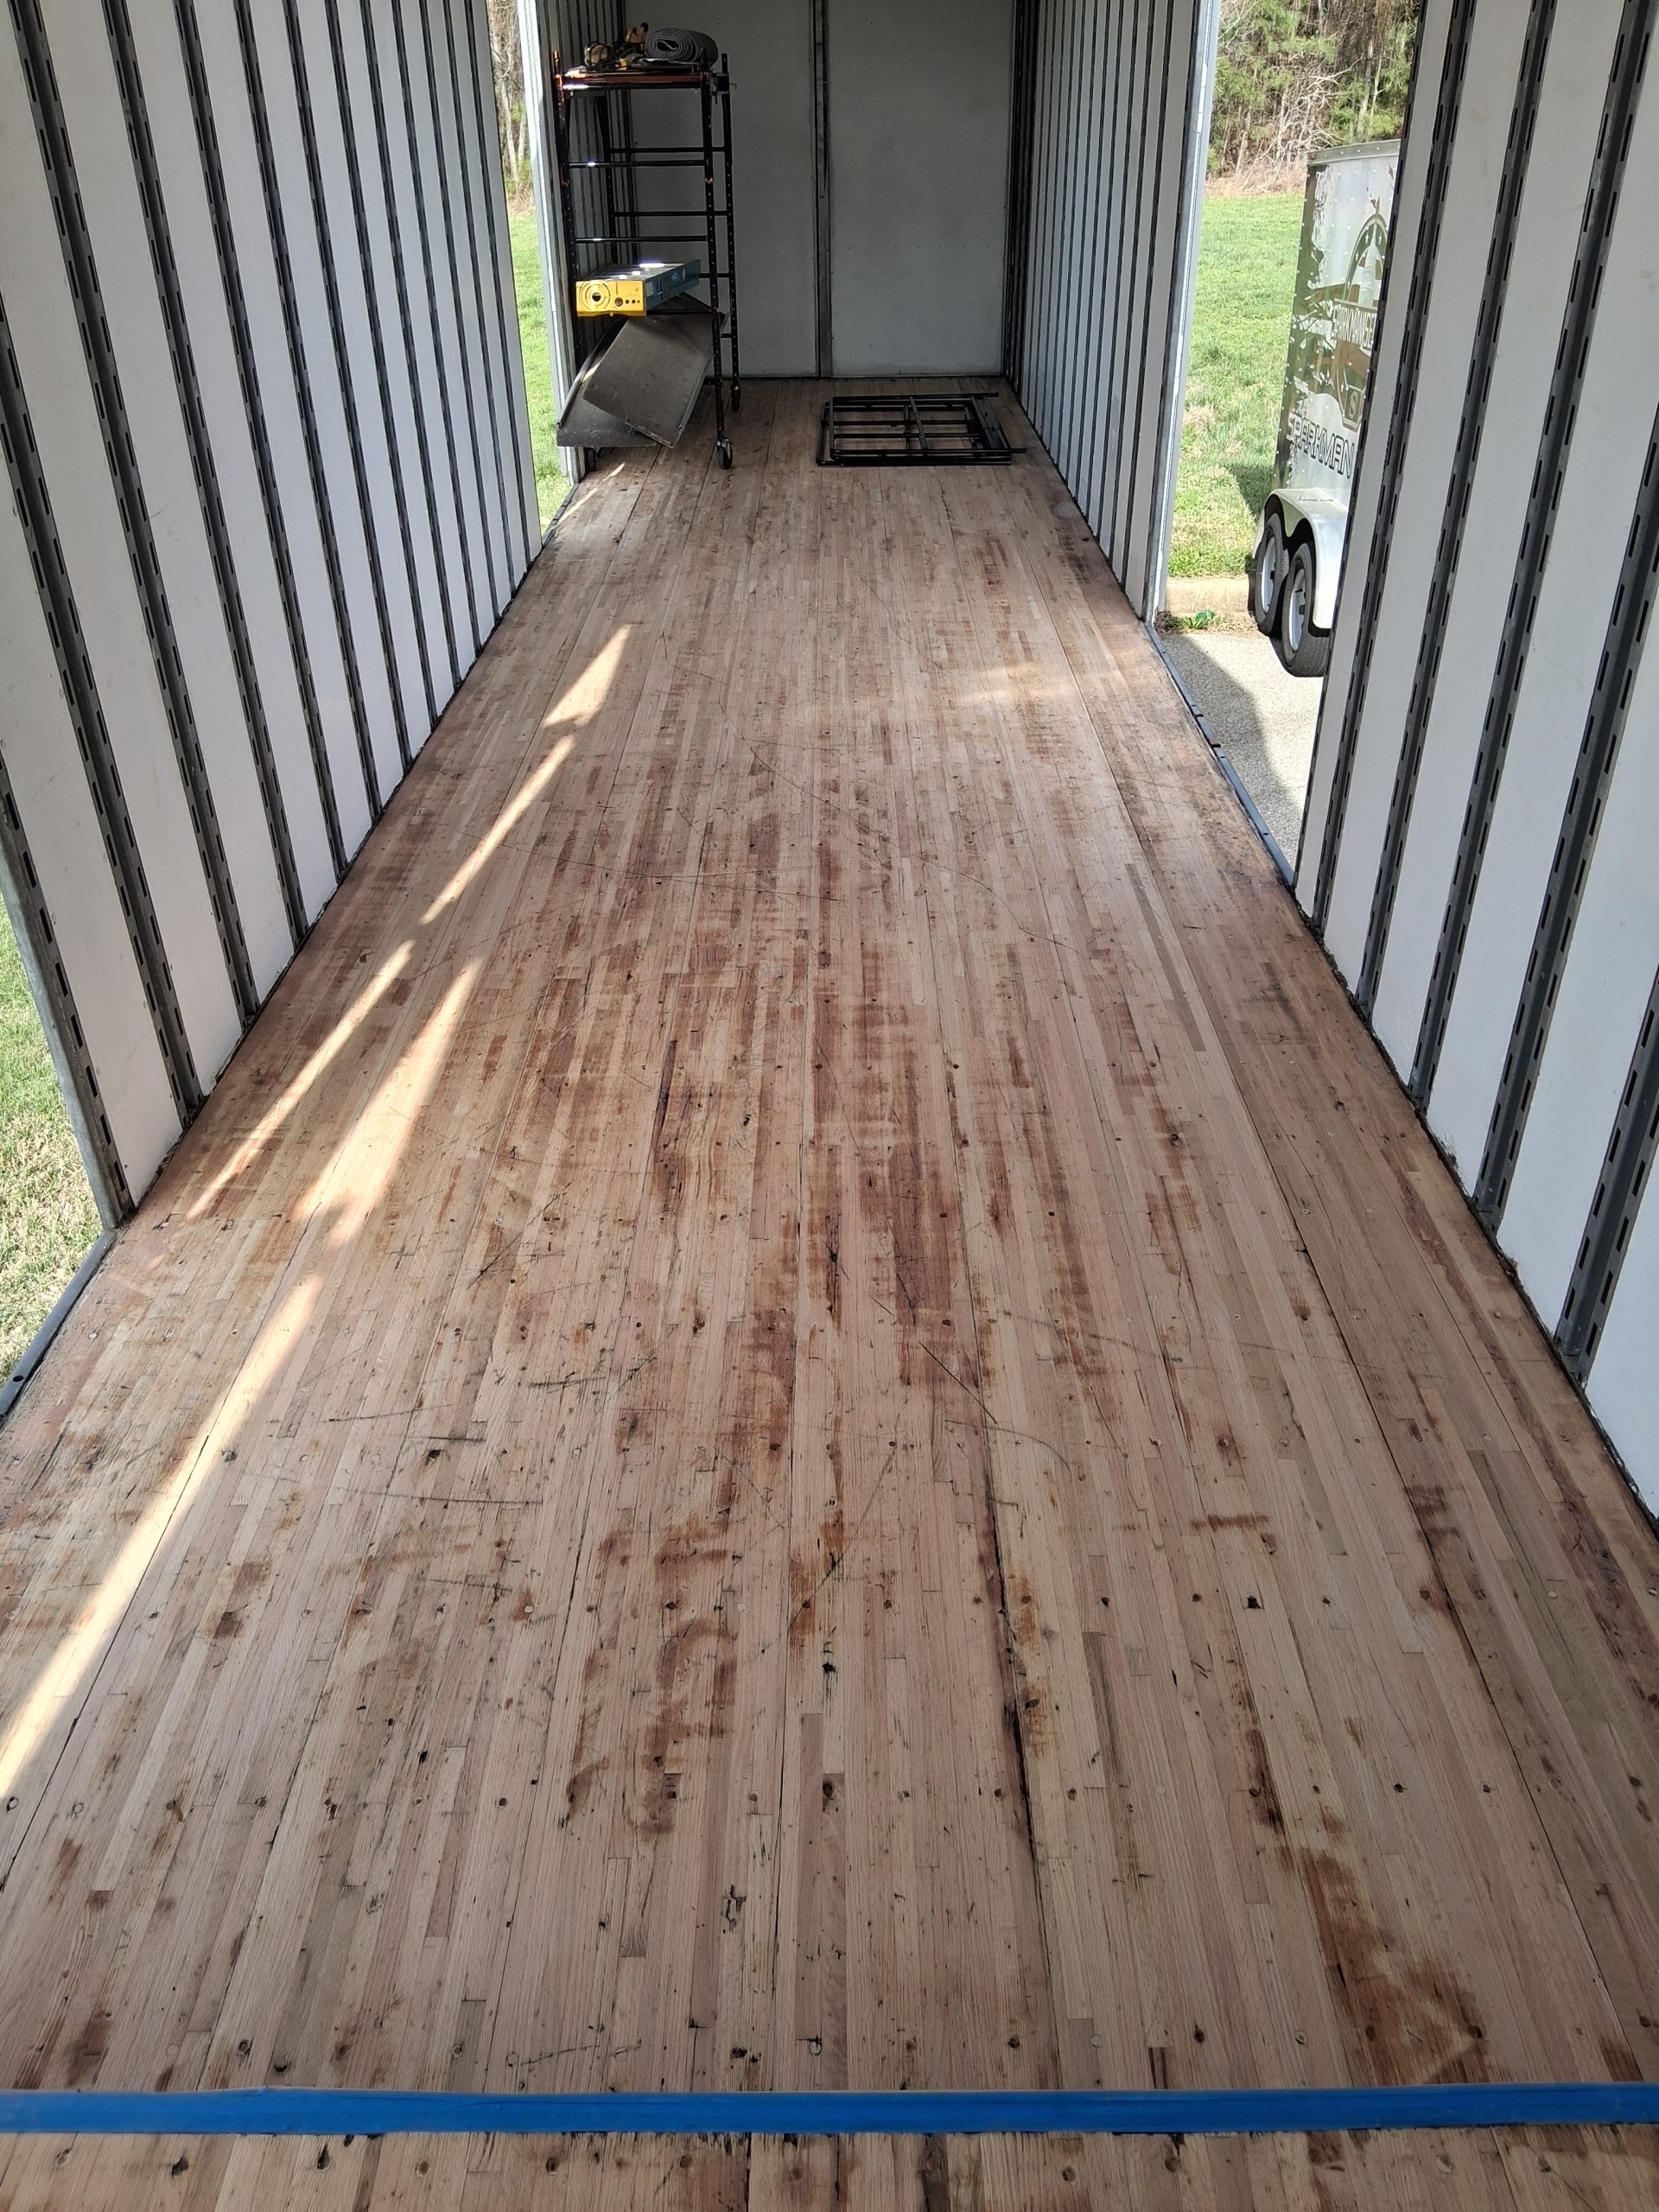
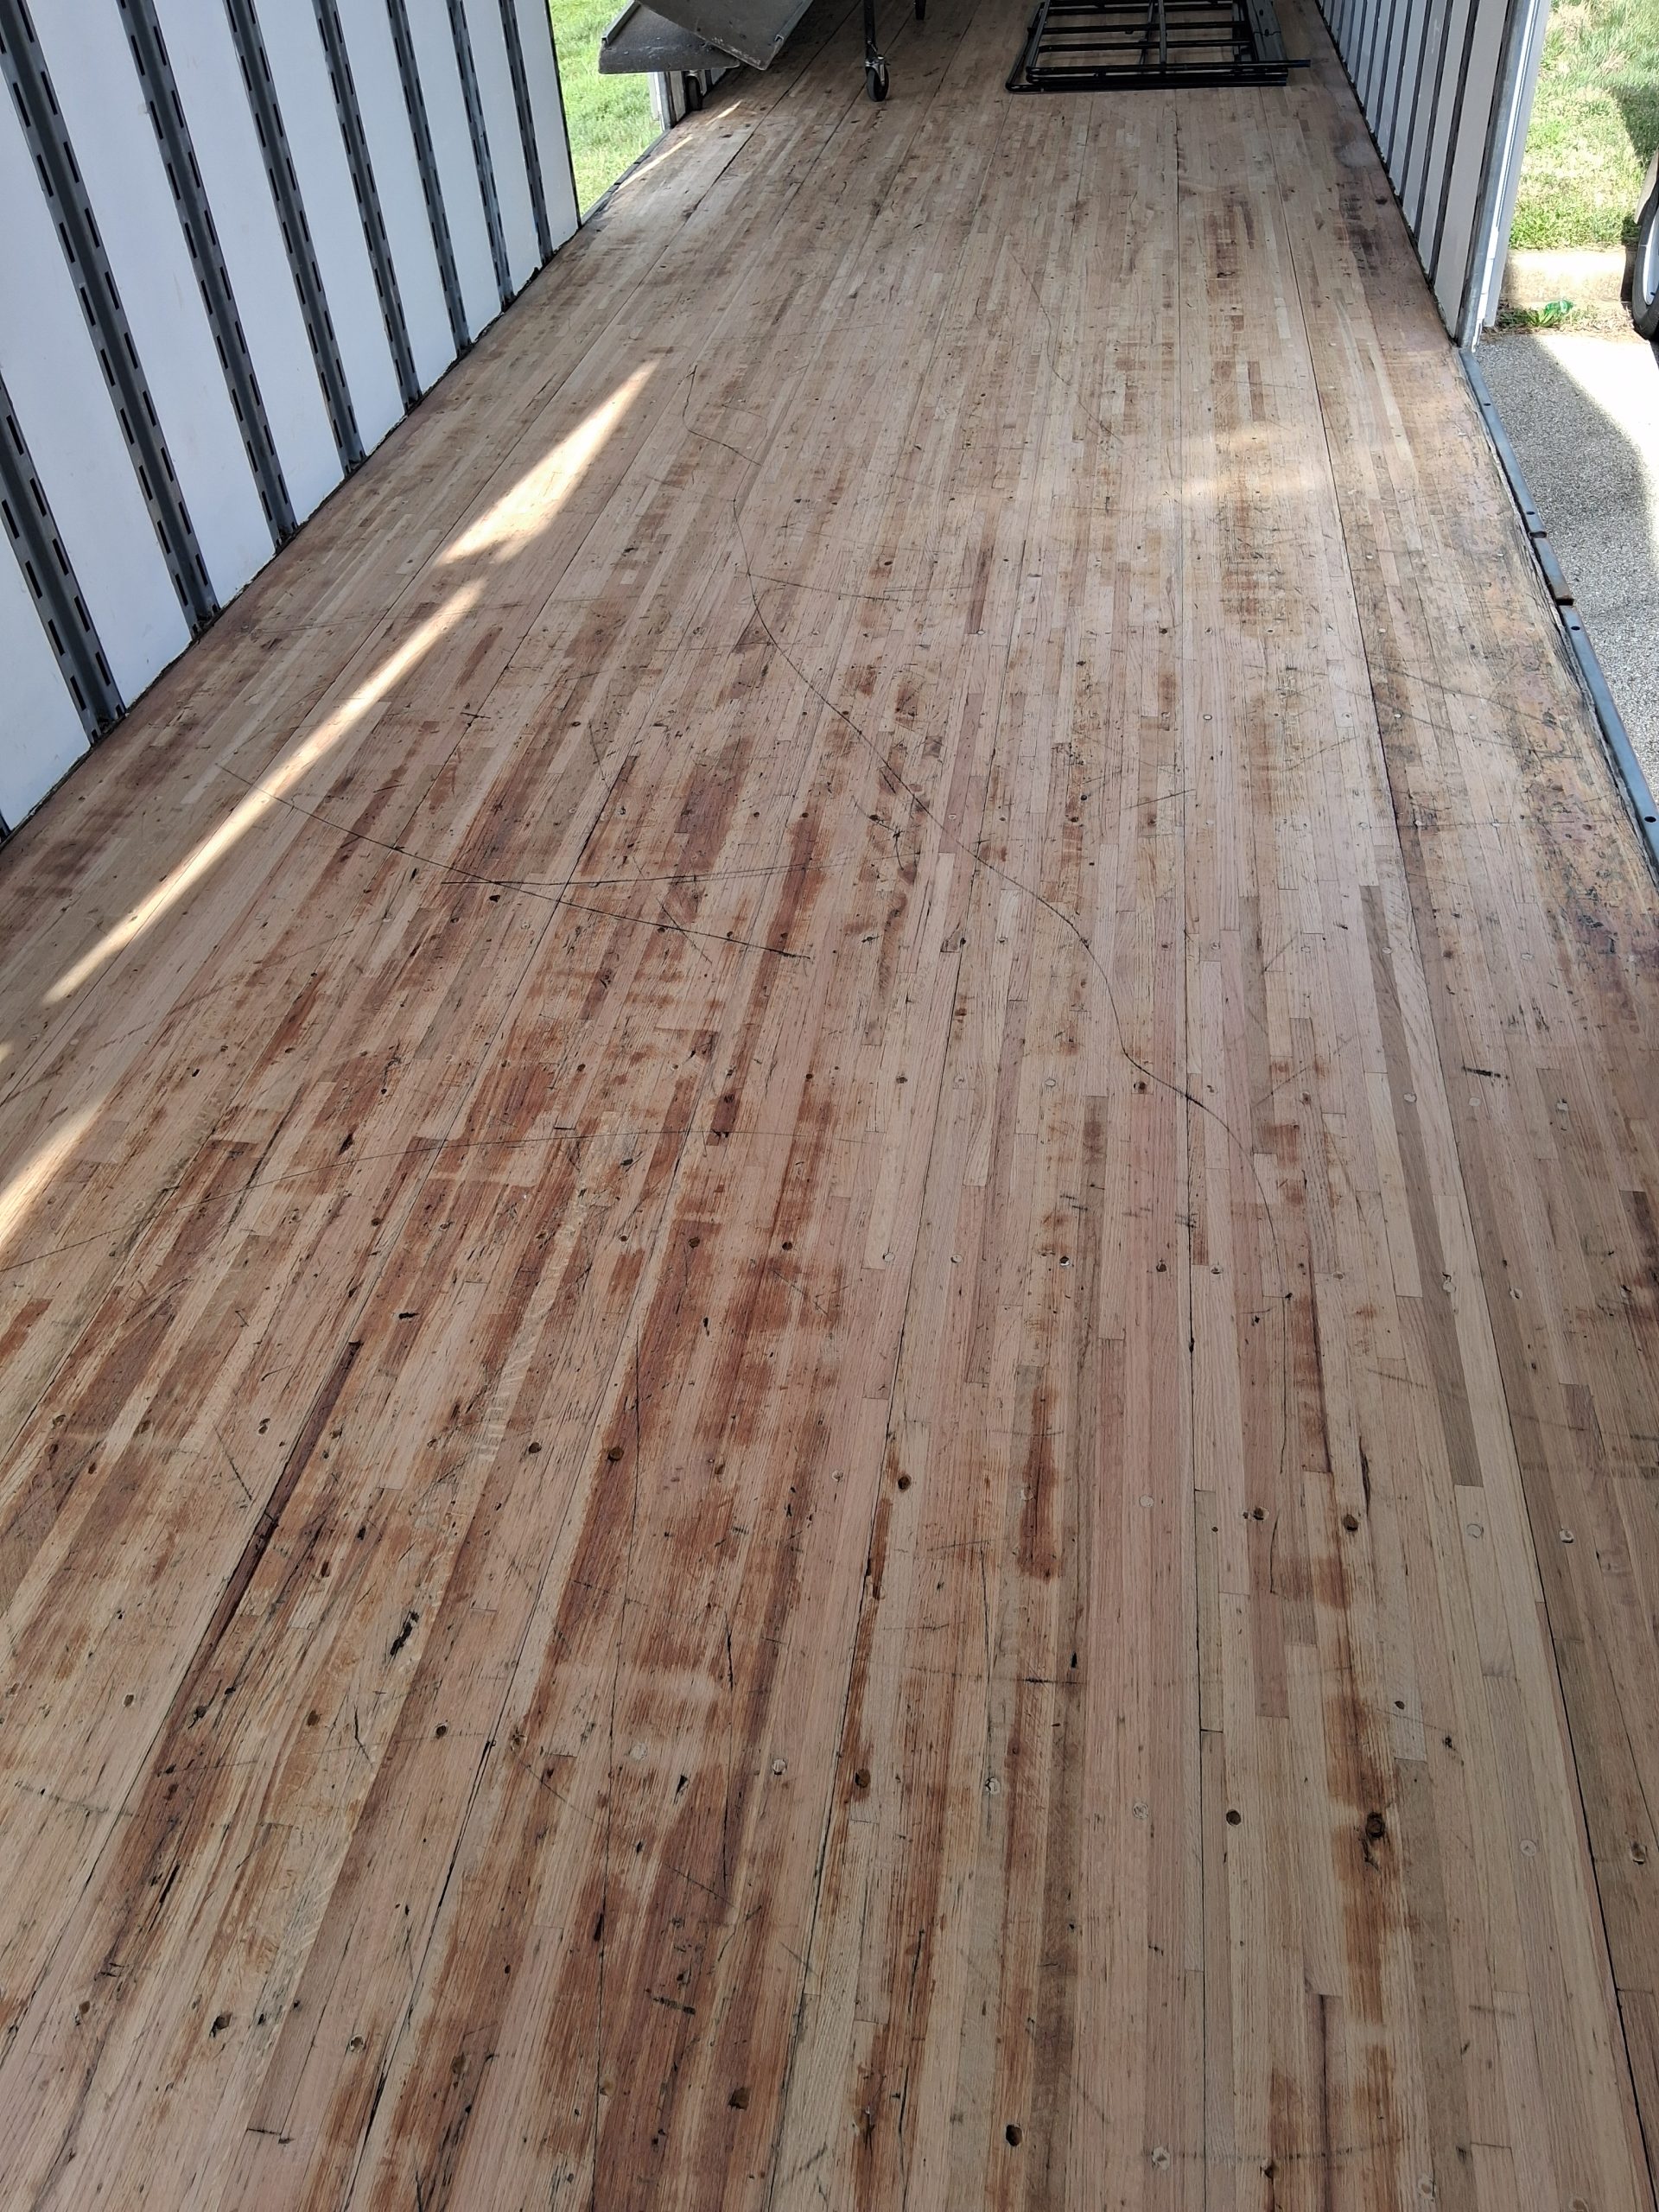
We know this floor will have character with some stain still in the floor and a few drag marks from moving furniture. That’s OK for our purposes. This trailer is being used to haul marching band gear. Perfect glossy floors like a moving van would normally have are not required here. The next step is to apply some stain to the floors.
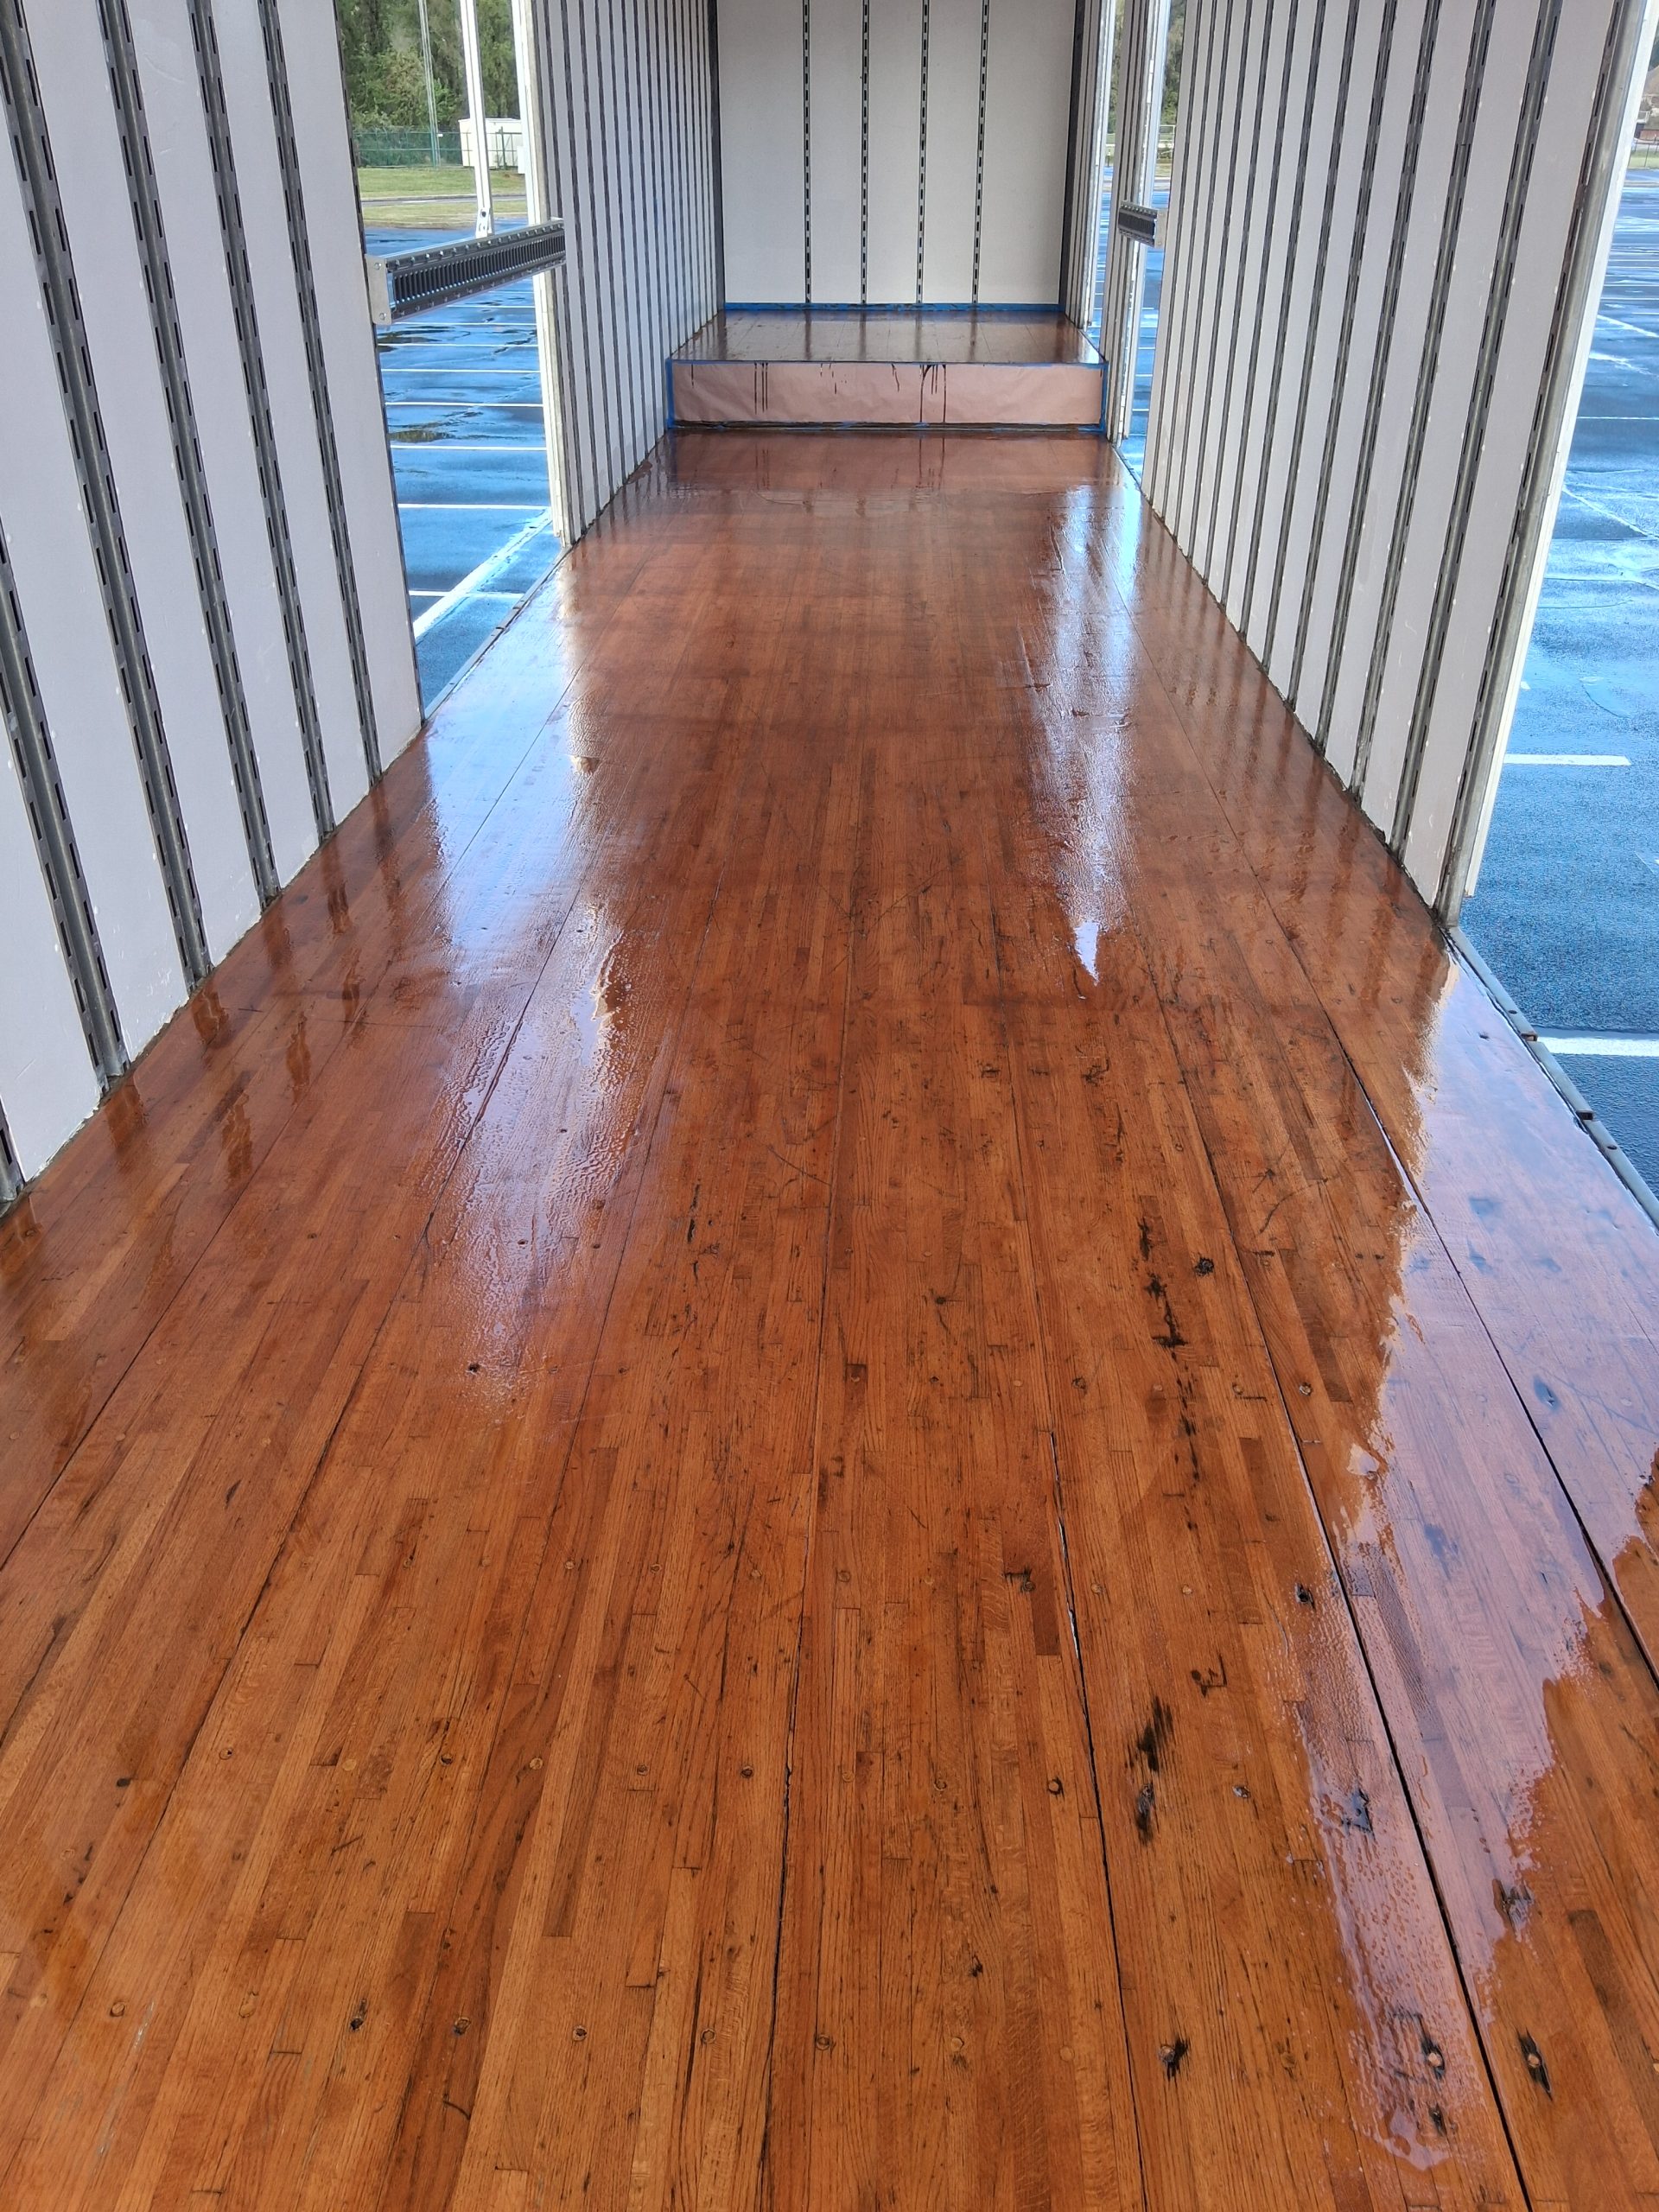
Staining the Floor
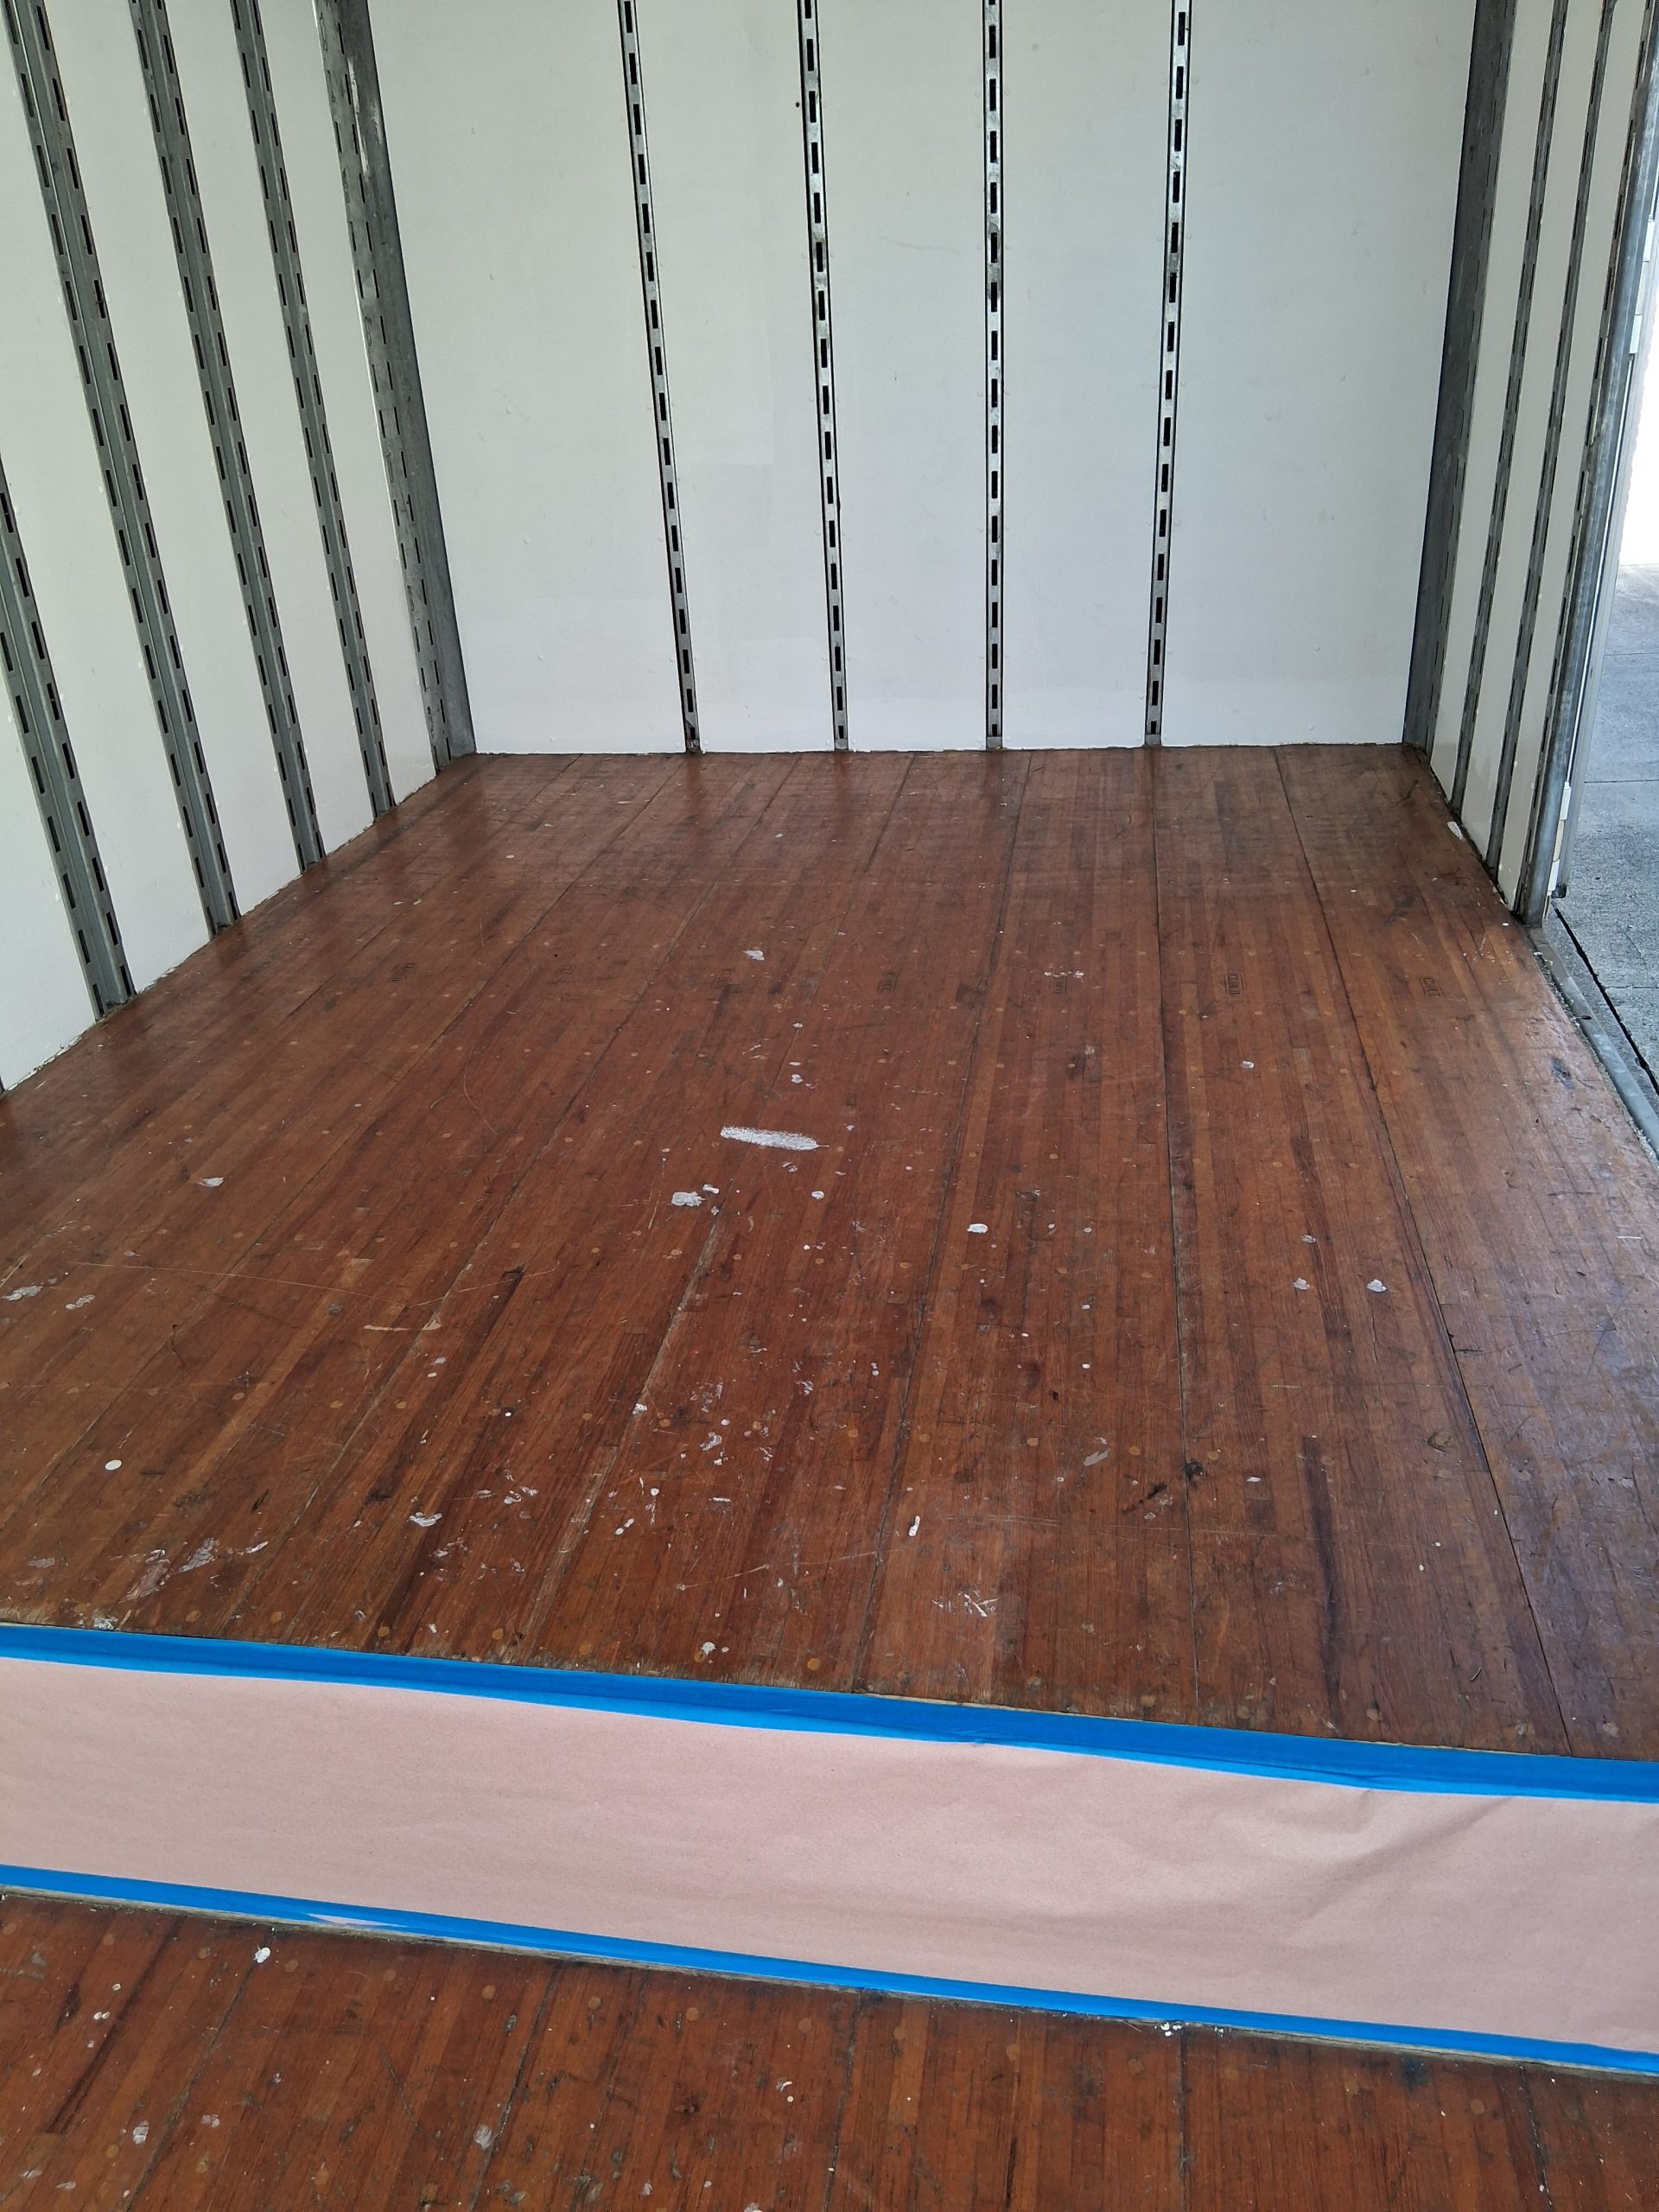
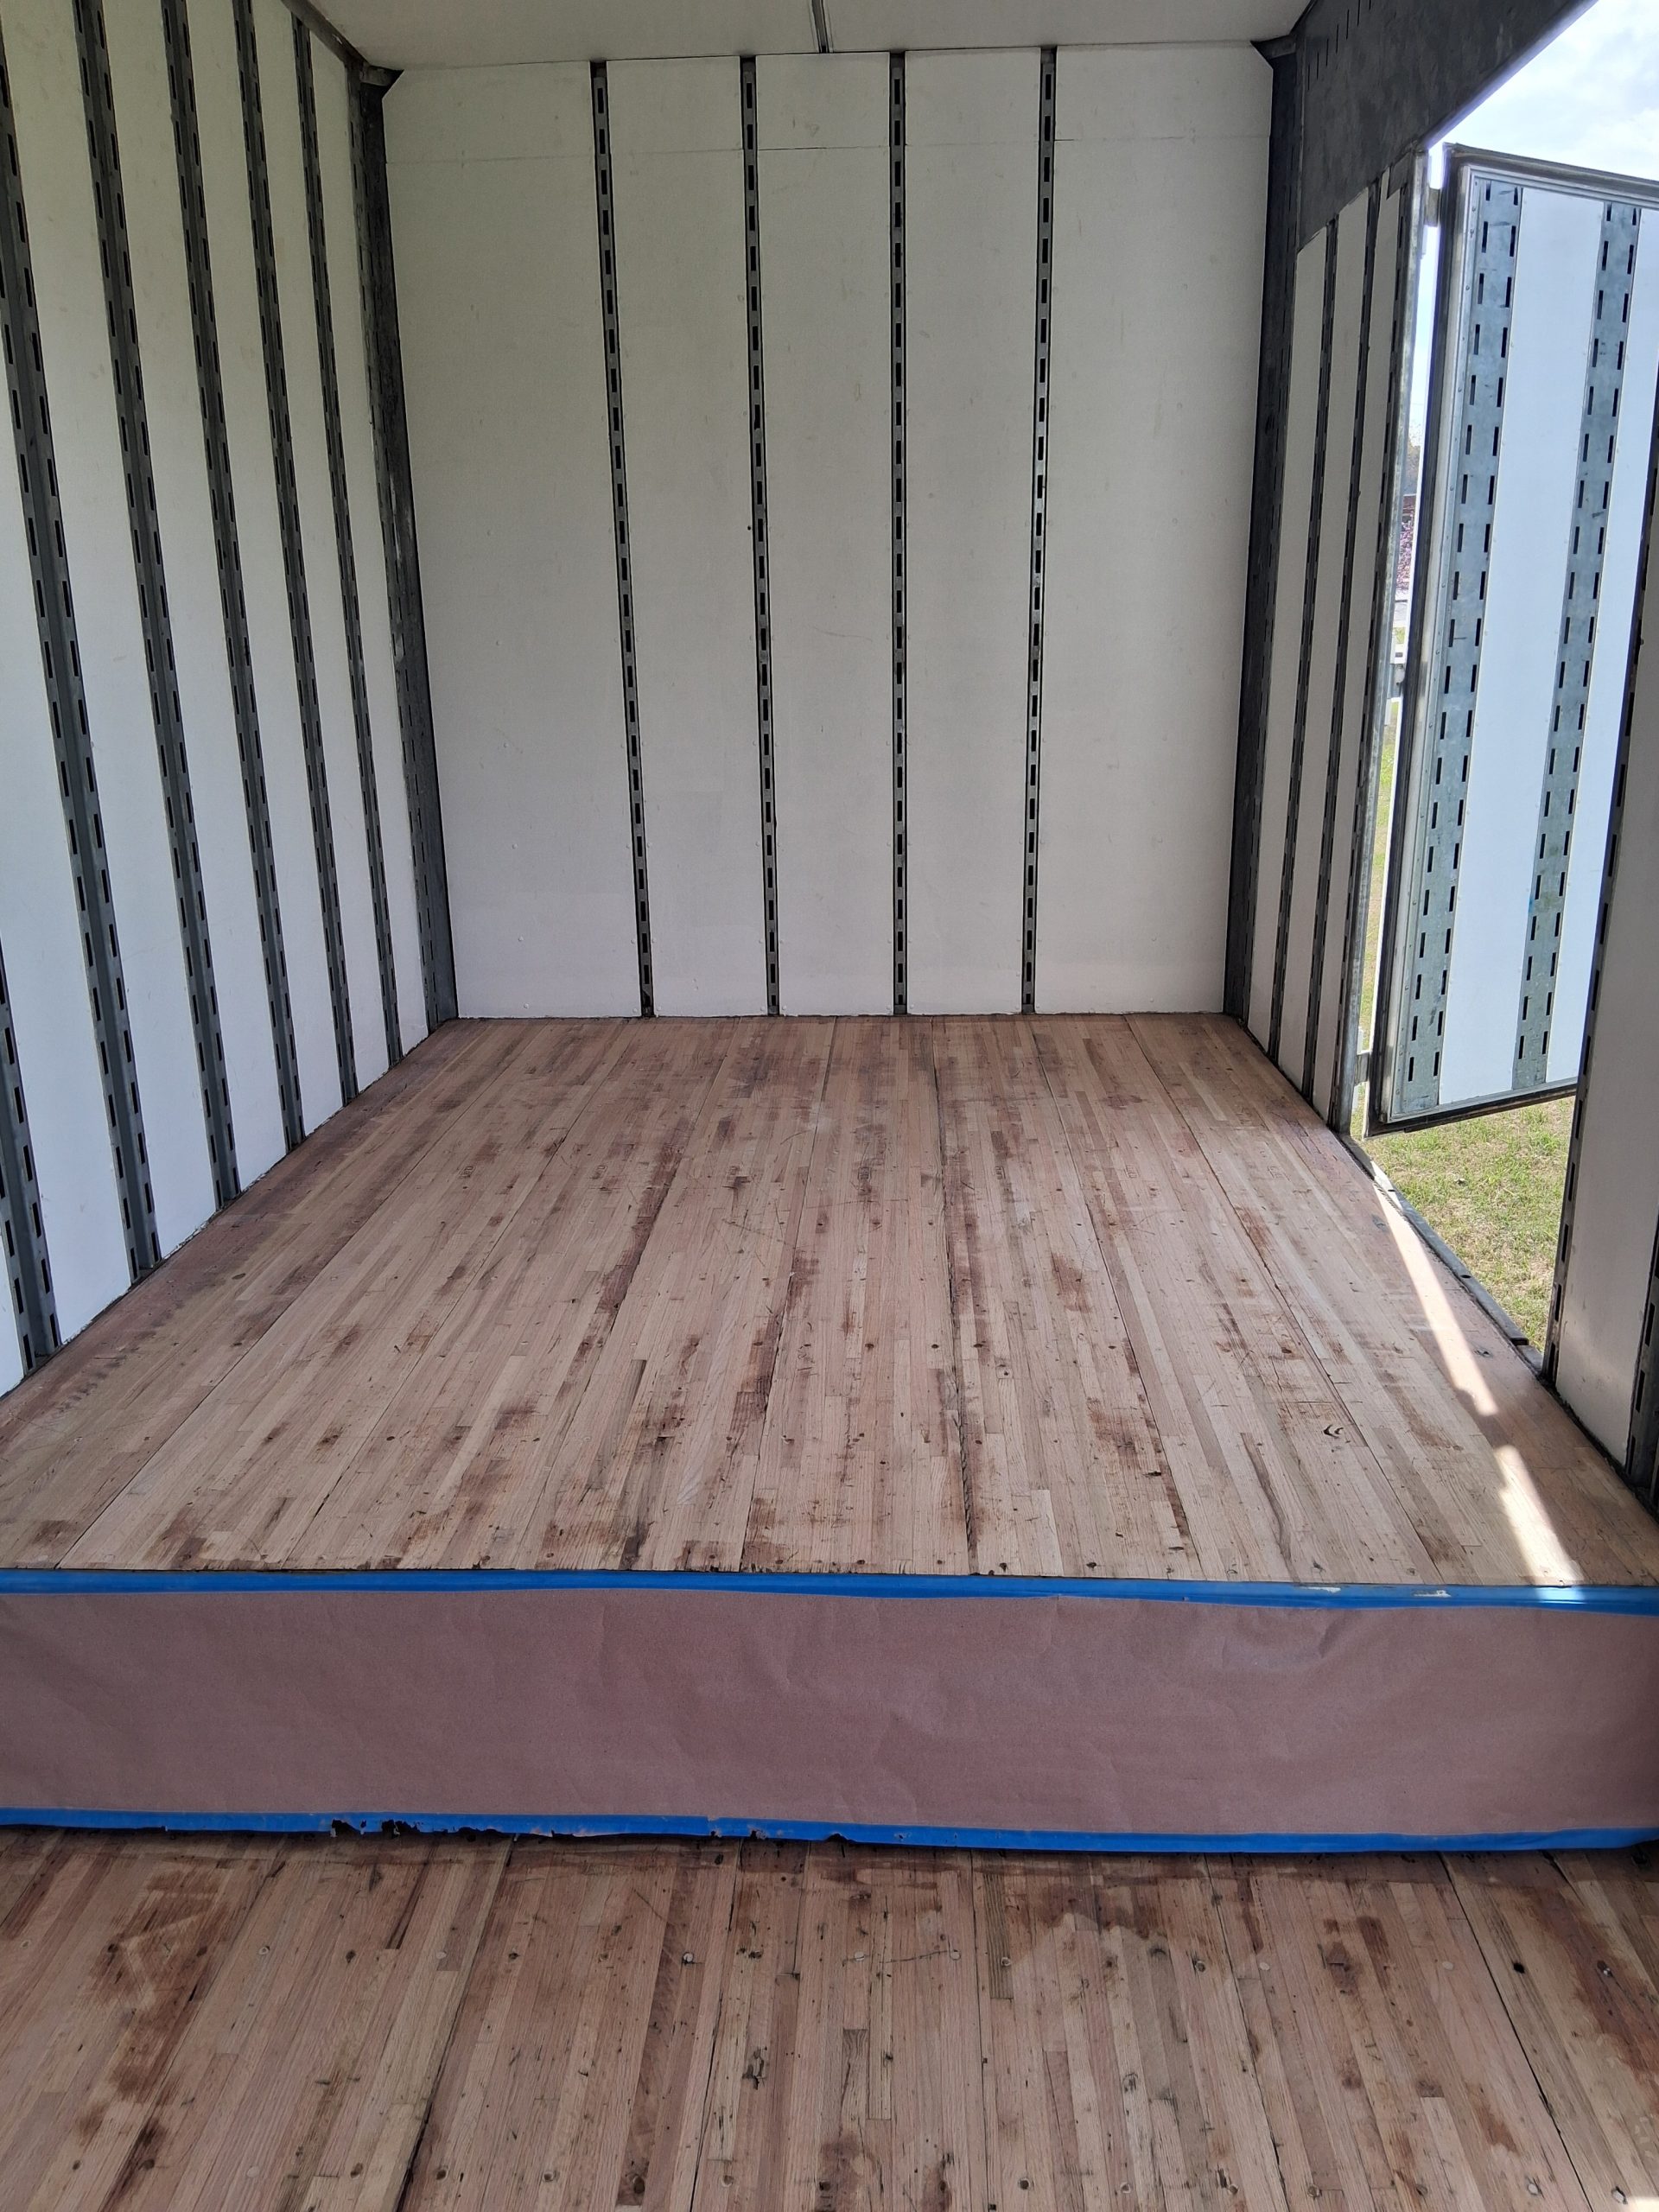
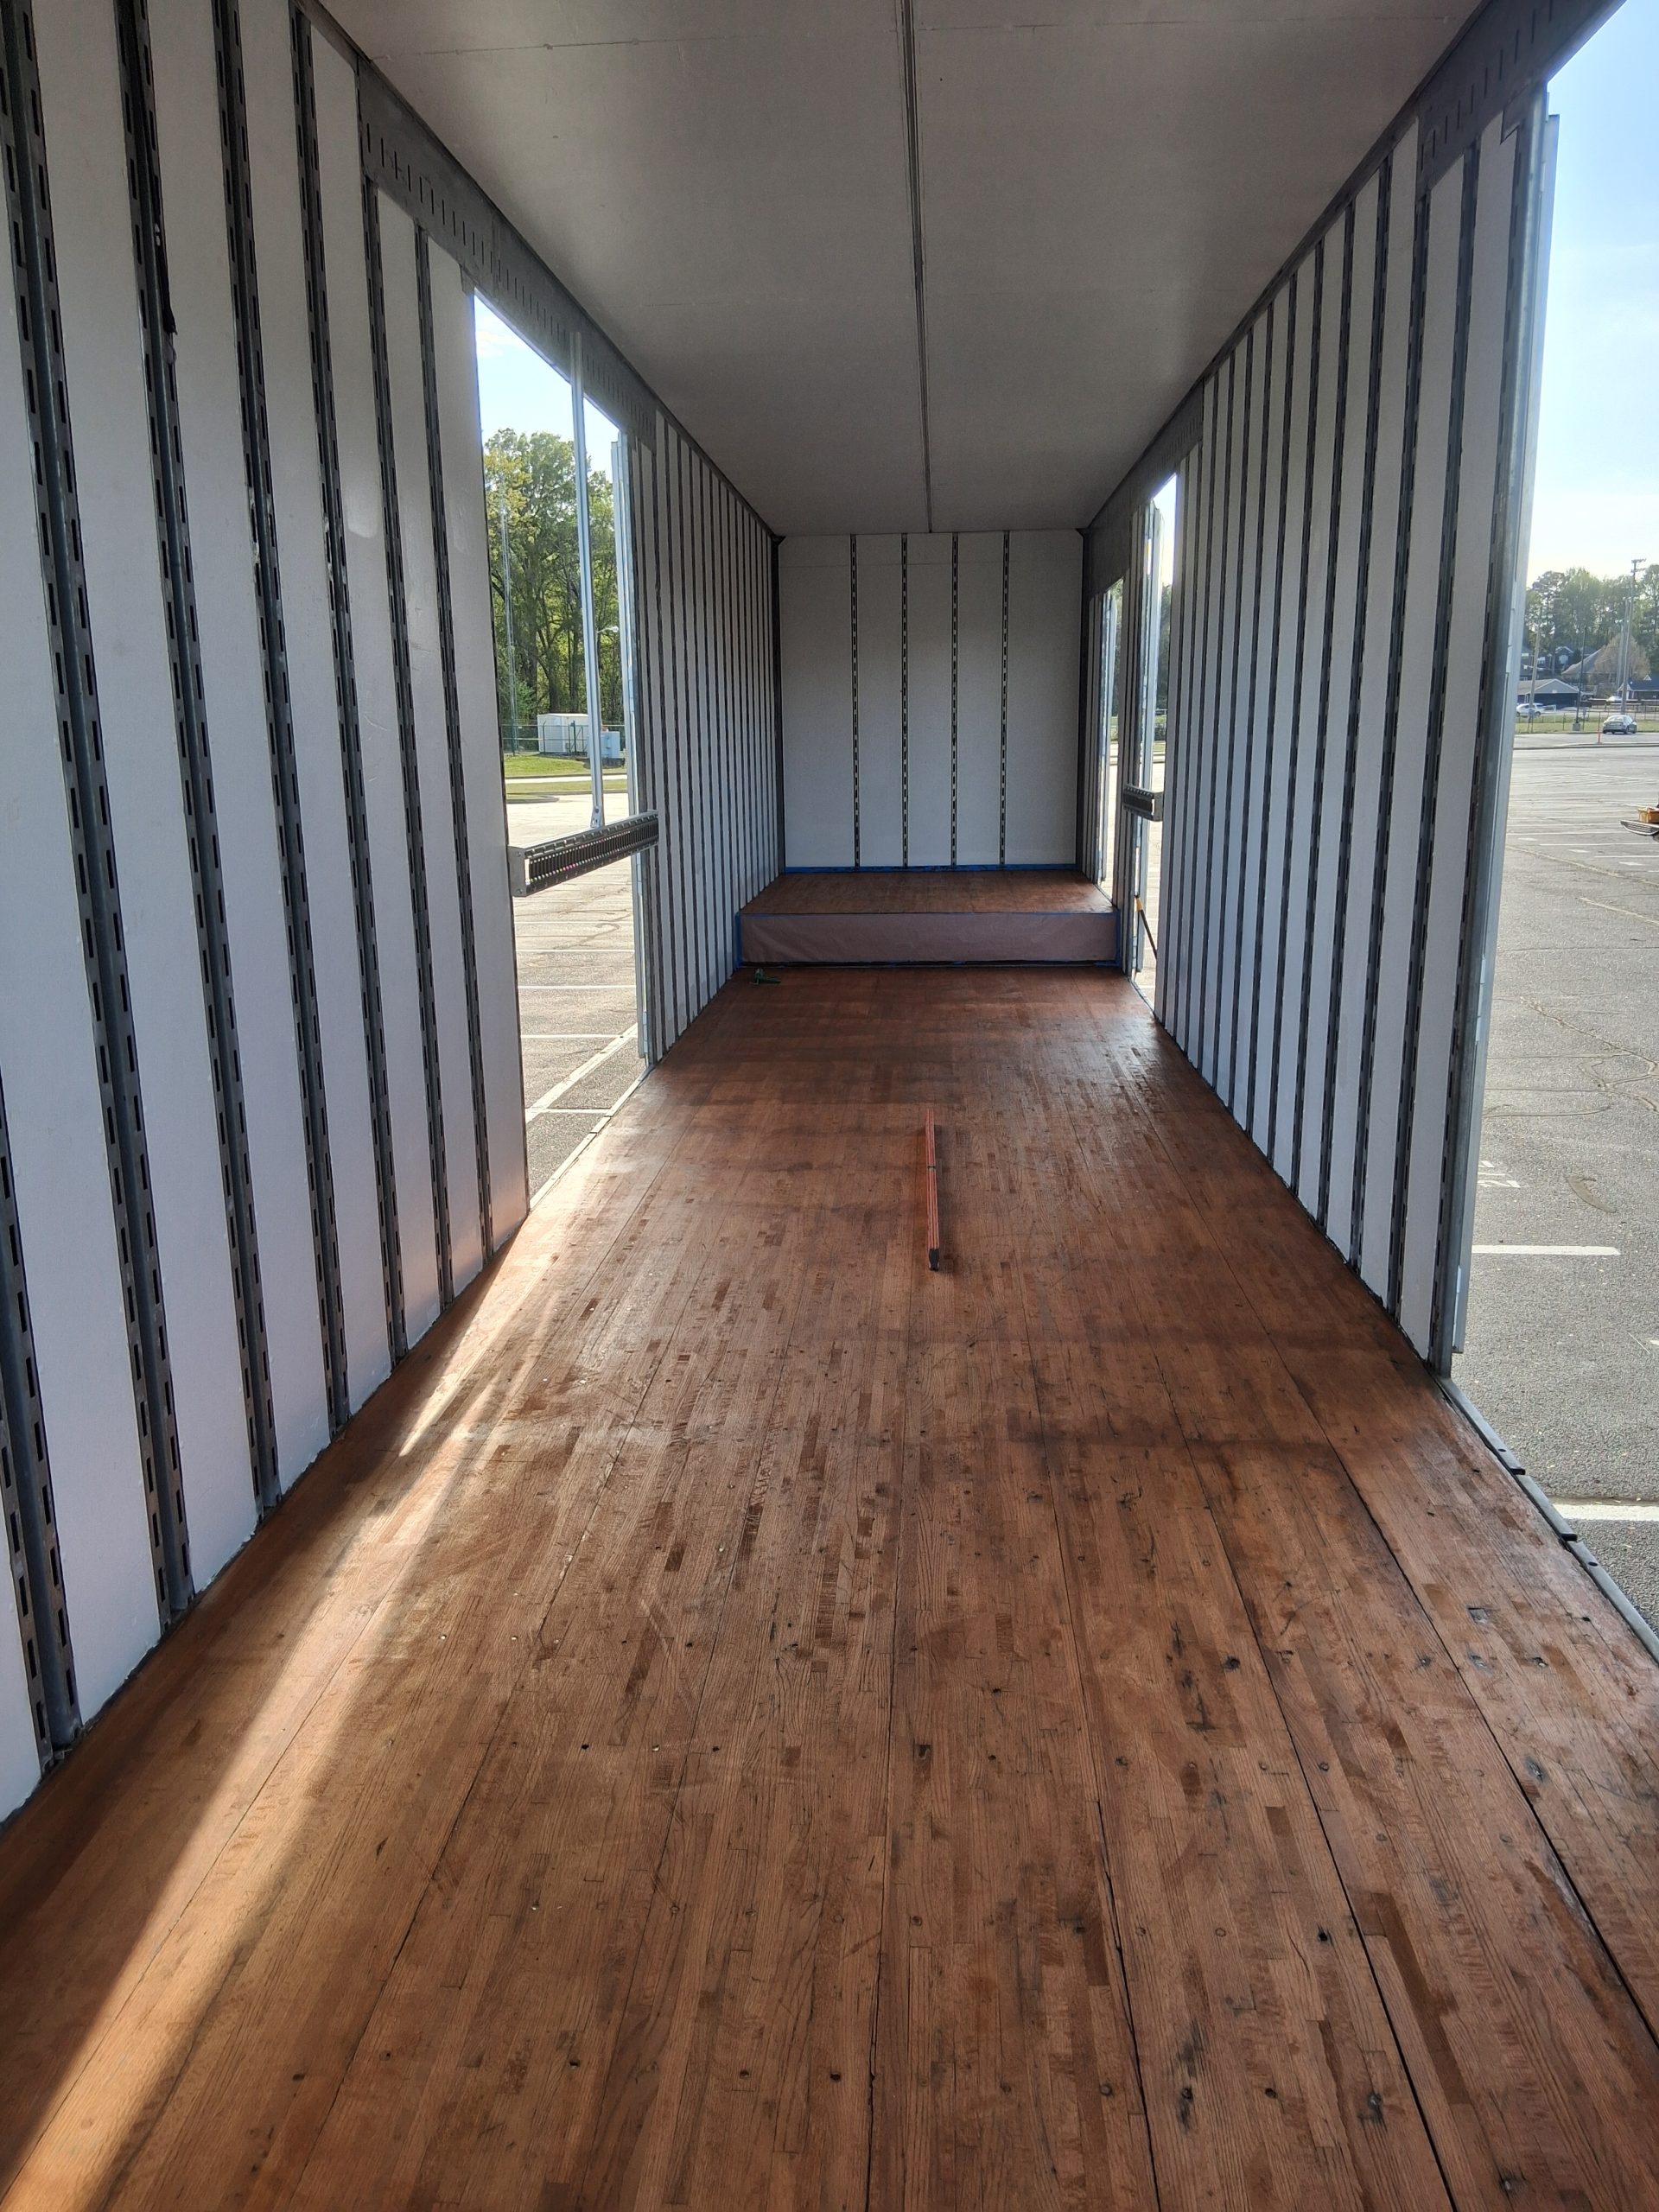
Staining small projects in shop class is not the same as staining a large floor. We learned a lot about how to get the stain applied evenly by the time we were done. Pro tip: lightly mist the floor with water so you get some additional working time (water based stain only). Run your roller the full length of the floorboard for an even application and tape off the adjacent board. By the time we were done at the rear of the trailer it almost looks professional with no streaks or uneven patches.

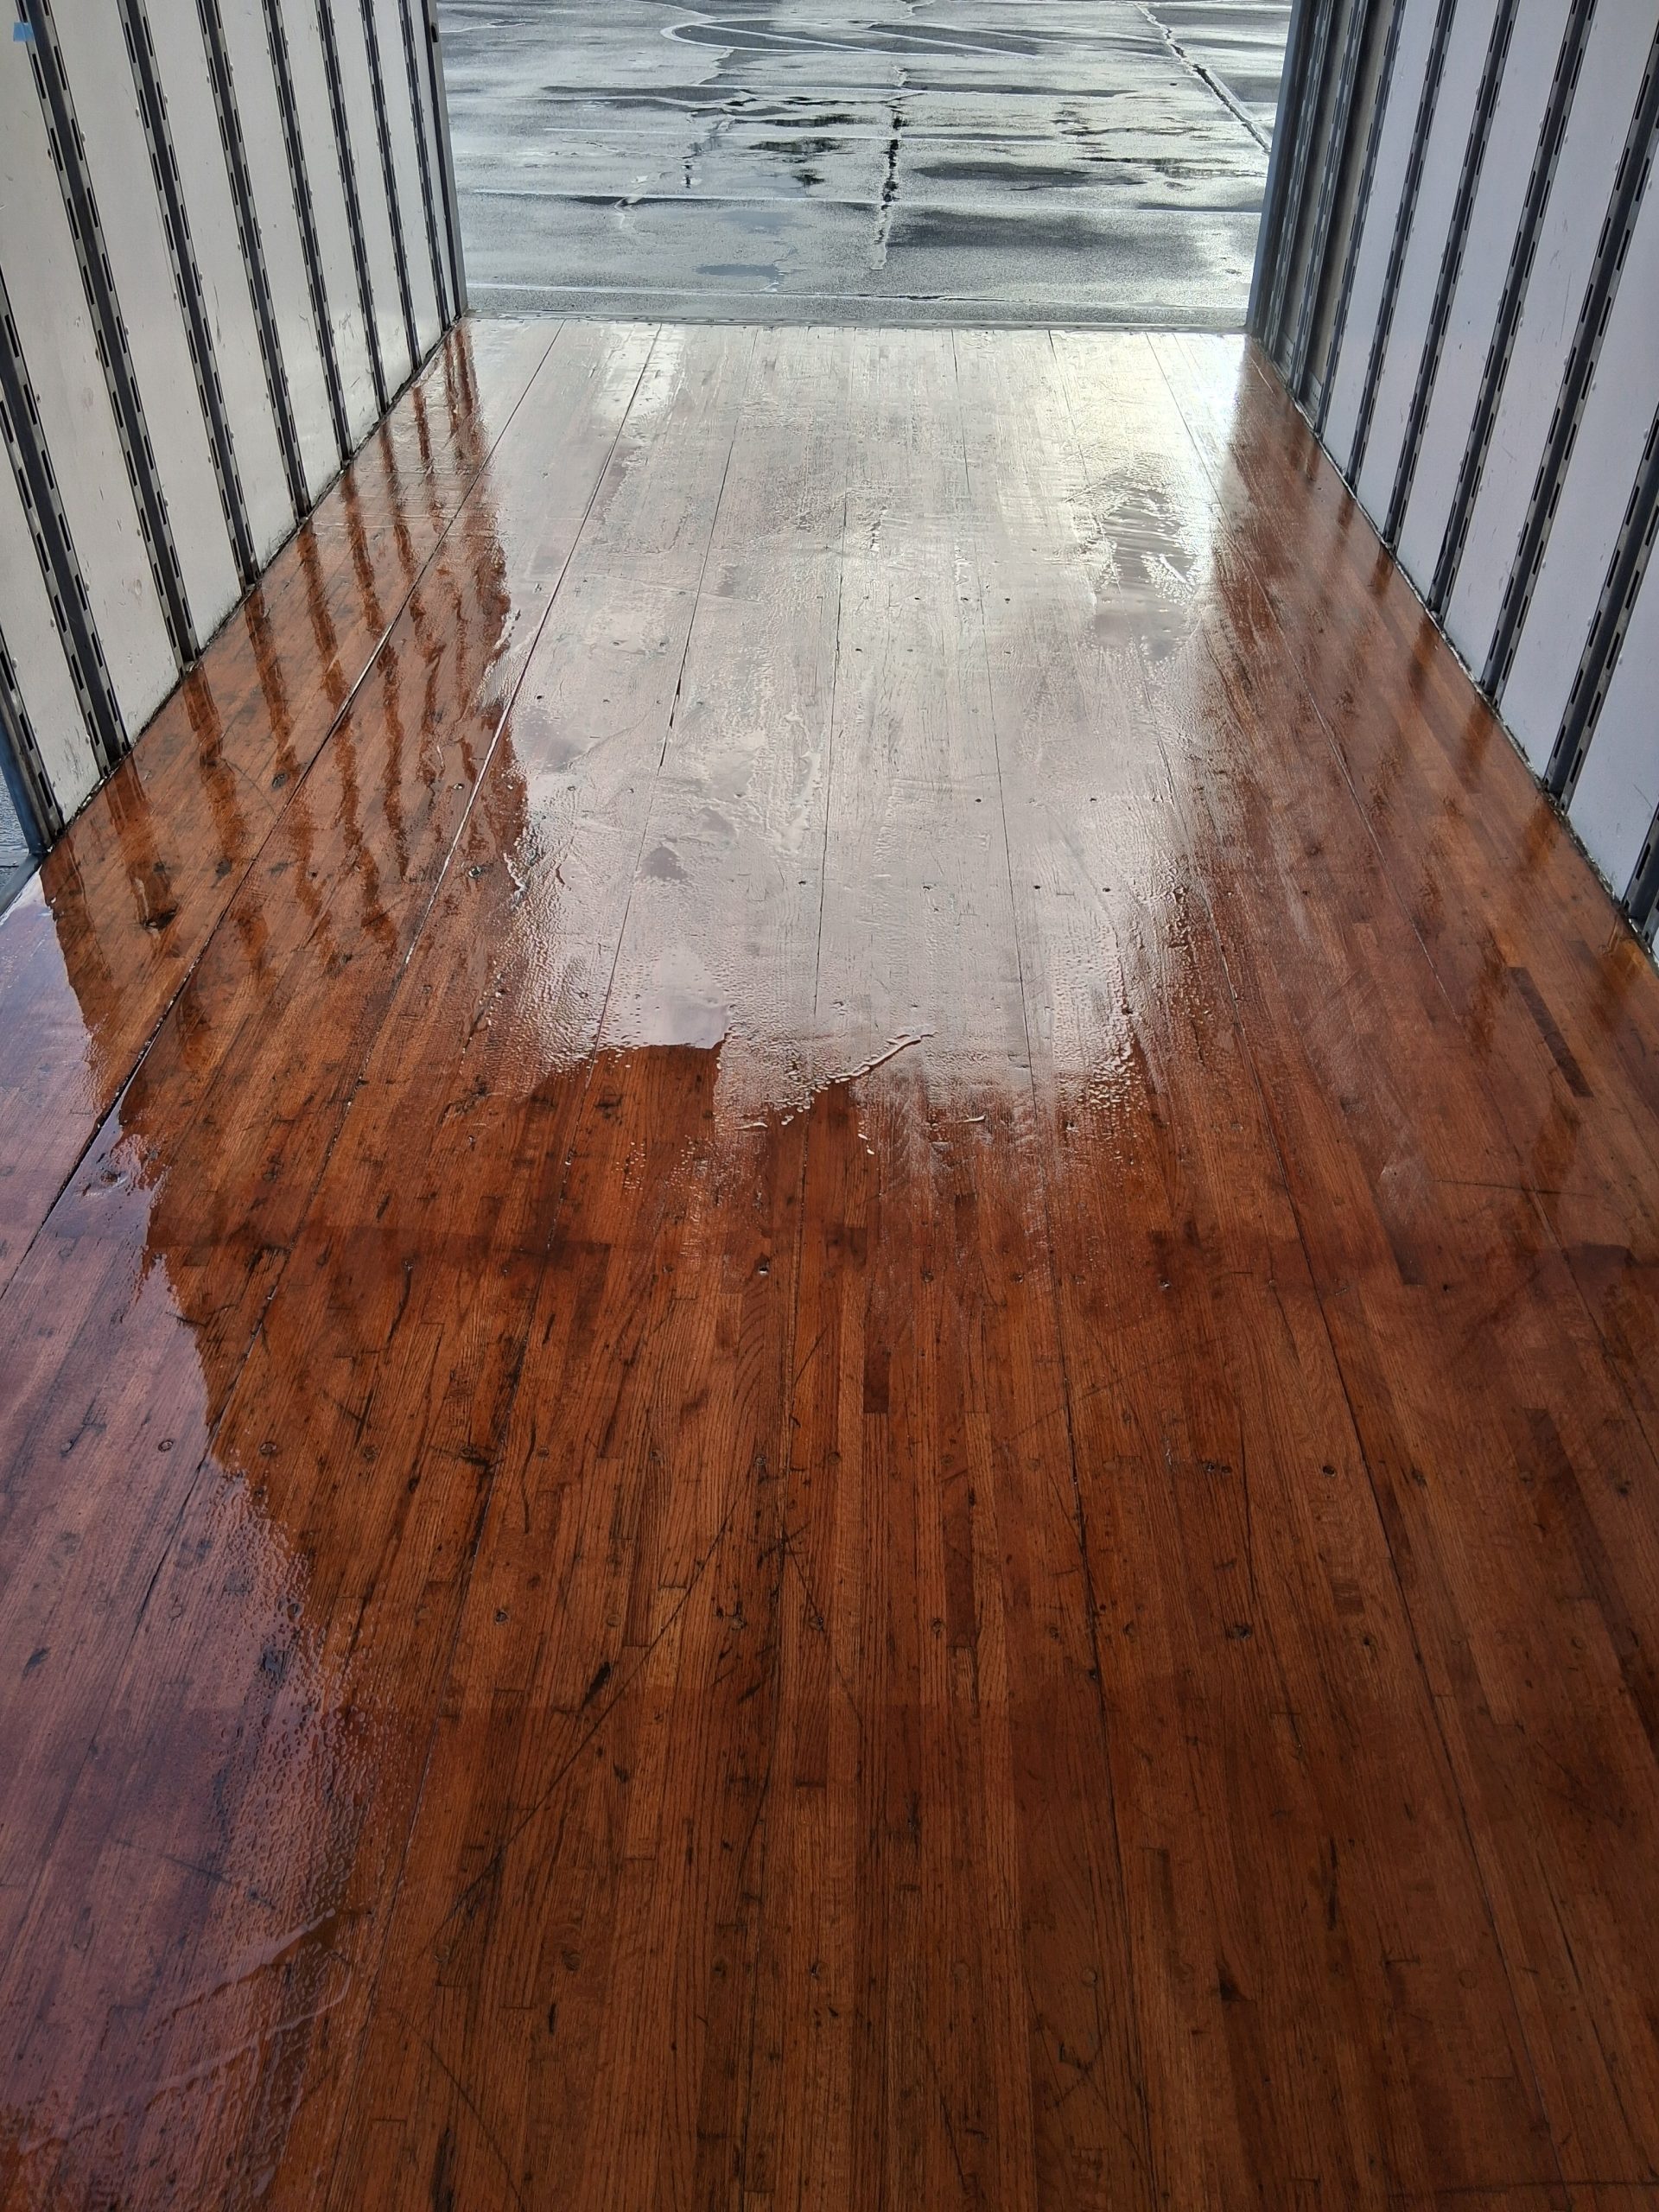
Epoxy the Floor for Protection
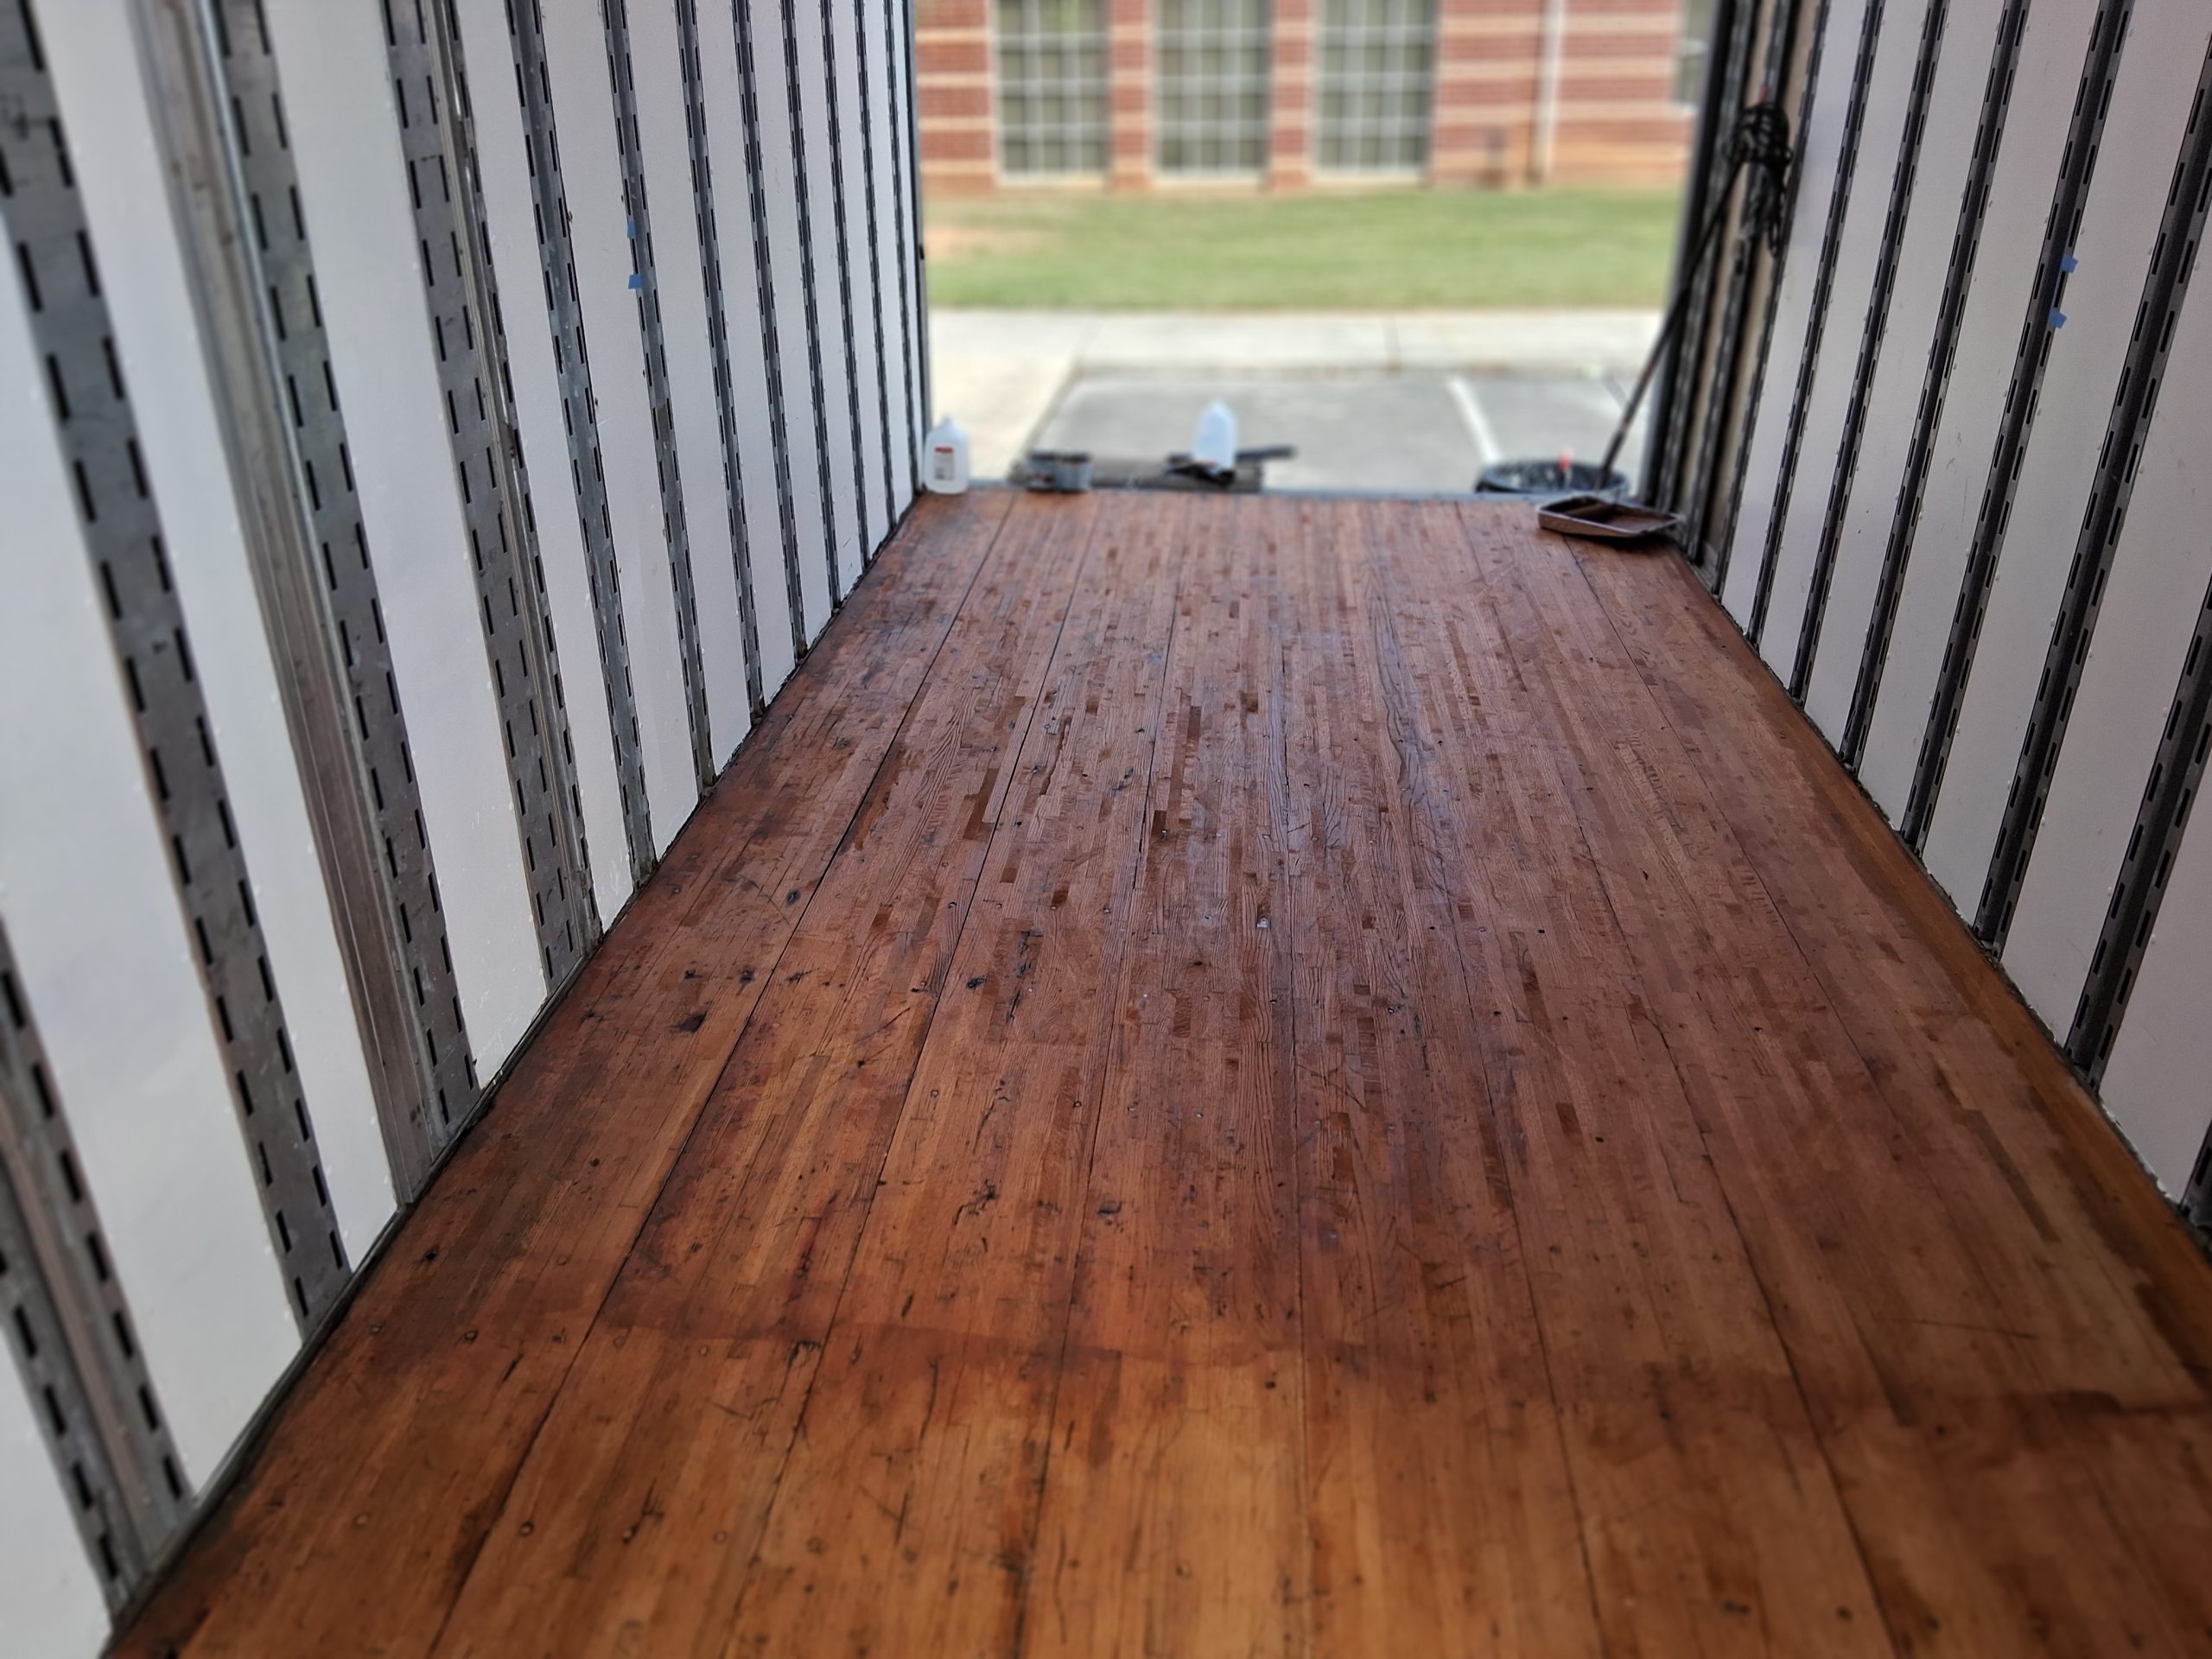
This was the most challenging part so far, getting the product spread before it starts to cure. This epoxy is a good quality product. It will protect the floors from wear and tear as well as seal it from the rain. We thought we were doomed when half of a bucket of product cured in the bucket before it was spread on the floor. Fortunately, it comes in multiple buckets and we still had another bucket left to finish with. For best results pour out the entire bucket and spread with the applied squeege. Then finish with a paint roller. The floor will still have many years of life!

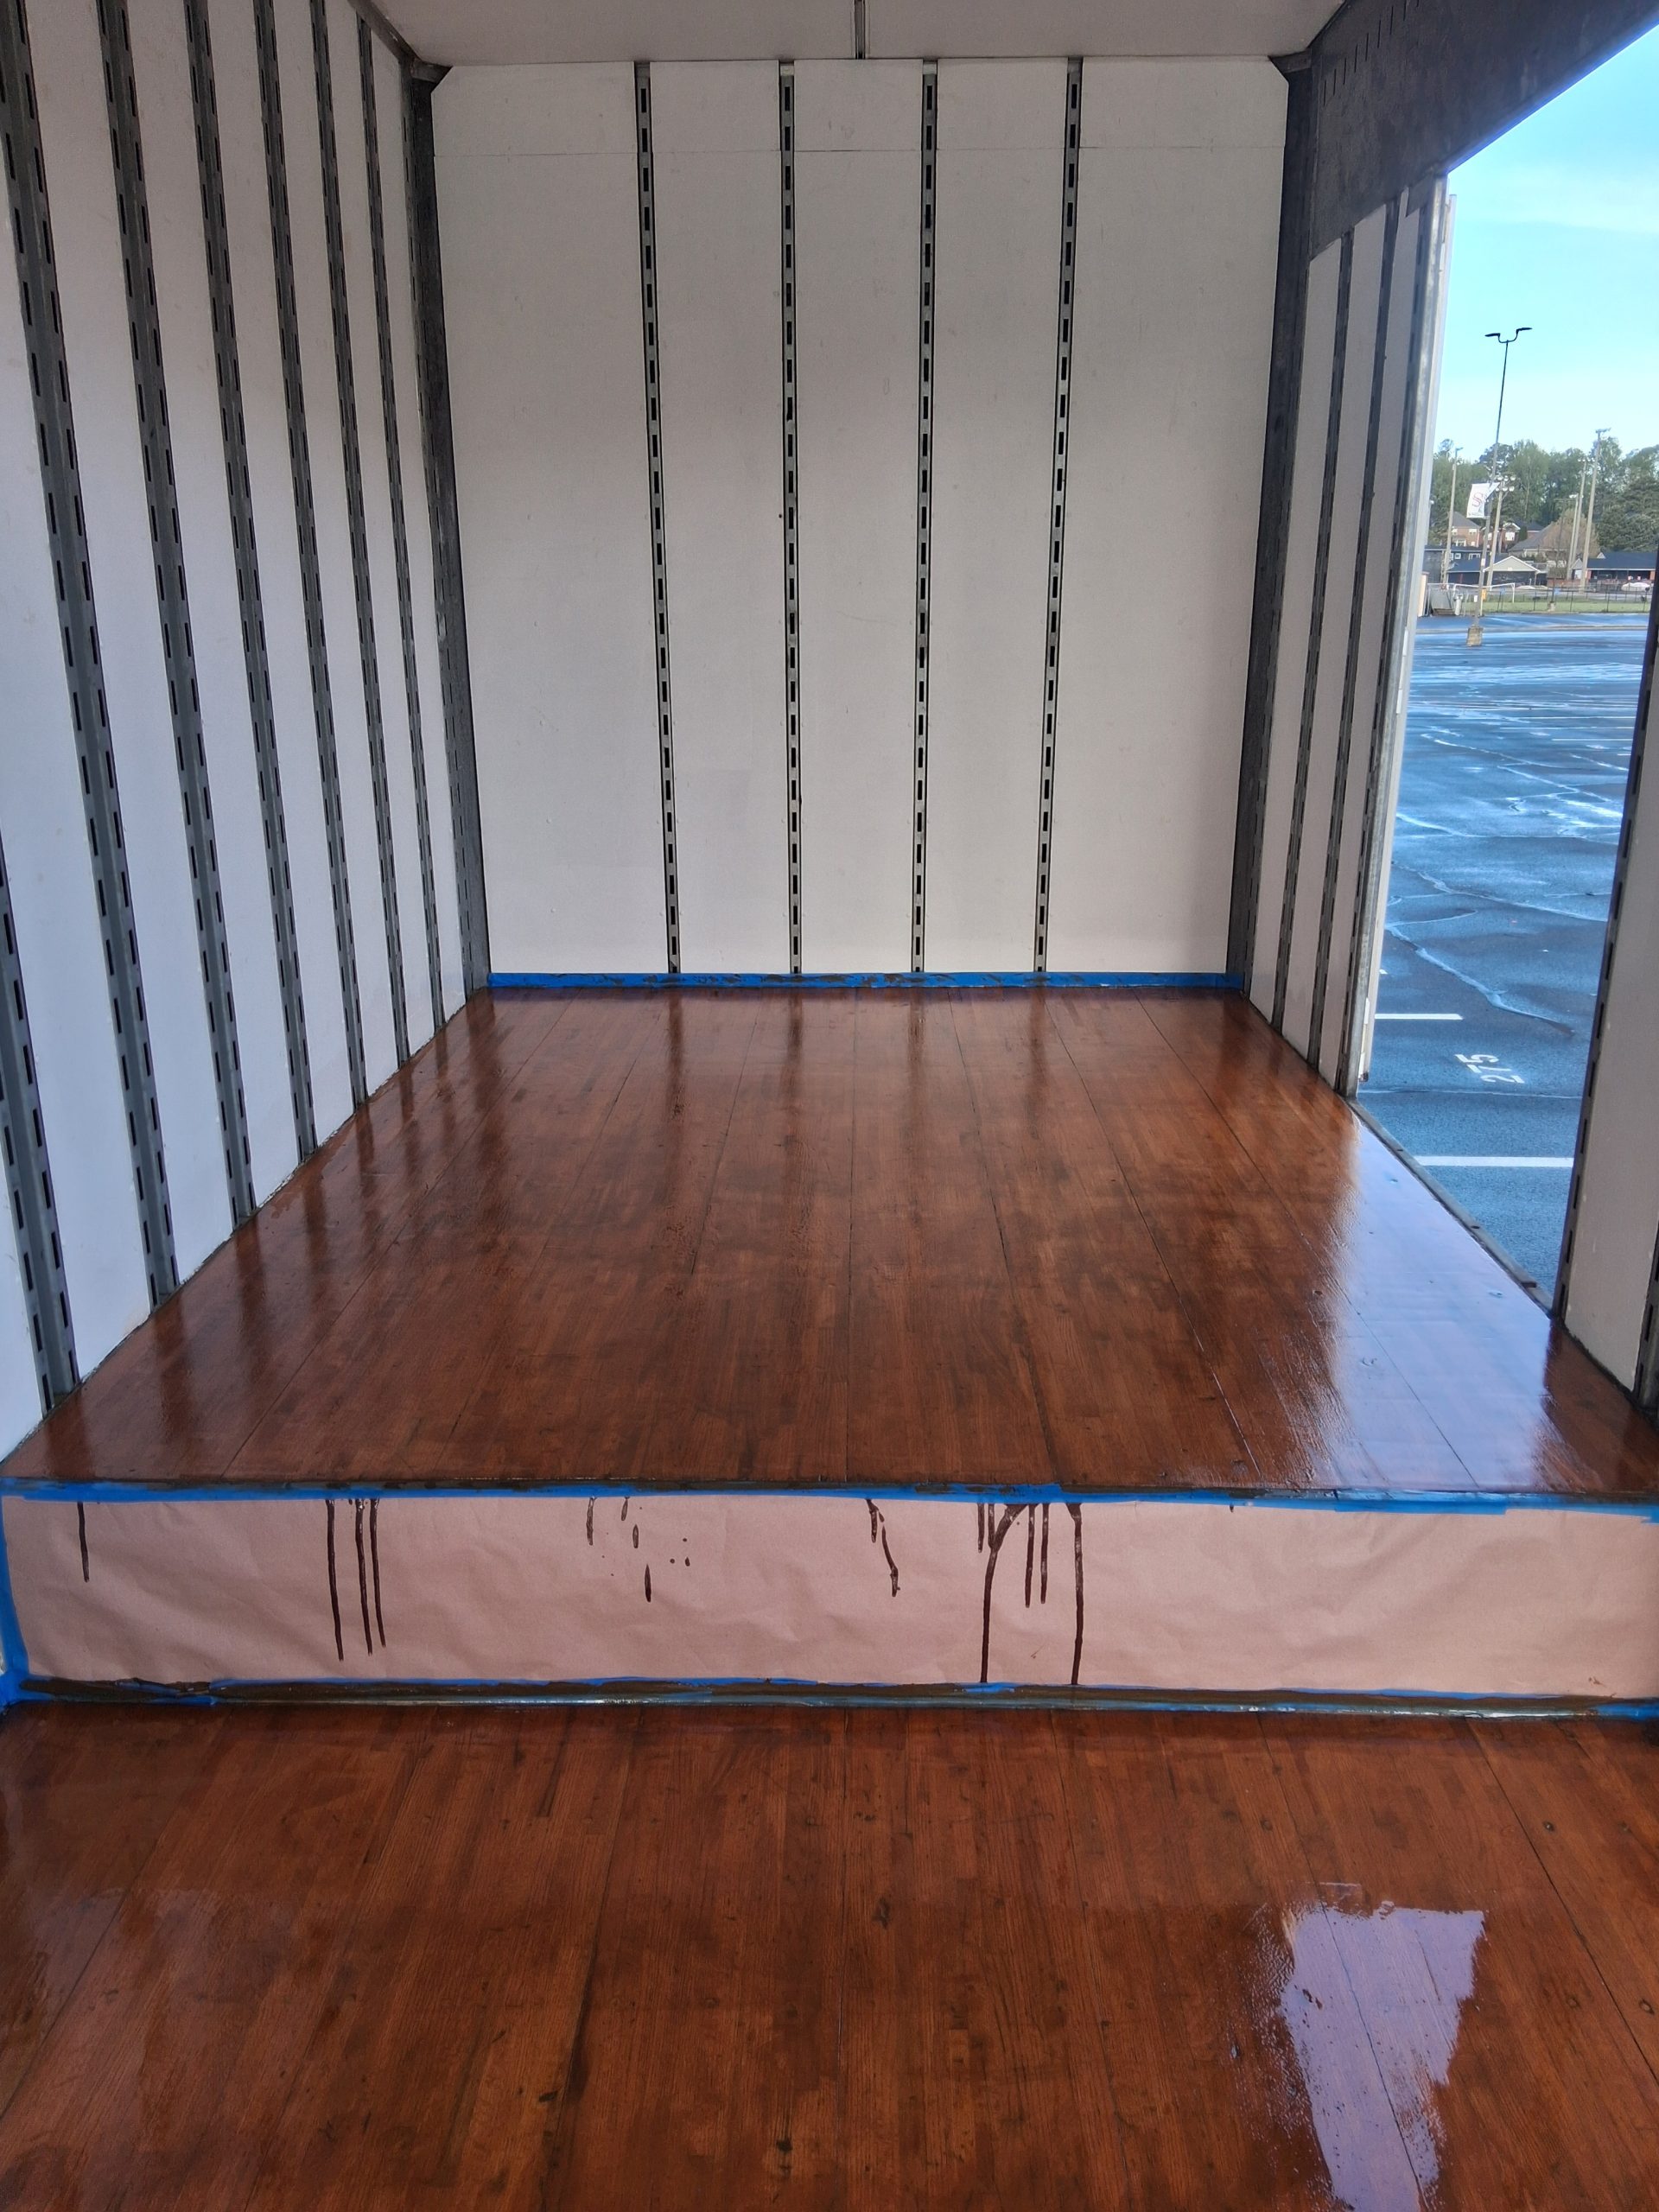
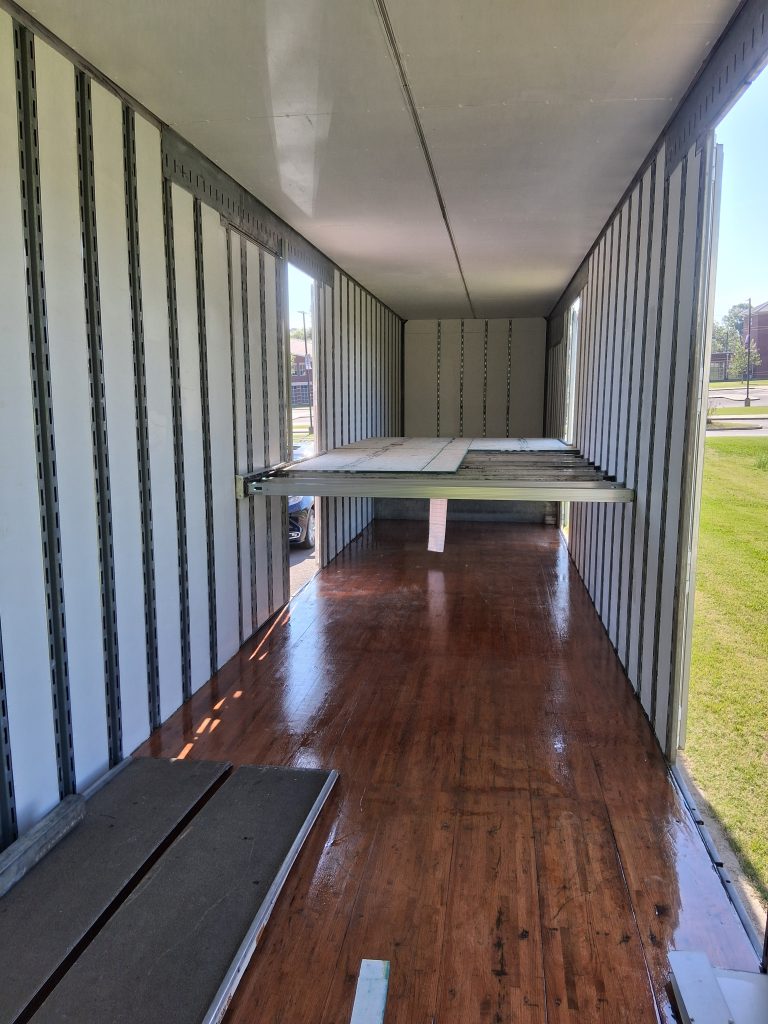
Building the 2nd Floor
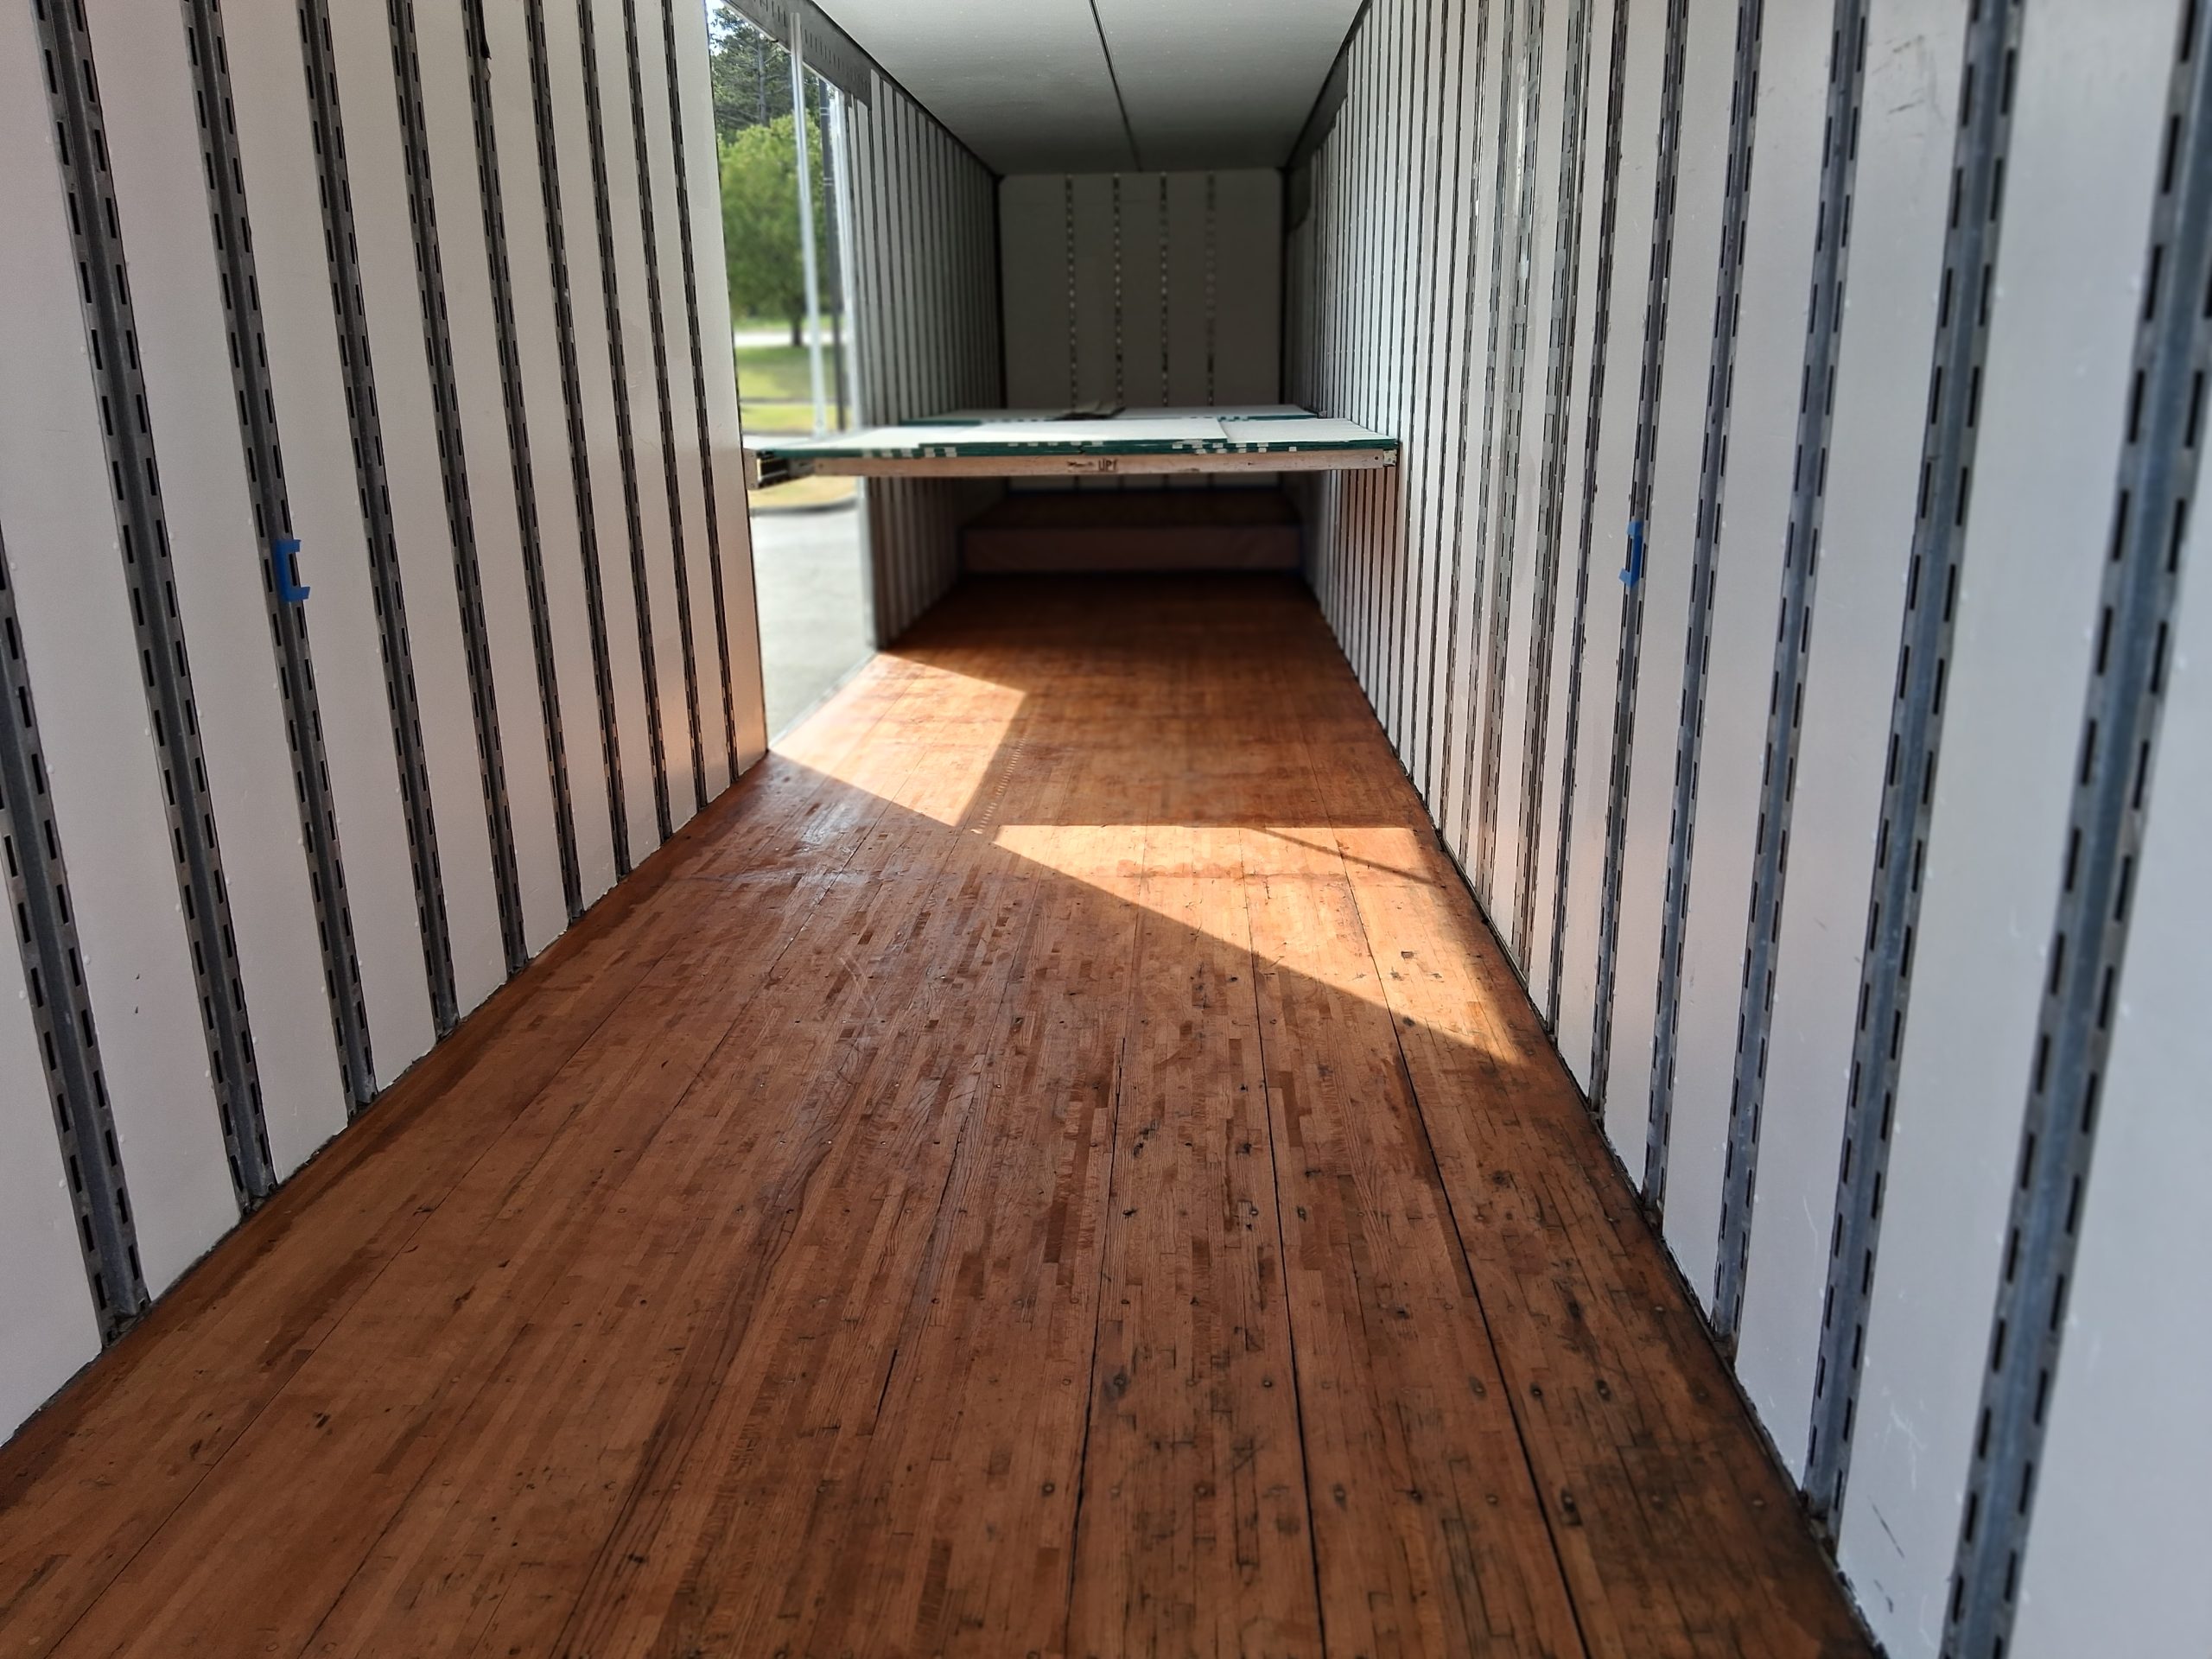
Now that the floors are complete we can start work on building the 2nd floor. Using shoring beams made this work easy. The part we couldn’t anticipate was all the test fitting of the floor on the beams. Just like a house, nothing is perfectly straight and square. We made a few adjustments to the fit as we built the floor.
Putting in the rear half of the floor required a lot of fitting of custom length shoring beams to support the flooring. The hardest part was getting the 52 inch door opening down to 46 inches. The offsets of the shoring beams was different from front to back. We devised a way to support the beams with a cable near the doorway.


Time to Install Carpet
With the flooring complete we can install the carpet. A business has generously donated some very nice, high quality broadloom carpeting. The colors match our school with Red and Black. We’ll be using some carpet adhesive and a notch trowel to get this work done. Then we can trim the carpet to size and apply metal edging to finish everything.


Building Shelves
A parent has stepped up to cut all the plywood for us. Another parent brought their spray gun to help get a coat of primer and paint on all the shelves. Shelves have been mostly painted and we are working on getting the last few pieces painted. We made great progress in the last few weeks. The percussion shelves were the most challenging because there were so many variations. Once we started building the winds shelves assembly went quickly as we used a jig to help set the shelf supports.


Up Next:
- Finish Shelves
- Stairs
- Electrical
- Ramp